Roofing Contractor Guide

Content
Finding the right roofing contractor can mean the difference between a smooth, stress-free project and a nightmare that drains your wallet and patience. You're trusting someone to protect your biggest investment—your home—so cutting corners on research isn't an option. The good news? With the right approach, you can identify qualified professionals, avoid common scams, and prepare your property so the job goes smoothly from day one. Here's everything you need to know about hiring a roofing contractor and getting your home ready for the work ahead.
What Makes a Roofing Contractor Qualified and Trustworthy
Credentials matter more than you might think. A legitimate roofing contractor should hold a valid state contractor's license, which proves they've met minimum competency standards and financial requirements. Most states require proof of experience, passing trade exams, and maintaining a bond.
Yet this represents only your initial checkpoint.
Insurance coverage separates professionals from amateurs. Your contractor needs two types: general liability insurance (covering property damage) and workers' compensation (protecting their crew). Don't just take their word for it—ask for certificates of insurance and verify them directly with the insurance company. I've seen too many homeowners stuck with medical bills after an uninsured worker got hurt on their property.
Manufacturer certifications signal expertise with specific roofing systems. Companies like GAF, CertainTeed, and Owens Corning offer tiered certification programs. Certified contractors receive specialized training, must maintain quality standards, and can offer enhanced warranties you won't get elsewhere. A Master Elite or Select ShingleMaster designation isn't just marketing fluff—it represents documented training and a track record of quality work.
Local reputation tells you what credentials can't. Check online reviews across multiple platforms (Google, Better Business Bureau, Angie's List), but read them critically. Search for recurring themes in negative feedback instead of focusing on one-off complaints. A contractor with 200 reviews averaging 4.7 stars probably does solid work. One with 15 perfect five-star reviews posted in the same week? That's suspicious.
Ask for local references from projects completed in the past year. Drive by those homes if possible. Better yet, knock on a few doors and ask homeowners about their experience. You'll find that homeowners typically welcome the chance to discuss their contractor experiences openly.
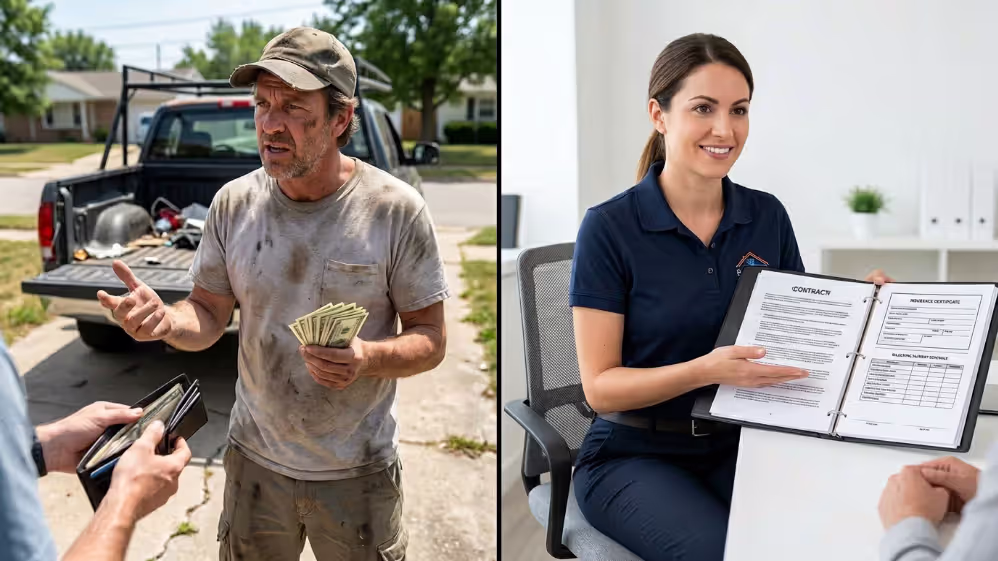
Warning signs that should send you running:
- Demanding large cash deposits upfront
- No physical business address (just a P.O. box or cell phone)
- Pressure to sign immediately with "today only" pricing
- Reluctance to provide proof of insurance
- Offering to waive your insurance deductible (this is insurance fraud)
- Going door-to-door after storms with "leftover materials"
The best contractors are busy. If someone can start tomorrow on a major project, ask yourself why they're not booked.
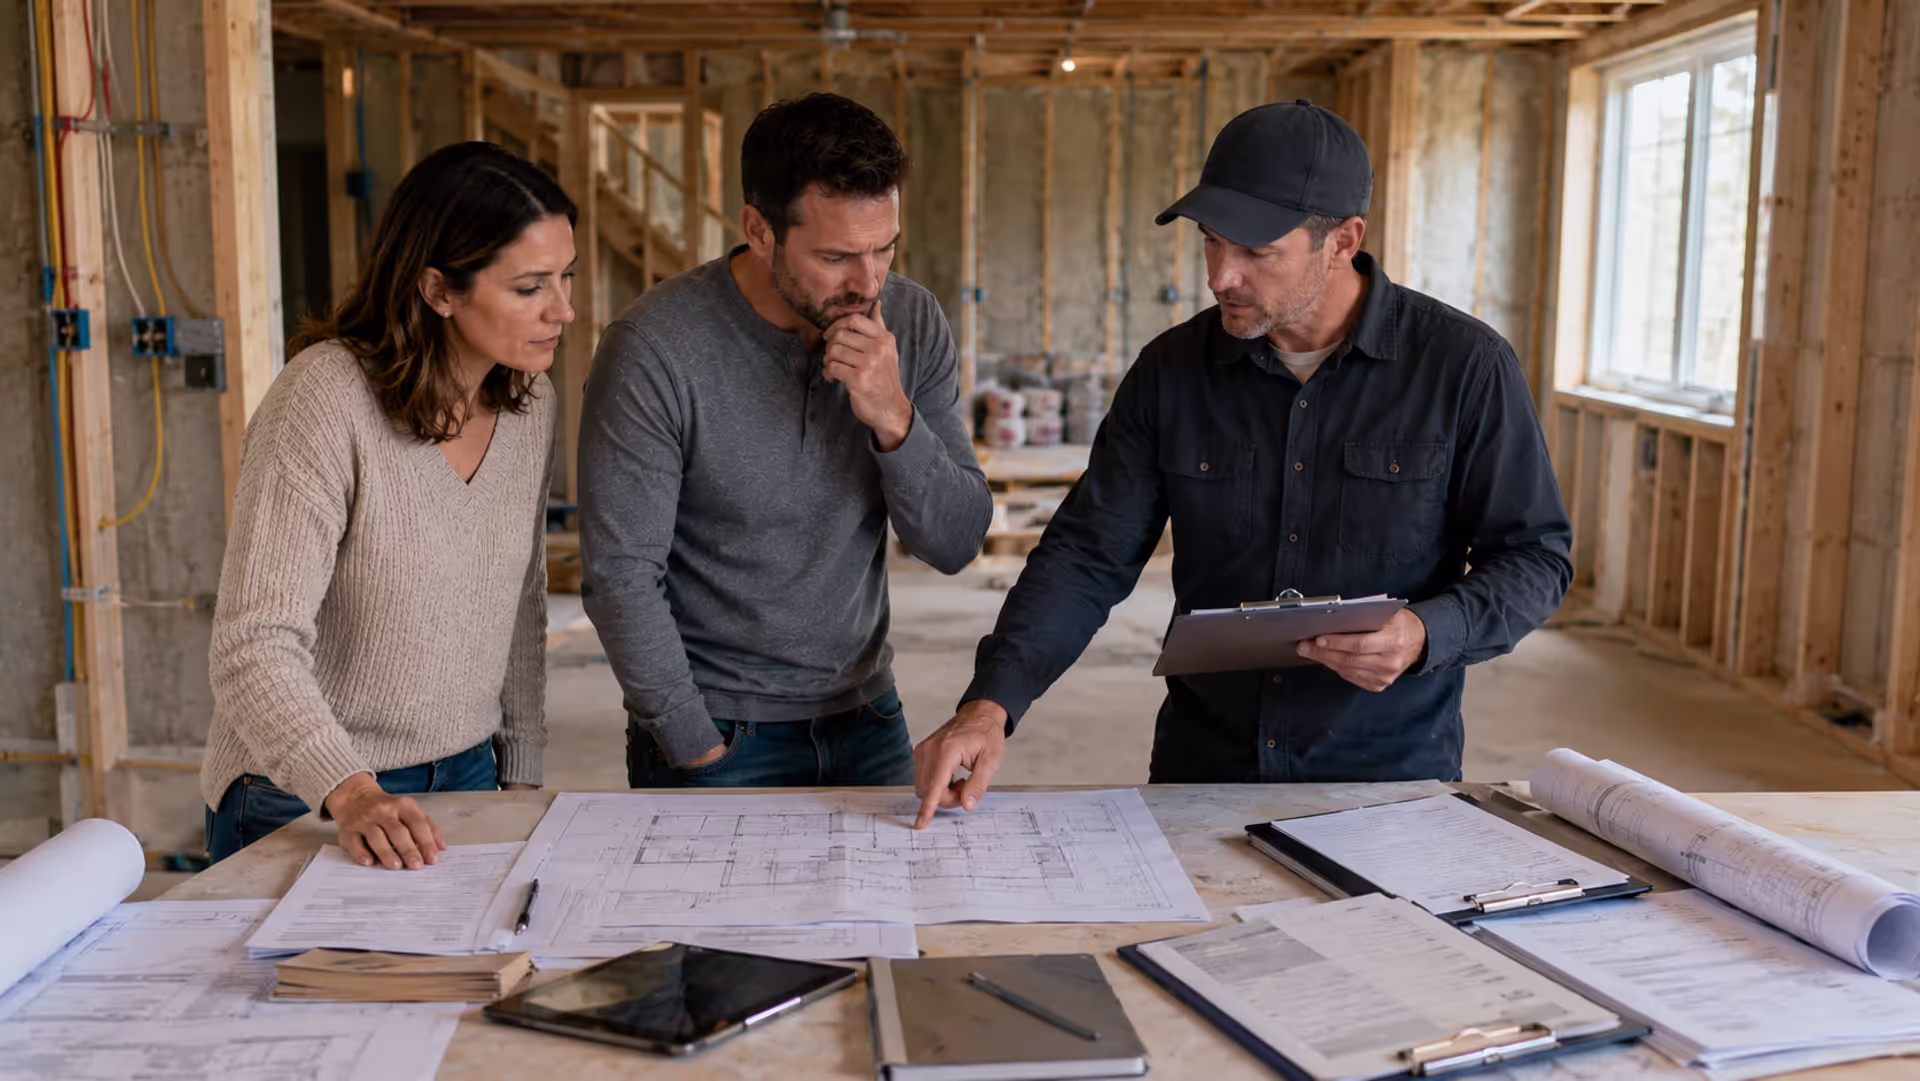
Questions to Ask Before Hiring a Roofing Contractor
The conversation before you sign a contract reveals more than any sales pitch. Come prepared with specific questions and pay attention to how thoroughly they're answered.

Author: Olivia Hartwel;
Source: johnhranec.com
Start with timeline questions. How long will the project take from start to finish? What could delay completion? When will materials arrive? A professional contractor provides realistic estimates, not overly optimistic promises. Most residential roof replacements take 1-3 days of actual work, but the full timeline from contract to completion might span 2-4 weeks depending on material delivery and weather.
Warranties come in two flavors: manufacturer warranties on materials and workmanship warranties from the contractor. Understand both. Material warranties typically range from 25 years to lifetime, but they're often prorated. Labor warranties from contractors should extend at least 5-10 years minimum. Get everything in writing—verbal promises evaporate when problems arise.
Ask about the specific materials they'll use. Which shingle brand and model? What underlayment? Will they replace flashing or reuse the old stuff? (Hint: they should replace it.) Quality contractors explain their material choices and offer options at different price points.
The subcontractor question matters more than most homeowners realize. Will the company's own employees do the work, or will they hire subcontractors? Both approaches can work well, but you deserve transparency. If they use subs, are those workers covered under the contractor's insurance? Who supervises quality control?
The biggest mistake homeowners make is treating price as the only factor. The lowest bid often comes from contractors who cut corners on materials, skip proper preparation, or lack adequate insurance. You're not just buying shingles—you're buying expertise, accountability, and peace of mind.
— Martinez David
Payment schedule reveals a lot about business practices. Reputable contractors typically request a deposit of 10-25% to order materials, with the balance due upon completion. Exercise extreme caution with contractors who insist on half your budget before starting work. You lose negotiating leverage once they have most of your money.
Identify your primary contact person throughout the construction process. Will it be the salesperson, a project manager, or the crew foreman? How should you communicate questions or concerns? What happens if you're unhappy with something mid-project?
Finally, what to ask before renovation crew starts: What time will they arrive each day? Where will they park? Do you need to move vehicles? Will they need access to electricity or water? These logistics questions prevent day-one confusion.
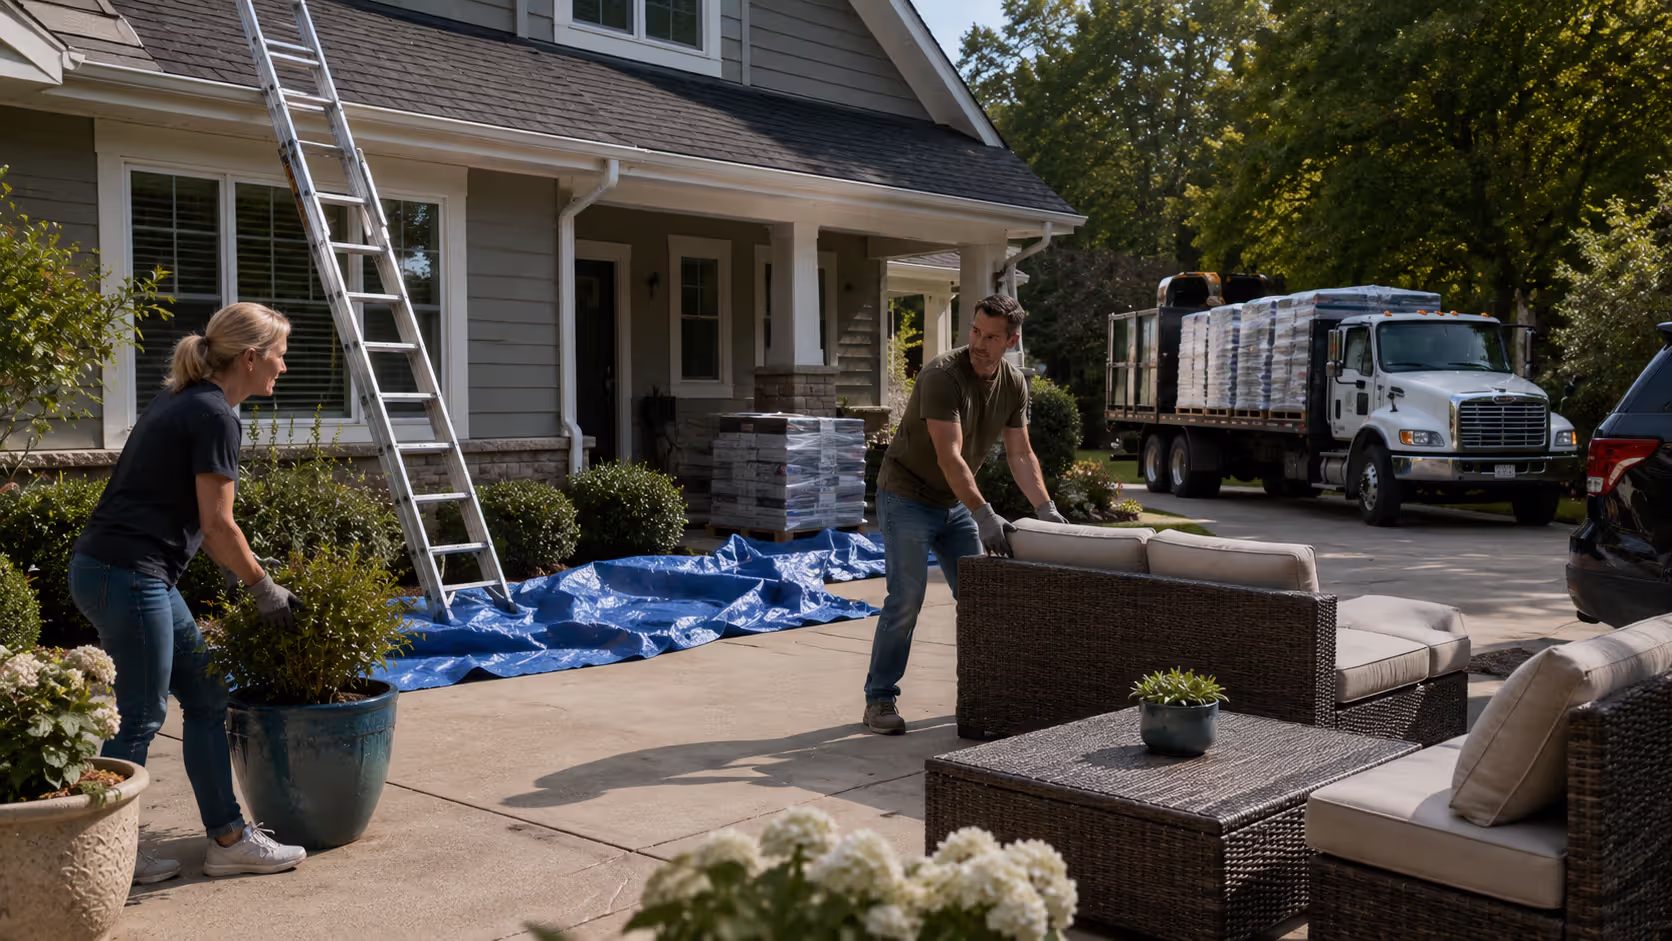
How to Prepare Your Home Before the Roofing Crew Arrives
Proper preparation makes the job safer, faster, and less stressful for everyone involved. Start outside, where most of the action happens.
Author: Olivia Hartwel;
Source: johnhranec.com
Remove vehicles and obstacles from your driveway and the space surrounding your home's foundation. Roofing crews need space for material delivery, dumpsters, and equipment. If you typically park in the driveway, find alternative parking for the duration of the project. Many contractors deliver materials via boom truck, which requires significant clearance.
Move vehicles at least 20 feet from the house. Falling debris, dropped tools, and airborne nails are real hazards. Your car's paint job isn't worth the risk.
Trim overhanging branches that come within 10 feet of the roof. This gives workers safe access and prevents damage to trees during tear-off. Some contractors handle this, but don't assume—ask beforehand.
Protecting landscaping requires advance planning. Move potted plants, garden decorations, and outdoor furniture away from the house. Cover delicate shrubs and flower beds with tarps or plywood. Roofing debris will fall, and workers need to set up ladders. The pattern I see most often is homeowners underestimating how much area the crew needs to access.
Secure or remove anything that could be damaged by vibration. The pounding and hammering during roof installation shakes the entire structure. Take down hanging plants, wind chimes, and wall decorations. Remove items from garage shelves if the garage shares a wall with the house.
Mark or protect sprinkler heads, outdoor lighting, and other ground-level features that could be damaged by foot traffic or equipment. A simple flag or cone prevents costly repairs.
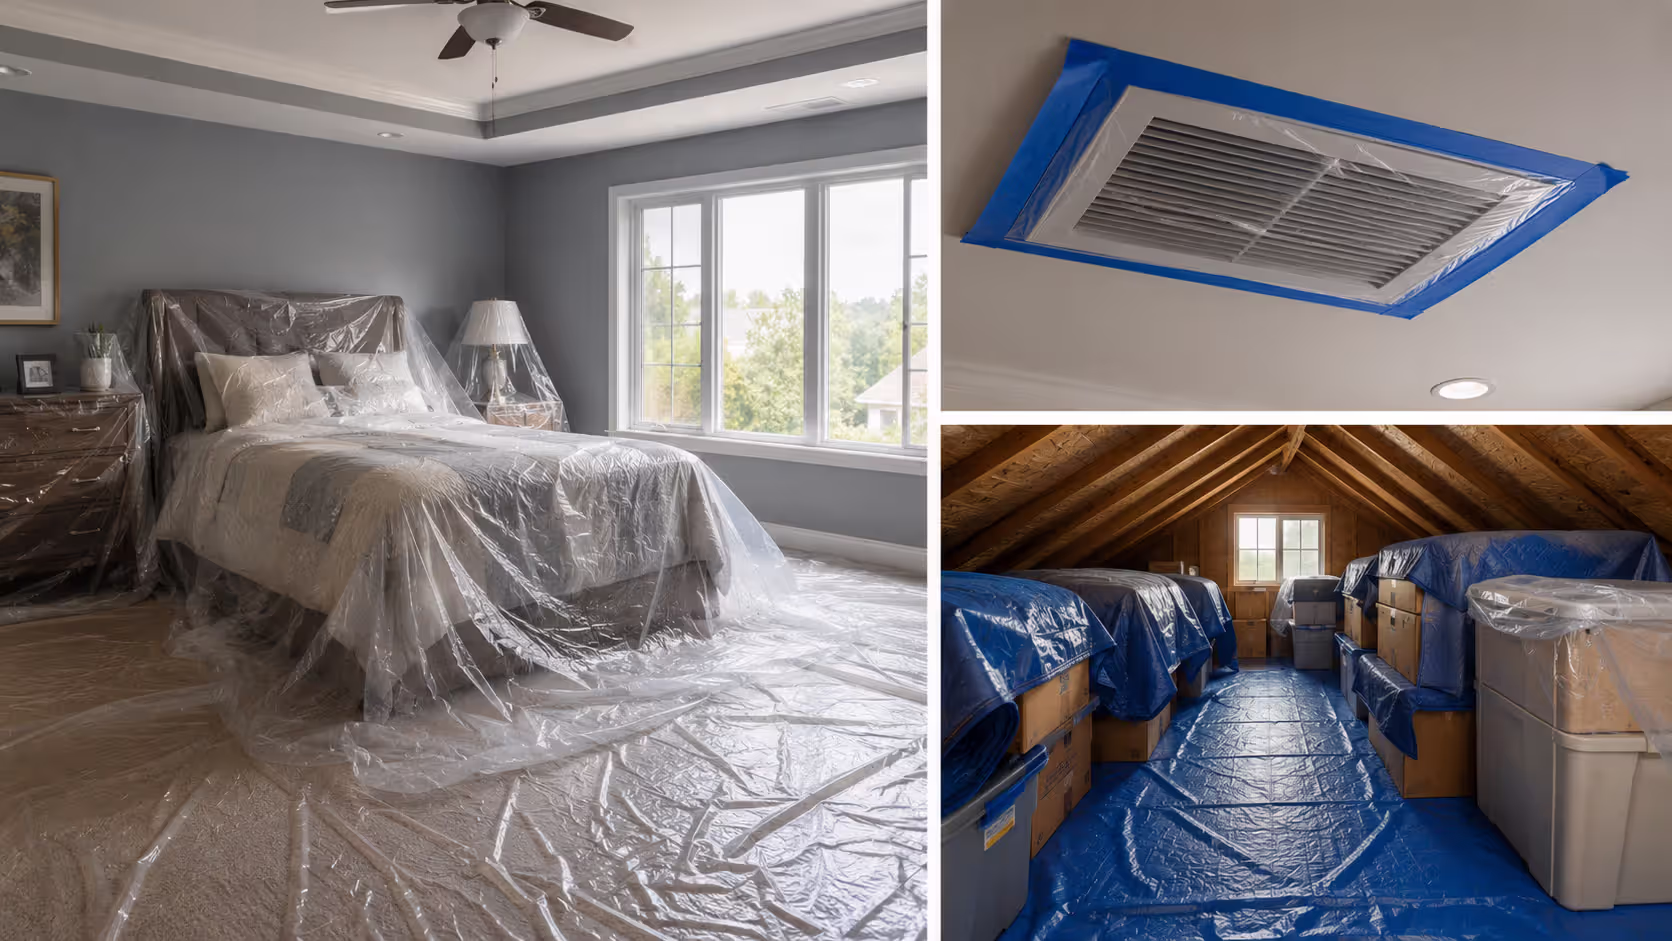
Protecting Your Home's Interior from Renovation Dust and Debris
Roof work is surprisingly invasive to your home's interior. Vibrations dislodge dust in attics and walls, sending it throughout your ventilation system.
Start by covering attic items with plastic sheeting or moving them to one protected area. If you store belongings in the attic, consolidate and cover them well. Dust will get everywhere despite your best efforts.
Author: Olivia Hartwel;
Source: johnhranec.com
Seal HVAC vents in rooms directly below the roof work. Use magnetic vent covers or tape plastic sheeting over registers. This prevents construction dust from circulating through your entire home. Turn off your HVAC system during the noisiest work if possible, or at minimum, change the air filter immediately after project completion.
Protecting furniture during renovation depends on the scope of work. For roof replacement, focus on rooms in the top floor or those directly beneath work areas. Move small, valuable items to lower floors or interior closets. Cover larger furniture pieces with drop cloths.
Create barriers between work zones and living spaces when possible. Close doors to bedrooms and hang plastic sheeting in hallways if dust becomes a problem. This is less about the roofing work itself and more about workers accessing attics or making repairs to ceilings.
Remove or secure wall hangings, especially on upper floors. Vibrations from hammering can knock pictures off walls. I learned this the hard way—a framed mirror crashed down while I was away during my own roof replacement.
Consider removing items from the top shelves of closets and cabinets in upper-floor rooms. The constant pounding can shake things loose.
Where to Store Belongings During Your Roofing Project
Most roofing projects don't require extensive storage solutions, but attic access changes the equation. If your contractor needs to access the attic from inside the house, you'll need a plan for items stored there.
Garage organization becomes your first line of defense. Clear floor space to temporarily relocate attic items. Stack boxes along walls, leaving a center path. Use this opportunity to purge items you no longer need—why move junk twice?
For storing belongings during renovation, prioritize protecting valuables and items you'll need during the project. Keep a "daily essentials" box easily accessible. Don't pack away things you'll need tomorrow.
Temporary storage solutions might make sense for major projects or if you're combining roof work with other renovations. Portable storage containers (like PODS) can sit in your driveway, keeping belongings safe and accessible. For a roof-only project, this is usually overkill unless your attic is packed.
Protect valuables by moving them to interior rooms on lower floors. Important documents, jewelry, and electronics should be nowhere near work zones. Vibrations can damage hard drives and sensitive equipment.
Climate-controlled items need special consideration. Don't store temperature-sensitive belongings in a hot garage during summer. If the project spans several weeks, plan accordingly.
Setting Up Your Property as a Safe Renovation Workspace
Think of your property as a construction site for the duration of the project. Setting up renovation workspace properly protects your family, your neighbors, and the workers.
Designate a material staging area where the crew can stack shingles, store tools, and organize supplies. This is usually the driveway or a flat area of the yard. Confirm the location with your contractor beforehand so delivery trucks know where to unload.
Ensure contractor access to power and water. Most crews bring generators, but having an outdoor outlet available speeds things up. If they need water for cleanup, point out the nearest hose connection.
Establish parking zones for crew vehicles. A typical roofing crew involves 3-6 workers, meaning multiple trucks. Discuss parking plans with your contractor and alert neighbors if crew vehicles will occupy street parking.
Pet safety during renovation is non-negotiable. Roofing work is loud, stressful for animals, and creates escape opportunities when workers go in and out. Keep pets indoors in a quiet room away from the work area, or consider boarding them for the day. Dogs often bolt through open gates when startled by noise.
Secure fencing and gates. Workers need access to your backyard but you don't want pets escaping or neighborhood kids wandering into a construction zone. Post signs if necessary.
Inform your neighbors well in advance of the project start date. Let them know when the project starts, how long it'll last, and that there will be noise and activity. You'll find neighbors typically appreciate advance warning rather than being surprised by construction noise. Some contractors provide notices for you—ask if they do.
Create a designated area for daily crew briefings and breaks. This keeps workers from spreading out across your property and gives you a predictable place to find the foreman with questions.
What to Expect the Week Before Your Roofing Renovation Starts
The final countdown to project kickoff involves several important steps. Don't assume your contractor will remind you of everything.
Schedule a final walkthrough with your contractor about a week before start date. Confirm all project details: materials, colors, timeline, payment schedule, and logistics. This is your last chance to make changes without delays or upcharges.
Material delivery typically happens 1-3 days before work begins. Confirm the delivery date and time. Someone should be home to direct the driver to the staging area. Materials are heavy—shingles for an average roof weigh 3-5 tons. Make sure the delivery location can handle the weight without damaging your driveway or lawn.
Review your site preparation checklist. Have you cleared the driveway? Moved vehicles? Trimmed branches? Covered landscaping? Protected attic items? The day before work starts is too late to realize you forgot something.
Establish communication protocols. Get your project manager's direct phone number. Understand how they'll notify you of changes, delays, or problems. Will they knock on your door each morning, or should you expect a text? Clear communication prevents frustration.
Create a list of emergency contacts for any unexpected situations. This includes your contractor's after-hours number, your insurance agent, and any relevant utility companies.
Prepare your household for disruption. Stock up on groceries so you're not running errands during the messiest days. Warn family members about noise. Plan activities for young children away from home if possible.
Take "before" photos of your roof, yard, and any areas where you're concerned about potential damage. This documentation protects you if disputes arise about pre-existing conditions.
Confirm start time and crew arrival. Most roofing crews start early—7:00 or 8:00 AM is common. Know when to expect them so you're not surprised by hammering at dawn.
Common Mistakes Homeowners Make When Hiring Roofers
Author: Olivia Hartwel;
Source: johnhranec.com
Learning from others' mistakes is cheaper than making your own. Here are the pitfalls that trap homeowners repeatedly.
Choosing based on price alone is the classic blunder. The lowest bid often reflects cut corners, inferior materials, or lack of insurance—not efficiency. Get at least three quotes, but focus on value rather than the bottom line. A bid that's 30% lower than others deserves scrutiny, not celebration.
Skipping contract review leads to nasty surprises. Read every word before signing. The contract should specify materials (brand and model), project timeline, payment schedule, warranty terms, and cleanup procedures. Vague contracts favor the contractor when disputes arise.
Not verifying insurance seems like paranoia until an uninsured worker gets hurt on your property. Request current insurance certificates and contact the insurance provider directly to confirm coverage. Call the insurance company and confirm the policy is active and covers the work being done.
Paying too much upfront eliminates your leverage. Once a contractor has most of your money, what's their incentive to finish on time or fix problems? Standard practice is 10-25% down, with the bulk due upon satisfactory completion.
Ignoring red flags because you like the salesperson is emotional decision-making. Charm doesn't install roofs—competence does. If something feels off during the vetting process, trust your instincts.
Failing to get everything in writing is asking for trouble. Verbal promises are worthless when problems arise. Every agreement, change order, and warranty should be documented.
Not checking references is pure laziness. Calling three previous customers takes 20 minutes and can save you thousands. Ask specific questions: Did they finish on time? How was communication? Did they clean up properly? Would you hire them again?
Here's a comparison of warning signs versus positive indicators when evaluating contractors:
| Warning Signs to Watch For | Positive Indicators of Quality |
| Insists on large cash payments before starting | Accepts reasonable initial deposit (10-25%) |
| Operates without a permanent business location | Maintains established local office and showroom |
| Creates urgency to sign contracts immediately | Allows time for careful review and comparison |
| Unable to produce valid insurance certificates | Provides and helps verify insurance documentation |
| Presents unclear or ambiguous contract terms | Offers detailed, comprehensive written agreements |
| Suggests waiving your insurance deductible | Honestly explains insurance claim procedures |
| Cannot supply recent local references | Willingly shares multiple recent local references |
| Relies on aggressive sales tactics | Focuses on education and answering questions |
| Expects full payment before finishing work | Structures payments around project milestones |
| Lacks manufacturer certifications | Maintains current manufacturer certifications |
FAQ: Roofing Contractor Questions Answered