
Build in the Right Order
How to Finish a Basement?

Content
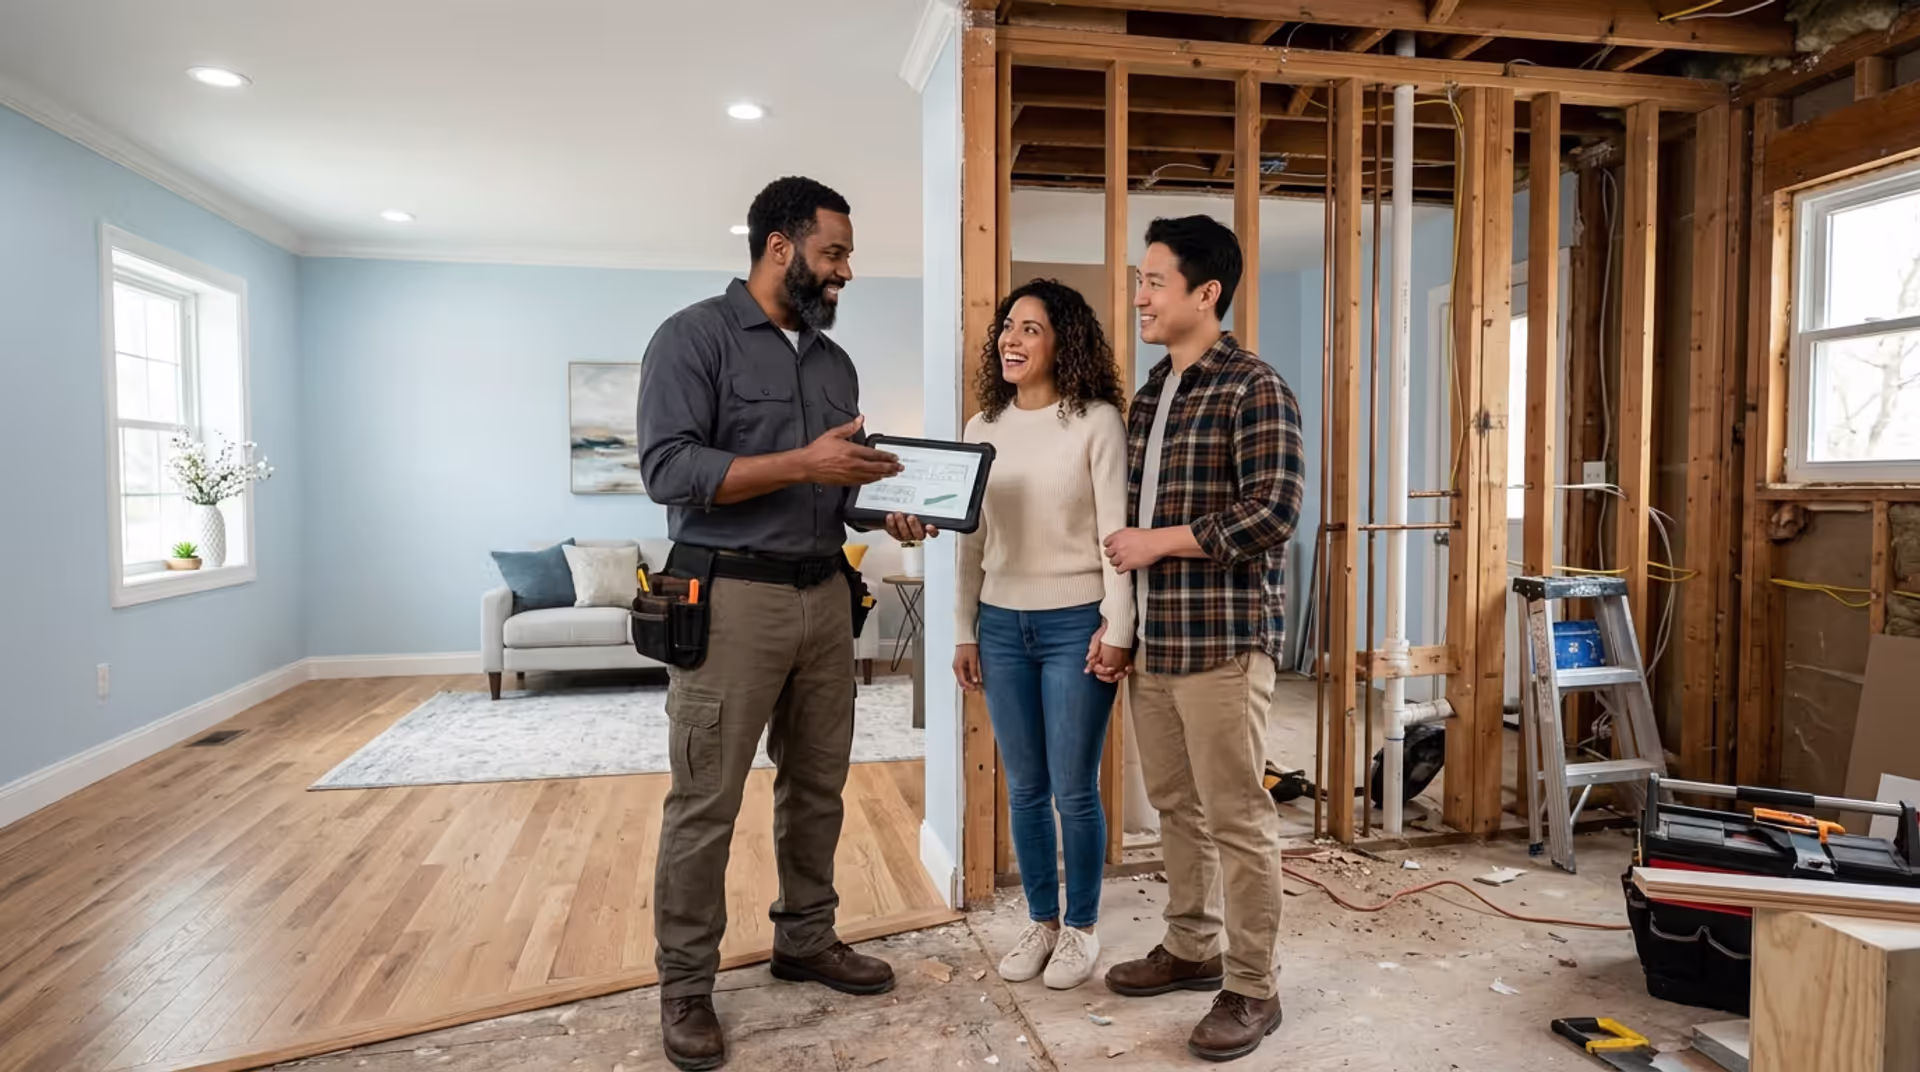
Transforming your unfinished basement into livable space can add hundreds of square feet to your home without the cost of building an addition. But basement finishing isn't just about throwing up some drywall and calling it done. It's a process that requires careful planning, attention to building codes, and realistic expectations about time and budget. Whether you're dreaming of a cozy family room, a home office, or a rental suite, understanding what's involved will help you avoid costly mistakes and create a space you'll actually use. Let's break down everything you need to know to turn that concrete cave into your favorite room in the house.
What Is a Finished Basement and Why Finish Yours?
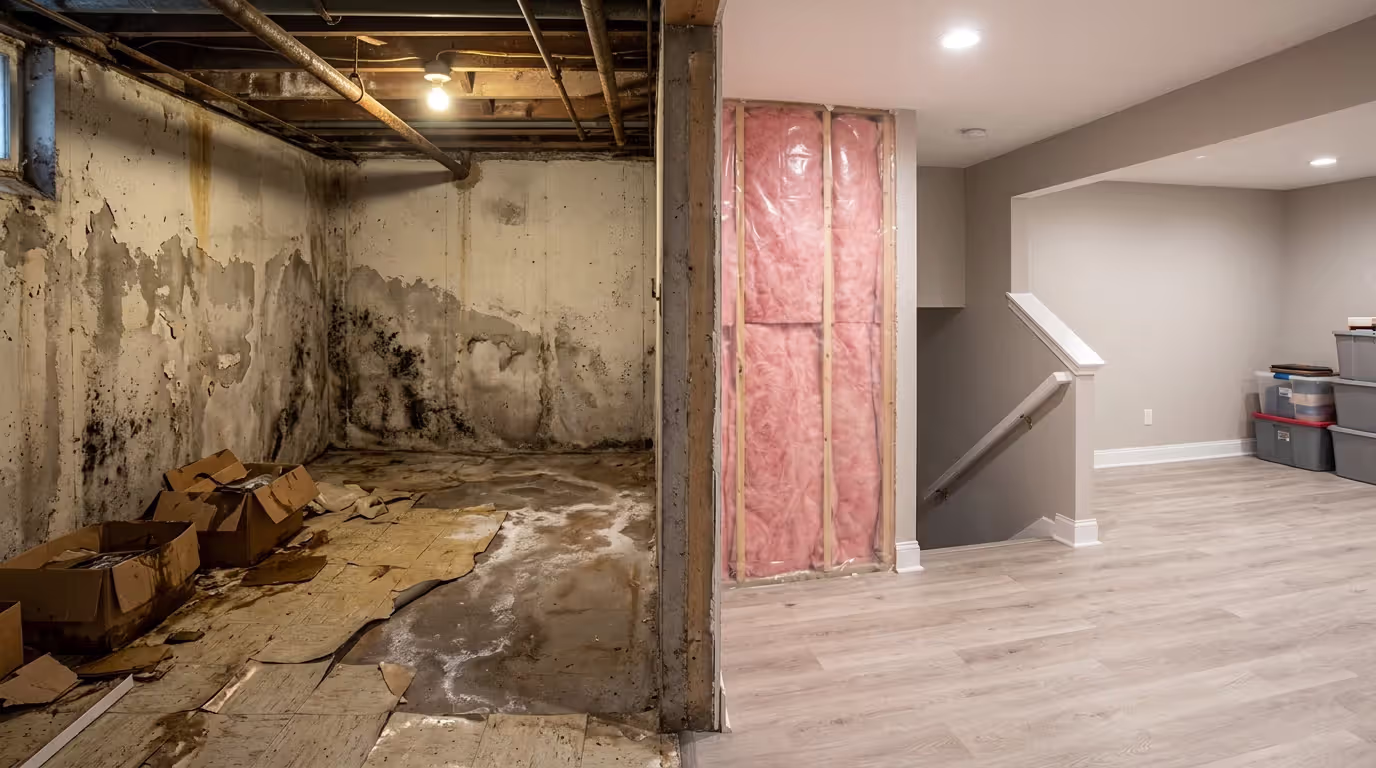
A finished basement means more than just a coat of paint on concrete walls. It's a space with proper insulation, climate control, finished walls and ceilings, flooring, and adequate lighting. Building codes typically require egress windows, proper ceiling height (usually at least 7 feet), and electrical systems that meet current standards.
An unfinished basement, by contrast, usually features exposed joists, concrete floors, visible ductwork, and minimal lighting. It's functional for storage or laundry, but that's about it.
Why bother finishing yours? The reasons stack up quickly.
You gain usable square footage without expanding your home's footprint. A 600-square-foot basement becomes a guest suite, playroom, or home gym. That's space you're already paying to heat and maintain.
Home value increases too. Most basement finishing projects recoup 70-75% of their cost at resale, according to 2025 remodeling data. In markets where square footage drives pricing, a finished basement can make your home significantly more competitive.
The functional benefits matter just as much. Remote work pushed many homeowners to finish basements for dedicated office space. Others create rental units for extra income or in-law suites for aging parents. Some just want a place where the kids can make noise without disrupting the whole house.
One caveat: not every basement should be finished. Chronic moisture issues, low ceiling height (under 7 feet), or structural problems can make finishing impractical or impossible without major remediation work.
Basement Finishing Steps You Need to Follow
Basement finishing follows a logical sequence. Skip steps or do them out of order, and you'll create headaches later.
Author: Nathan Cole;
Source: johnhranec.com
Inspect for Moisture, Structural Issues, and Code Requirements
Start here. Always.
Check for water intrusion by examining walls for efflorescence (white, chalky deposits), staining, or musty odors. Run a dehumidifier for a few weeks and monitor moisture levels. They should stay below 50% relative humidity.
Look at your foundation walls for cracks wider than 1/8 inch. Hairline cracks are normal, but larger ones need professional evaluation. Bowing or leaning walls signal serious structural issues that must be addressed before finishing.
Measure ceiling height at multiple points. Most codes require 7 feet minimum, though some jurisdictions allow 6'8" in specific areas. If you're borderline, consider lowering the floor rather than the ceiling—it's often easier.
Contact your local building department early. Ask about permit requirements, required inspections, and egress window specifications. Some jurisdictions require licensed contractors for electrical or plumbing work, even if you're doing everything else yourself.
The pattern I see most often is homeowners skipping this inspection phase and discovering moisture problems after drywall is up. That's an expensive mistake.
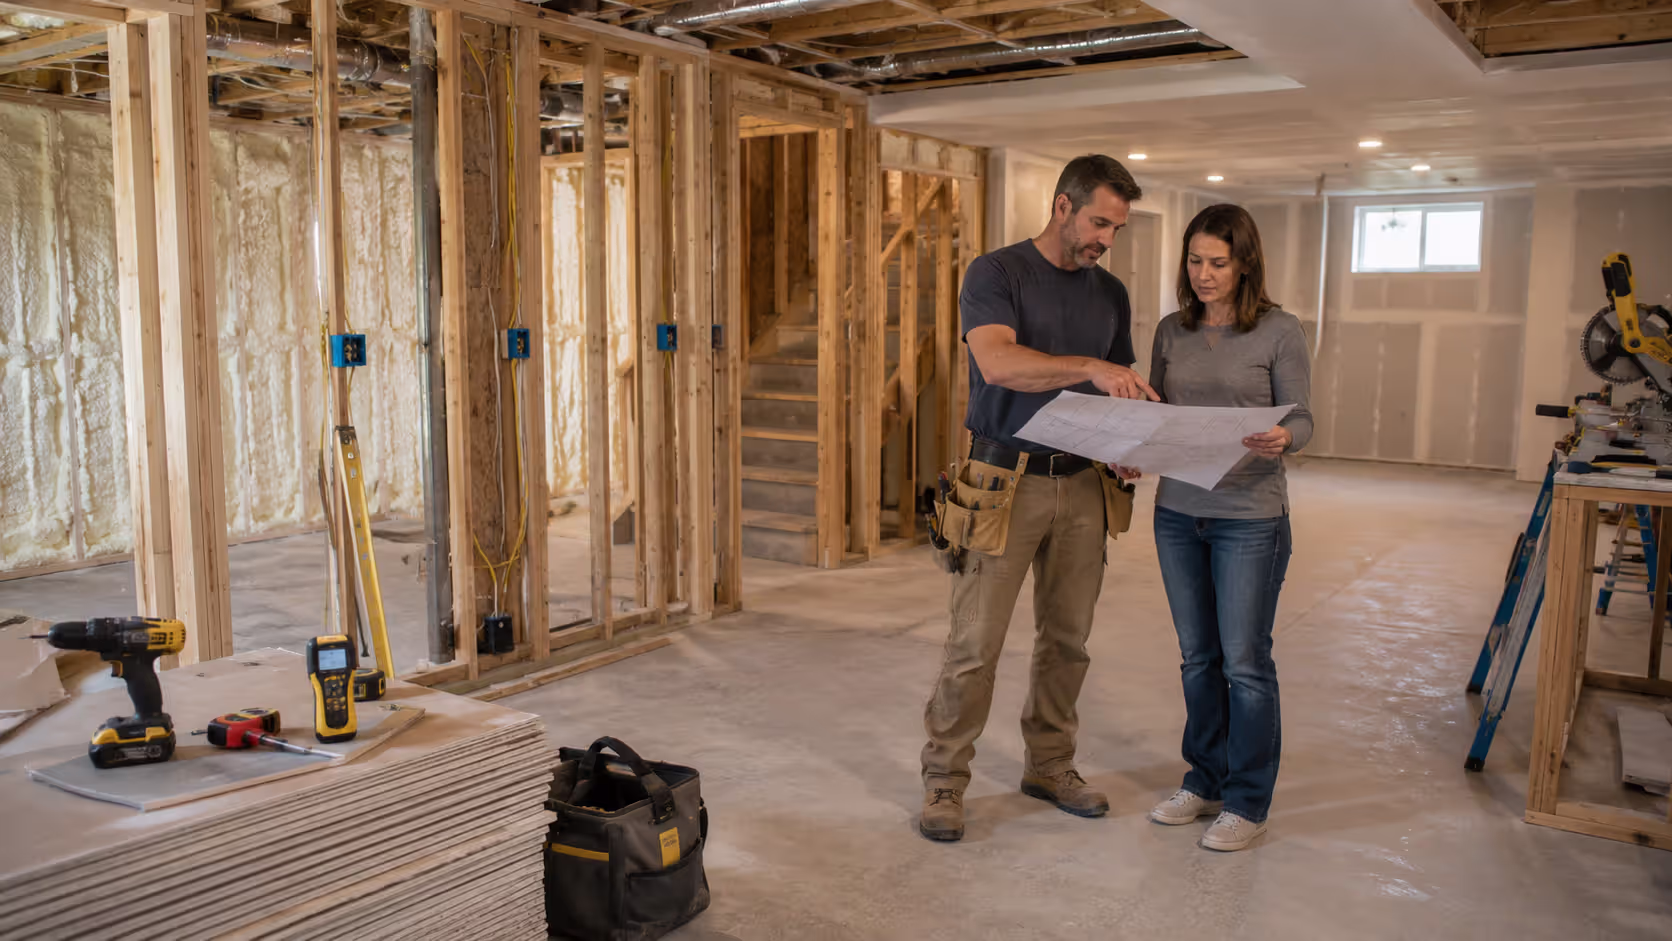
Plan Your Layout and Design
Now you get to the fun part. But don't just wing it.
Sketch your layout to scale. Mark permanent features like stairs, support columns, furnace, and water heater. Plan around them, not against them.
Consider egress requirements if you're adding bedrooms. Most codes require at least one egress window per sleeping room, with specific size requirements (typically 5.7 square feet of opening, with no dimension less than 24 inches).
Think about traffic flow. Basement stairs usually land in the middle of the space, creating natural zones on either side. Use that to your advantage.
Plan electrical outlets before framing. You'll want more than you think—figure at least one outlet every 12 feet of wall space, plus dedicated circuits for entertainment systems or home office equipment.
Account for mechanical systems. That furnace needs clearance for maintenance and airflow. Water heaters require access. Don't box yourself into a corner where you can't service equipment.
Install Framing, Insulation, and Drywall
Framing creates the bones of your finished space.
Most basement walls use 2x4 framing with foam insulation board against concrete, followed by fiberglass batts between studs. This creates both insulation value and a thermal break that prevents condensation.
Leave a small gap (1/2 inch) between your bottom plate and the concrete floor. Use pressure-treated lumber for bottom plates and consider a capillary break like sill seal. This protects against moisture wicking up from concrete.
Frame walls straight and plumb, even if your foundation walls aren't. Use a laser level and don't assume anything is square.
Install insulation according to local code requirements. Many jurisdictions now require R-15 or higher for basement walls. Closed-cell spray foam costs more but provides both insulation and moisture barrier in one step.
Drywall goes up after inspections. Use mold-resistant drywall in basements—it costs slightly more but provides insurance against moisture issues. Standard 1/2-inch thickness works for walls; ceilings often require 5/8-inch for fire rating.
Add Electrical, Plumbing, and HVAC
These systems require permits and inspections in most areas. Don't skip them.
Electrical work includes outlets, lighting, and switches. Plan for plenty of outlets—modern life runs on electricity. Include USB outlets in convenient locations and consider whole-room surge protection.
Lighting matters more in basements than anywhere else. Natural light is limited, so plan for layered lighting: recessed cans for general illumination, task lighting for work areas, and accent lighting for ambiance.
Plumbing gets expensive fast. If you're adding a bathroom, locate it near existing plumbing to minimize costs. Ejector pumps are often necessary for below-grade plumbing—budget $800-1,500 for a quality system.
HVAC extends your existing system or adds supplemental heating and cooling. Most forced-air systems can handle the added load of a finished basement, but have an HVAC tech verify capacity before proceeding. Ductless mini-splits offer an alternative if your existing system is maxed out.
Finish Flooring, Ceilings, and Trim Work
Final finishes transform the space from construction zone to living area.
Flooring options for basements need moisture resistance. Luxury vinyl plank (LVP) is popular because it's waterproof, warm underfoot, and DIY-friendly. Engineered hardwood works if moisture is controlled. Carpet is comfortable but risky—any water intrusion means replacement.
Avoid solid hardwood, laminate, or bamboo in basements. They don't tolerate moisture fluctuations well.
Ceiling choices range from drywall to drop ceilings to exposed painted joists. Drywall looks cleanest but makes future access to mechanicals difficult. Drop ceilings sacrifice some height but provide easy access. Painted joists work if you have enough height (8+ feet) and embrace an industrial aesthetic.
Trim work includes baseboards, door casings, and any crown molding. Use primed MDF or PVC trim in basements rather than solid wood—it's more stable in humidity fluctuations.
The biggest mistake I see homeowners make is treating basement finishing like above-grade remodeling. Basements have unique moisture and ventilation requirements that you simply can't ignore. Proper moisture management isn't optional—it's the foundation of every successful basement project.
— Richardson Mike
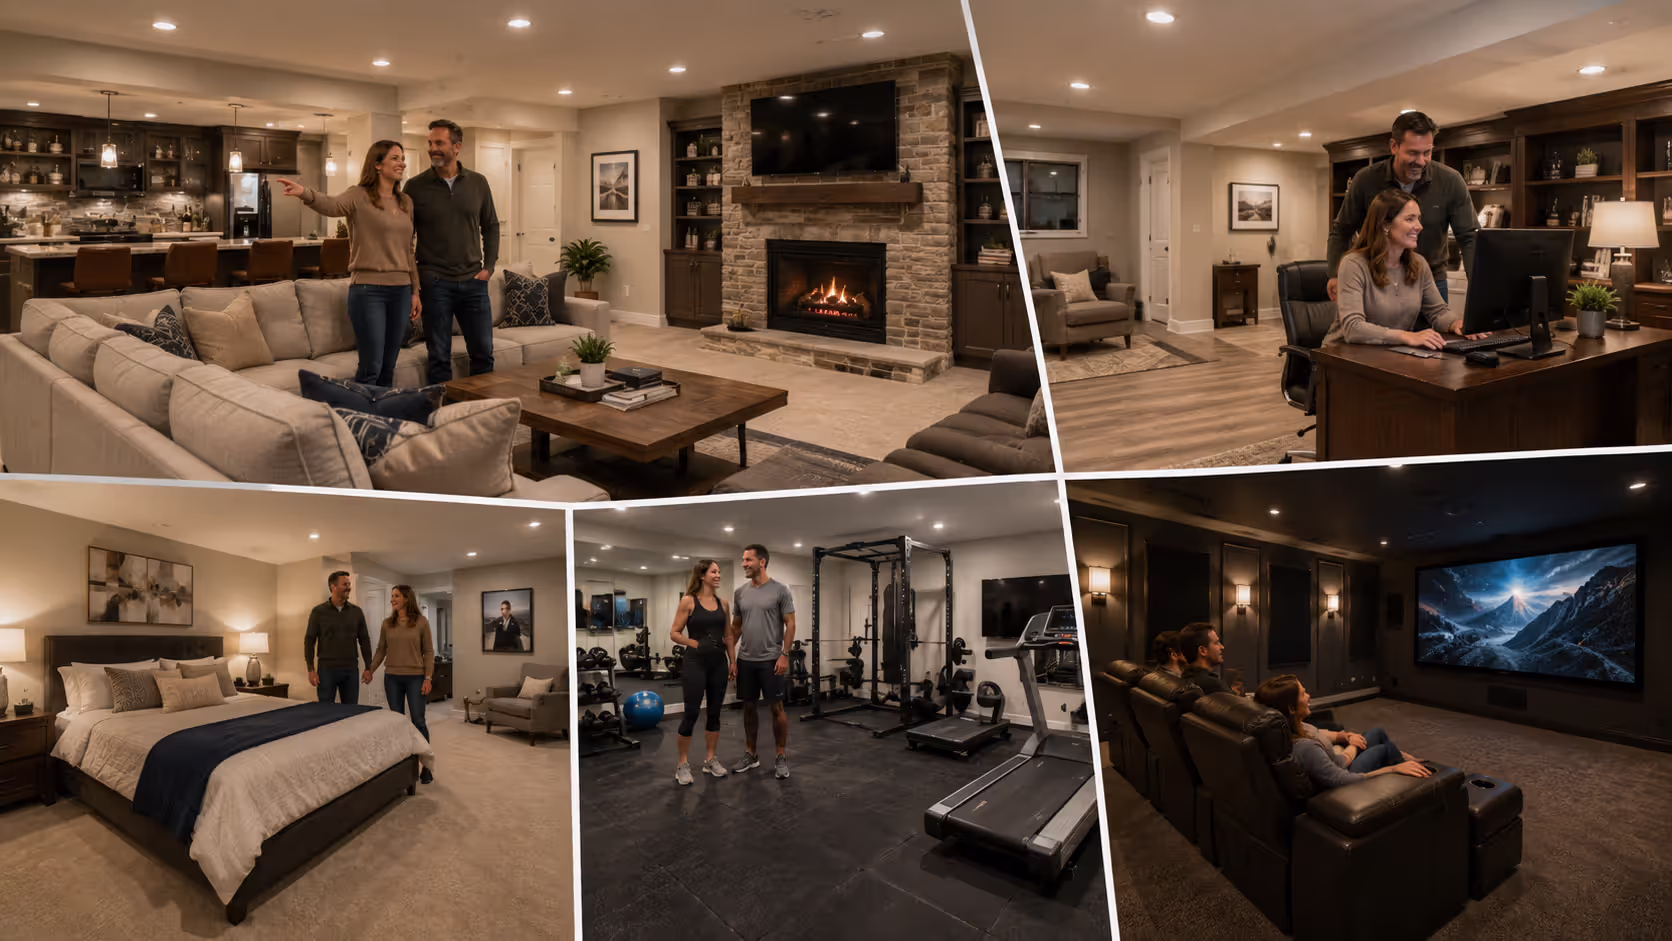
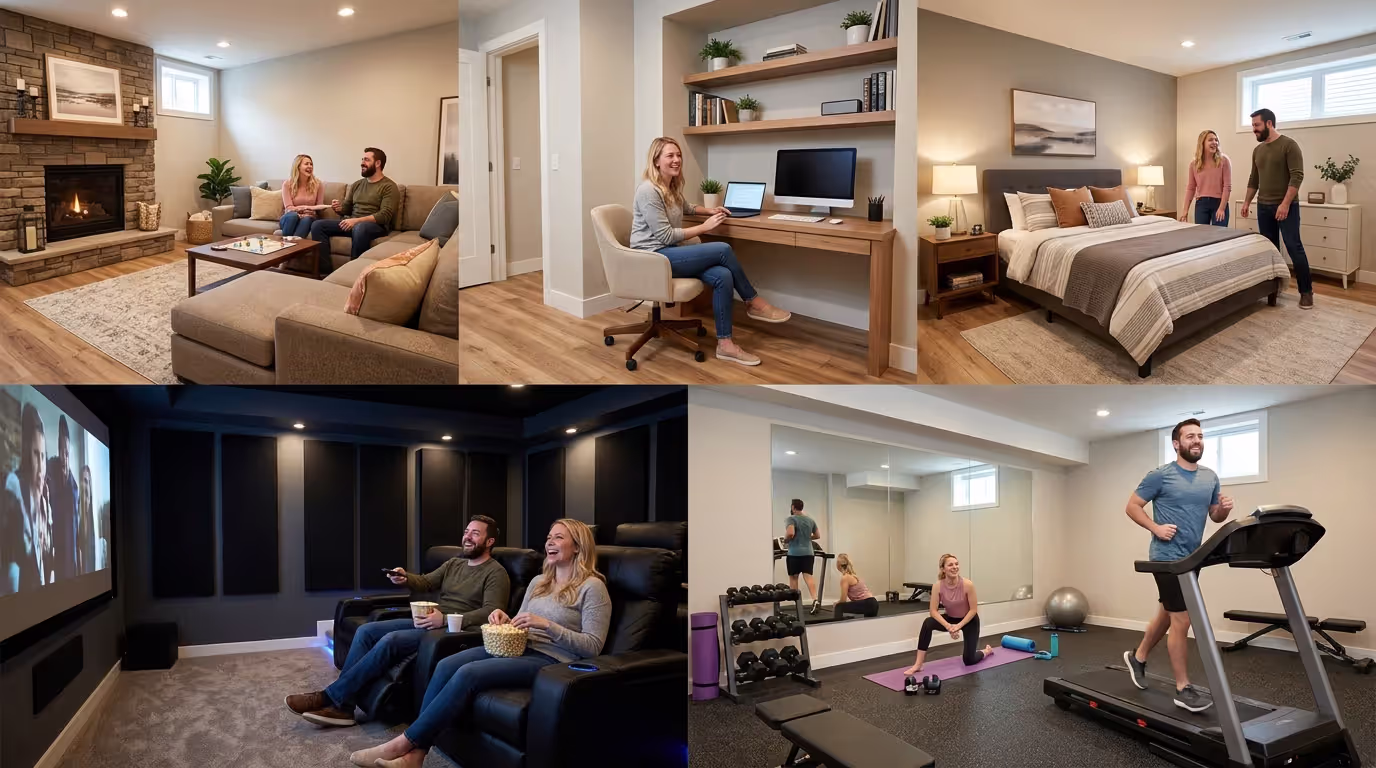
Basement Layout Ideas for Different Uses
Your basement layout should match how you'll actually use the space. Here's how different uses shape design decisions.
Family rooms need open floor plans with comfortable seating, good lighting, and entertainment systems. Keep sight lines open and avoid chopping the space into tiny rooms. Budget for quality soundproofing if you have bedrooms above—nobody wants to hear movie explosions at 10 PM.
Home offices require dedicated electrical circuits, excellent lighting, and separation from household noise. Position desks near windows if possible. Include plenty of outlets and plan for cable management. A door that closes is non-negotiable if you take video calls.
Guest suites need a bedroom, bathroom, and egress window. Add a small sitting area or kitchenette if space allows. Privacy matters here—locate guest spaces away from noisy mechanicals.
Home gyms benefit from rubber flooring, mirrors, and ventilation. Keep ceiling height in mind for exercises like overhead presses. Locate near a bathroom if possible. Dedicate circuits for treadmills or other equipment that draws heavy power.
Home theaters require controlled lighting, acoustic treatments, and tiered seating if space allows. Dark colors help with light control. Plan for extensive electrical and low-voltage wiring.
Here's how these layouts compare:
| Use Case | Minimum Sq Ft | Typical Features | Cost Range | Best For |
| Family Room | 300-500 | Open layout, TV area, seating | $20,000-35,000 | Daily use, gathering space |
| Home Office | 120-200 | Desk area, storage, door | $15,000-25,000 | Remote workers, quiet workspace |
| Guest Suite | 400-600 | Bedroom, bathroom, egress window | $35,000-60,000 | Frequent guests, rental income |
| Home Theater | 250-400 | Tiered seating, acoustic panels, AV system | $30,000-75,000 | Movie enthusiasts, entertainment |
| Home Gym | 200-400 | Rubber flooring, mirrors, ventilation | $18,000-30,000 | Fitness focus, equipment storage |
| Rental Unit | 600-900 | Kitchen, bathroom, separate entry | $50,000-90,000 | Income generation, in-law suite |
These numbers assume mid-range finishes and DIY labor where possible. Contractor-led projects typically add 30-50% to costs.
Author: Nathan Cole;
Source: johnhranec.com
Should You Finish Your Basement Yourself or Hire a Pro?
This question comes down to skills, time, and tolerance for complexity.
DIY finishing can save 40-60% on labor costs. For a $40,000 contractor-led project, you might spend $20,000-25,000 doing it yourself. That's real money.
But you need realistic skills. Framing, drywall, and painting are learnable with YouTube and patience. Electrical and plumbing require more expertise—and permits often mandate licensed professionals for these trades.
Time matters too. A contractor might finish your basement in 6-8 weeks. DIY projects often stretch to 6-8 months of weekends and evenings. Can you live with construction that long?
Permits and inspections apply regardless of who does the work. Don't skip them. Unpermitted work can tank a home sale and void insurance claims.
Common DIY mistakes include:
Ignoring moisture issues. That damp smell won't fix itself. Address water problems before finishing, not after.
Inadequate framing. Walls need to be straight and plumb. Sloppy framing means crooked walls and doors that don't close.
Poor electrical planning. Outlets every 12 feet minimum. Dedicated circuits for heavy loads. GFCI protection where required.
Skipping insulation. Uninsulated basements are cold in winter and waste energy year-round.
Inadequate lighting. Basements need more light than you think. Plan for at least 50-75 lumens per square foot.
A hybrid approach works well. Hire pros for electrical, plumbing, and HVAC. Handle framing, drywall, painting, and trim yourself. You save money on the labor-intensive but lower-skill work while ensuring critical systems meet code.
The simpler option usually wins here. If you're handy and have time, DIY saves money. If you're busy or inexperienced, hire it out. A contractor-finished basement beats an abandoned DIY project every time.
Author: Nathan Cole;
Source: johnhranec.com
Basement Renovation Planning Checklist
Proper planning prevents most basement finishing disasters. Work through this checklist before you start swinging hammers.
Budget planning: Get three contractor quotes even if you're DIYing—they provide reality checks on costs. Add 15-20% contingency for surprises. They always happen. Track spending carefully and adjust plans if you're running over.
Timeline expectations: Contractor projects take 6-12 weeks depending on complexity. DIY projects take 3-6 months realistically. Factor in permit approval time (2-4 weeks in most areas) and inspection scheduling.
Permits and inspections: Contact your building department early. Ask what permits you need and when inspections occur. Typical inspection points include framing, electrical rough-in, plumbing rough-in, insulation, and final. Schedule inspections before covering work—you can't inspect electrical after drywall is up.
Material selection: Choose materials appropriate for below-grade conditions. Moisture resistance matters. Shop sales at big-box stores but don't cheap out on critical items like insulation or moisture barriers.
Design software tools: Free tools like SketchUp or RoomSketcher help visualize layouts. Even simple graph paper sketches help. Measure twice, build once.
Temporary living arrangements: Finishing a basement is disruptive. Dust travels upstairs. Noise happens during work hours. Plan accordingly if you work from home or have young kids.
Material delivery and storage: Drywall, lumber, and other materials need dry storage. Don't have it delivered until you're ready to use it. Moisture damage before installation wastes money.
Common Basement Finishing Mistakes and How to Avoid Them
Author: Nathan Cole;
Source: johnhranec.com
Learn from others' expensive lessons.
Ignoring moisture issues. Water always wins. Fix drainage problems, install proper vapor barriers, and ensure good ventilation before finishing. A dehumidifier isn't a substitute for proper moisture management.
Test for moisture by taping plastic sheets to concrete walls for 48 hours. If condensation appears underneath, you have moisture issues to address.
Improper insulation. Basement insulation needs a vapor barrier on the warm side (interior) to prevent condensation inside wall cavities. Foam board against concrete followed by fiberglass batts works well. Don't use faced insulation against concrete—it traps moisture.
Code violations. Egress windows in bedrooms aren't optional. Minimum ceiling heights matter. Electrical outlets need proper spacing and GFCI protection where required. Inspectors will make you tear out non-compliant work.
Poor lighting. Dark basements feel like dungeons. Plan for 50-75 lumens per square foot. Use multiple light sources at different heights. Include dimmer switches for flexibility.
Inadequate egress. Bedrooms need escape routes. Egress windows must meet size requirements and be operable from inside without tools or keys. Window wells need proper drainage and ladders if they're deep.
Covering mechanicals. Don't box in your furnace, water heater, or electrical panel. They need access for maintenance and replacement. Plan removable panels or adequate clearance.

Author: Nathan Cole;
Source: johnhranec.com
Ignoring sound transmission. Sound travels through floors. Use acoustic insulation in ceiling joists if noise matters. Resilient channels under drywall help too.
Rushing the project. Basement finishing isn't a weekend project. Take time to do it right. Mistakes are expensive to fix after drywall is up.
FAQ: Basement Finishing Questions Answered
Finishing your basement adds valuable living space and transforms an underutilized area into a functional part of your home. But success requires careful planning, realistic budgeting, and attention to details that matter in below-grade spaces.
Start with moisture management. It's not glamorous, but it's the foundation of every successful basement project. Test for water intrusion, fix drainage issues, and install proper vapor barriers before finishing anything else.
Follow logical steps: inspect, plan, frame, install systems, finish surfaces. Skipping steps or rushing through them creates problems that are expensive to fix later.
Choose your involvement level honestly. DIY saves money but demands time and skills. Hiring professionals costs more but delivers faster results and peace of mind. A hybrid approach often makes sense—handle what you can, hire experts for specialized work.
Budget realistically and add contingency funds. Basements always present surprises once you start opening walls or digging into existing systems. Having financial buffer prevents projects from stalling halfway through.
Your finished basement can be whatever you need: a family gathering space, a quiet home office, a rental unit generating income, or a guest suite for visiting relatives. The key is planning for how you'll actually use the space rather than following generic designs that don't fit your lifestyle.
Take time to do it right. A well-finished basement adds value, functionality, and enjoyment for years to come. A rushed project creates headaches and regrets. The difference is planning, patience, and attention to the details that matter in below-grade spaces.