A Room Filled With Light
Sunroom Addition Guide for Homeowners

Content
Adding a sunroom to your home isn't just about extra square footage. It's about creating a space where indoor comfort meets outdoor views — a room that changes how you use your home every single day. Whether you're dreaming of morning coffee surrounded by garden views or a bright space for plants that actually thrive, a sunroom addition can deliver. But there's a lot to figure out before you break ground. Foundation requirements, permit processes, seasonal use limitations, and design choices all stack up quickly. This guide walks you through everything you need to know to plan a sunroom addition that fits your home, your budget, and your lifestyle.
What Is a Sunroom and Why Add One?
A sunroom is an enclosed living space with extensive glazing — typically floor-to-ceiling windows on three or more sides — designed to maximize natural light and outdoor views while providing shelter from weather. Unlike a standard room with a few windows, a sunroom's defining feature is its transparent or translucent walls that blur the line between inside and outside.
The term "sunroom" covers several variations. Some are simple glass enclosures attached to existing structures. Others are fully integrated additions with proper insulation, climate control, and foundations matching the main house. What ties them together is that glass-heavy design that floods the space with daylight.
Why add one? The benefits stack up fast.
You gain usable square footage without the full cost of a conventional addition. Sunrooms typically run 30-50% less per square foot than standard room additions because they use prefabricated window systems and simpler structural requirements.
Natural light improves mood and reduces energy costs during daylight hours. Studies consistently show that exposure to natural light regulates sleep patterns and boosts vitamin D production — benefits you'll get just by spending time in the space.
Home value gets a lift too. Real estate data from 2025 shows sunroom additions typically recoup 50-70% of their cost at resale, with higher returns in moderate climates where year-round use is practical. That's not a full return, but it's competitive with other mid-range renovations.
The lifestyle advantages matter most for many homeowners. A sunroom creates a dedicated space for activities that benefit from natural light: reading, indoor gardening, morning meals, yoga, or simply watching weather roll through without getting soaked. It's a buffer zone — neither fully indoors nor outdoors — that extends how you interact with your property through all seasons.
Types of Sunroom Additions
Not all sunrooms serve the same purpose. Your climate, budget, and intended use determine which type makes sense.
Three Season Sunrooms
Three season sunrooms are designed for use in spring, summer, and fall. They feature single-pane windows or minimal insulation and typically lack dedicated heating and cooling systems. The construction is lighter and less expensive than four season options.
These work best in moderate climates where winter temperatures don't regularly drop below freezing for extended periods. In practice, you'll use them from April through October in most northern states, and nearly year-round in southern regions with mild winters.
Cost savings are significant. Three season sunrooms typically run $15,000-$35,000 for a 200-square-foot space, depending on materials and finishes. The trade-off is seasonal limitation — you'll abandon the space during temperature extremes.
Common features include screen panels that open for ventilation, ceiling fans for air circulation, and simple flooring like tile or stained concrete that tolerates temperature swings. Many homeowners treat these as transitional spaces, furnishing them with weather-resistant pieces that can handle humidity fluctuations.
Four Season Sunrooms
Four season sunrooms function as true living spaces throughout the year. They include insulated glass (typically double or triple-pane), insulated walls and roof panels, and integration with your home's HVAC system or dedicated climate control.
The construction standards match your main house. You'll need proper insulation rated for your climate zone, sealed windows with low-E coatings to control heat transfer, and often a thermal break in the framing system to prevent condensation.
These cost substantially more — expect $35,000-$80,000 for that same 200-square-foot space, with high-end versions pushing past $100,000. But you're building a permanent room, not a seasonal porch. It adds to your heated square footage and can serve any function: home office, dining area, living room extension, bedroom.
The pattern I see most often is homeowners initially planning a three season room to save money, then regretting that choice after a few years when they realize how much they'd use a climate-controlled space. If your budget allows, four season construction usually proves worth the extra investment.
Author: Caleb Norton;
Source: johnhranec.com
Sunroom vs Enclosed Porch
These terms get used interchangeably, but there are practical differences.
An enclosed porch typically starts as an open porch that gets fitted with windows and screens. The foundation and roof already exist — you're just adding walls. This limits design options but reduces costs significantly, often $8,000-$20,000 for basic enclosure.
A sunroom addition is usually built from scratch with a dedicated foundation and roof structure designed specifically for the glass-heavy walls. This allows better proportions, more glass area, and integration with your home's architecture.
Enclosed porches often retain porch features like exposed rafters, tongue-and-groove ceilings, and deck flooring. Sunrooms tend toward finished interiors that match your home's other rooms.
Building codes sometimes distinguish between them too. Many jurisdictions have relaxed requirements for "seasonal structures" like screened porches but require full building permits and inspections for heated, year-round sunrooms. Check your local rules before assuming you can take shortcuts.
| Feature | Three Season Sunroom | Four Season Sunroom |
| Window Type | Single-pane or minimal insulation | Double or triple-pane insulated glass |
| Insulation | Minimal or none | Full insulation in walls and roof |
| HVAC | Ceiling fans, portable heaters | Integrated with home system or dedicated unit |
| Use Period | Spring through fall (7-9 months) | Year-round (12 months) |
| Typical Cost Range | $15,000-$35,000 | $35,000-$80,000+ |
| Best For | Moderate climates, seasonal use | All climates, daily living space |
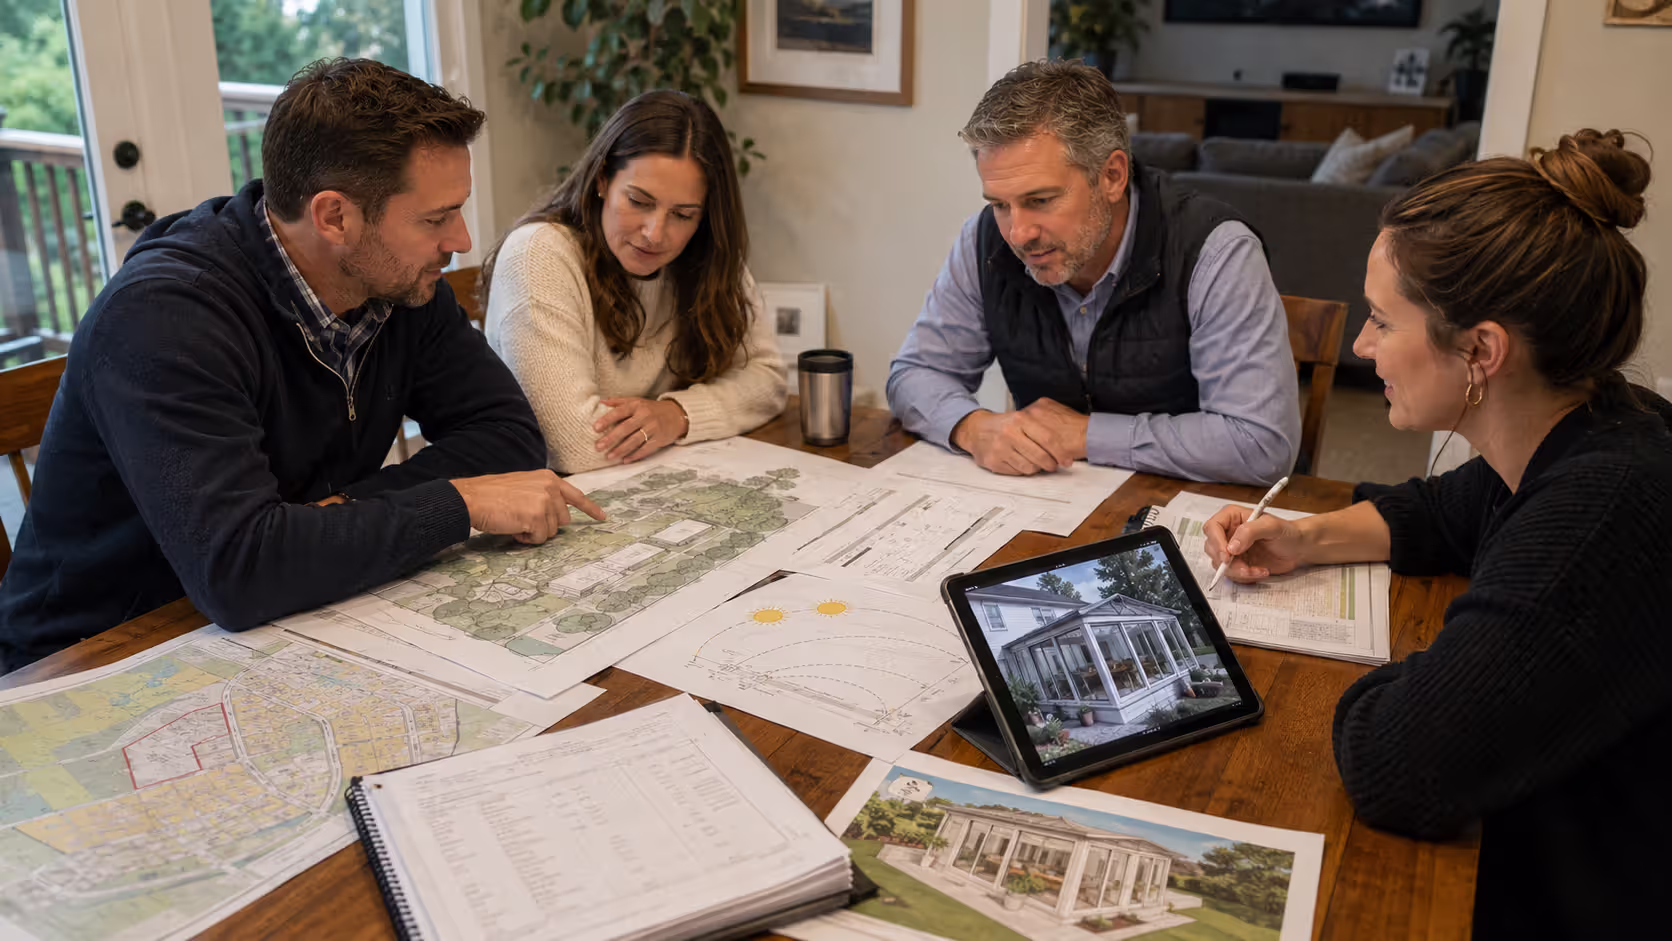
Planning Your Sunroom Addition
Author: Caleb Norton;
Source: johnhranec.com
Good planning prevents expensive mistakes. Start with site selection.
Location matters more than you'd think. South-facing sunrooms get maximum winter sun but can overheat in summer without proper shading. North-facing rooms receive consistent, indirect light but stay cooler — great for plant rooms or home offices where glare is a problem. East-facing sunrooms capture morning light, while west-facing spaces get afternoon sun and potential heat buildup.
Most homeowners choose the back of the house for privacy and yard views. But don't automatically dismiss side or front locations if they offer better solar orientation or easier foundation access.
Size considerations start with function. A breakfast nook needs 100-120 square feet minimum. A living space extension wants 200-300 square feet. Go smaller than 100 square feet and the room feels cramped once you add furniture; much larger than 400 square feet and heating/cooling costs spike.
Proportion matters too. Long, narrow sunrooms (8×20 feet) feel awkward and limit furniture arrangement. Closer to square proportions (12×15 feet) work better for most uses.
Zoning and setback requirements can kill your project before it starts. Most municipalities require structures to sit a certain distance from property lines — typically 5-10 feet for side yards, 10-25 feet for rear yards. Corner lots often have stricter rules.
Call your local building department before you fall in love with a design. Ask specifically about:
- Minimum setbacks from property lines
- Maximum lot coverage percentages
- Height restrictions
- Whether sunrooms count as "habitable space" (which triggers stricter codes)
HOA rules add another layer. Many associations require architectural review and approval before any exterior addition. Some restrict glass percentage, roof styles, or even prohibit sunrooms entirely. Get written approval before signing contracts.
One common mistake: assuming you can build right up to your lot line because your neighbor's garage is already there. Setbacks apply regardless of existing structures, and variances are harder to get than most people expect.
The biggest mistake homeowners make is choosing the location based on convenience rather than sun exposure and views. You'll use a well-positioned sunroom every day; a poorly positioned one becomes expensive storage space within a year. Spend time in your yard at different times of day before you decide where to build.
— Patterson Michael
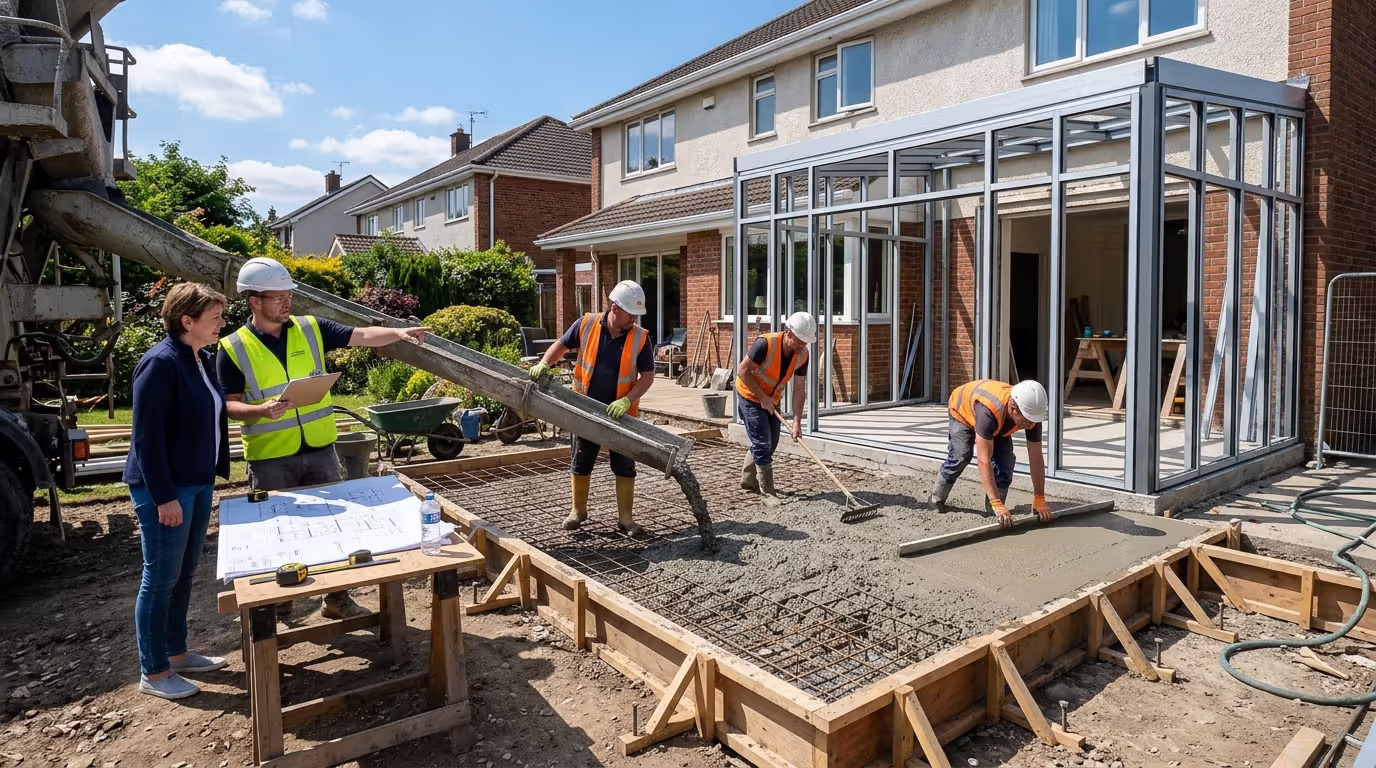
Foundation and Construction Requirements
Your sunroom needs solid footing. The foundation type affects cost, timeline, and long-term performance.
Slab foundations pour a concrete pad directly on graded soil. This is the most common choice for sunroom additions. Concrete gets poured 4-6 inches thick with reinforcing mesh, typically with a thickened edge that extends below the frost line (18-48 inches deep depending on your region).
Slabs work well on stable soil and level sites. They're relatively quick to install — often completed in 2-3 days including cure time — and cost $4-$8 per square foot. The main limitation is that you can't run plumbing or electrical through the floor easily, so plan utility runs through walls instead.
Crawl space foundations create a raised floor system with a 2-4 foot space underneath. Concrete footings support piers or foundation walls, with floor joists spanning between them. This approach costs more — typically $8-$15 per square foot — but offers benefits.
You gain access to run utilities. The raised floor provides better drainage on sloping sites. And in flood-prone areas, elevation above grade can satisfy insurance requirements.
The downside is construction time. Crawl space foundations add a week or more to your project timeline.
Deck-mounted installations attach directly to an existing deck structure. This only works for lightweight three season sunrooms, and your deck must be engineered to handle the additional load. Most residential decks aren't built for this — they're designed for live loads (people and furniture) not permanent structures with snow loads and wind resistance.
You'll need a structural engineer to evaluate your deck and likely require reinforcement. Even then, many building departments won't permit heated sunrooms on deck foundations due to code requirements for frost-protected footings.
Permit requirements vary by state and municipality, but some patterns hold across most jurisdictions.
You'll definitely need permits for:
- Any sunroom with a permanent foundation
- Additions over 120-200 square feet (threshold varies)
- Four season sunrooms connected to your home's HVAC
- Any structure requiring electrical or plumbing work
You might avoid permits for:
- Small screen enclosures under 100 square feet
- Temporary structures not attached to the house
- Simple deck covers without walls
Don't skip permits to save money. Unpermitted additions create problems when you sell — buyers' lenders often require disclosure, and you may need to remove the structure or retroactively permit it (which costs more and isn't always possible). Plus, your homeowner's insurance may not cover damage to unpermitted structures.
Structural needs go beyond the foundation. Sunrooms create point loads where they attach to your house. The existing wall may need reinforcement with a header beam to carry roof loads. If you're removing a window or door to create access, that opening needs proper structural support.
Roof attachment is critical. Your sunroom roof must tie into the existing structure to resist wind uplift. This typically requires removing several courses of siding, installing a ledger board bolted to wall studs or rim joists, and flashing everything properly to prevent water intrusion.
| Foundation Type | Best For | Cost Range | Pros | Cons |
| Concrete Slab | Level sites, stable soil, most climates | $4-$8/sq ft | Quick installation, solid support, cost-effective | Limited utility access, requires proper site prep |
| Crawl Space | Sloped sites, utility access needs, flood zones | $8-$15/sq ft | Utility access, works on slopes, better drainage | Higher cost, longer construction time |
| Deck-Mounted | Existing decks, three season rooms only | $2-$5/sq ft | Uses existing structure, lowest cost | Load limitations, not suitable for four season rooms, permit challenges |
Author: Caleb Norton;
Source: johnhranec.com
Sunroom Design Ideas and Features
Design choices transform a glass box into a room you'll actually use.
Windows and glazing define the space. You'll choose between several options.
Standard glass panels in aluminum or vinyl frames offer the most affordable approach. For three season rooms, single-pane glass with thermal breaks in the frames works fine. Four season installations need double-pane insulated glass minimum, with low-E coatings to reflect heat in summer and retain it in winter.
Tempered glass is required by code for panels within 18 inches of the floor or door openings. It costs 20-30% more than standard glass but shatters into small, relatively harmless pieces instead of dangerous shards.
Some sunrooms incorporate operable windows for ventilation — typically every third or fourth panel. This adds cost but makes a huge difference in shoulder seasons when you want fresh air without full climate control.
Tinted or reflective glass helps control heat gain in south and west-facing rooms. Bronze or gray tints reduce visible light by 30-50% while cutting solar heat transmission even more. The trade-off is darker interiors, which defeats the purpose for some homeowners.
Flooring choices need to handle temperature swings and direct sunlight.
Tile and stone are popular for good reason. They're durable, easy to clean, and won't fade or warp from sun exposure. Porcelain tile costs $3-$8 per square foot installed and comes in styles mimicking wood, concrete, or natural patterns.
Luxury vinyl plank (LVP) has become a go-to for four season sunrooms. It's warmer underfoot than tile, resists moisture, and costs $4-$7 per square foot installed. Make sure you choose a product rated for sun exposure — some vinyl products fade or discolor in direct UV light.
Avoid carpet and solid hardwood. Carpet traps moisture and fades quickly in sunlight. Hardwood expands and contracts with temperature and humidity changes, leading to gaps and cupping. If you want a wood look, engineered hardwood or LVP are better choices.
HVAC integration determines comfort levels.
Four season sunrooms need climate control. You have three options: extend your existing HVAC system with additional ductwork, install a mini-split system, or use electric baseboard heat with a window AC unit.
Extending existing HVAC is cheapest if your system has capacity to spare. Most don't — adding 200 square feet of glass-heavy space can overload a system sized for your original house. Have an HVAC contractor calculate load requirements before assuming this will work.
Mini-split systems are purpose-built for additions. A single outdoor compressor connects to one or more indoor air handlers mounted on walls or ceiling. They're efficient, quiet, and don't require ductwork. Expect $3,000-$6,000 installed for a single-zone system adequate for most sunrooms.
Lighting design should layer ambient, task, and accent sources.
Recessed ceiling lights provide general illumination for evening use. Space them 4-6 feet apart for even coverage. Dimmable LEDs let you adjust brightness to match natural light levels.
Add task lighting where you'll read or work — floor lamps, table lamps, or under-cabinet strips if you include built-in storage.
Accent lighting highlights plants or architectural features. Small spotlights or LED strip lighting create visual interest after dark.
Don't over-light the space. One common mistake is installing too many fixtures because you're used to rooms with limited natural light. A sunroom needs less artificial light than standard rooms — you're just supplementing after sunset.
Furniture layout works best when you respect the view.
Arrange seating to face the best sight lines. In a room with three glass walls, place your main seating against the solid wall facing outward rather than in the center facing back toward the house.
Keep furniture lightweight and movable. Sunrooms benefit from flexibility — you might want different arrangements for summer parties versus winter reading sessions.
Choose weather-resistant fabrics if you're building a three season room. Indoor/outdoor upholstery resists moisture and fading better than standard furniture fabrics.
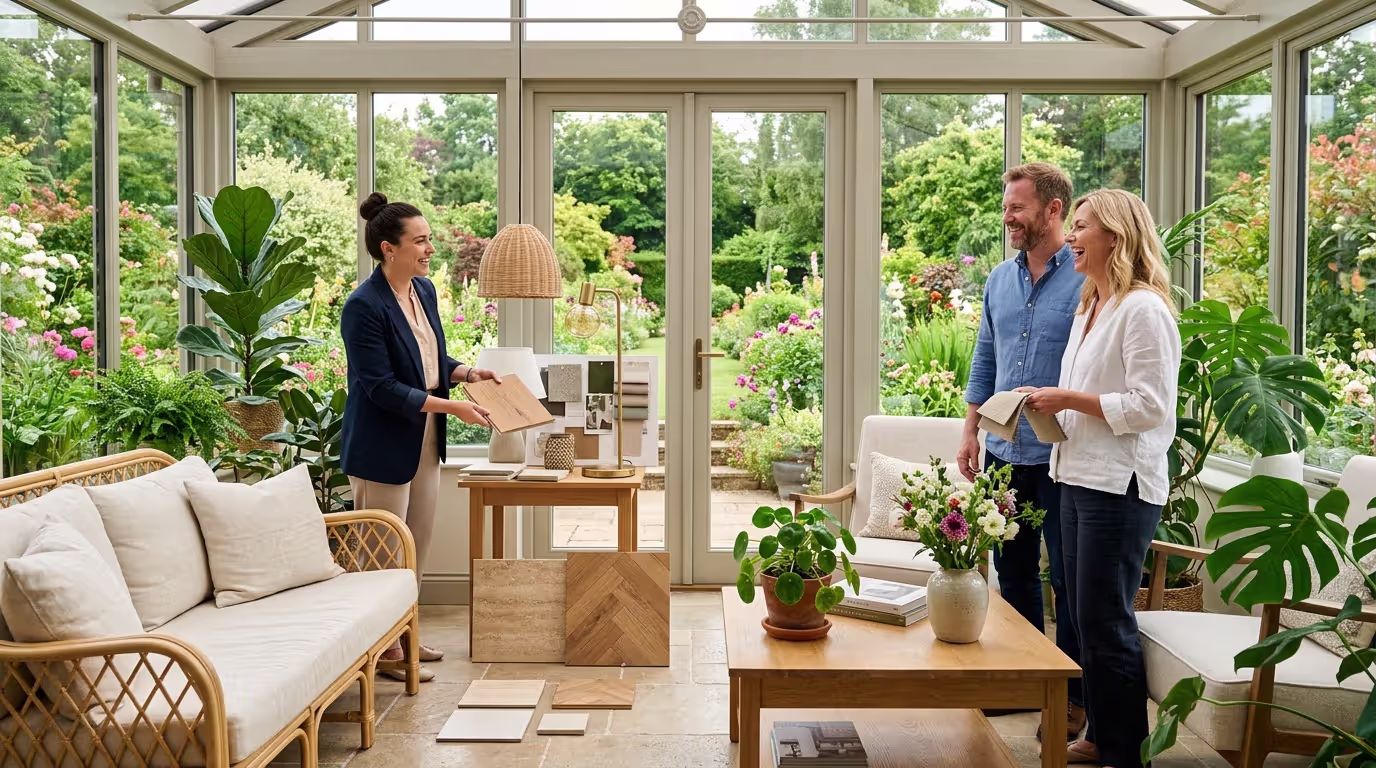
Style matching matters more than some people think. Your sunroom should feel like an extension of your home, not an afterthought.
Match or complement your home's exterior materials. If your house has brick, consider brick kneewall bases for the sunroom. Vinyl siding on the house suggests vinyl-framed windows in the addition.
Interior finishes should flow from adjacent rooms. If your kitchen opens to the sunroom, continue the same flooring or use complementary colors and materials.
That said, sunrooms can handle slightly more casual or eclectic styles than formal living spaces. The glass walls and natural light create a different atmosphere that works with relaxed, garden-inspired design even if your main house is traditional or contemporary.
Author: Caleb Norton;
Source: johnhranec.com
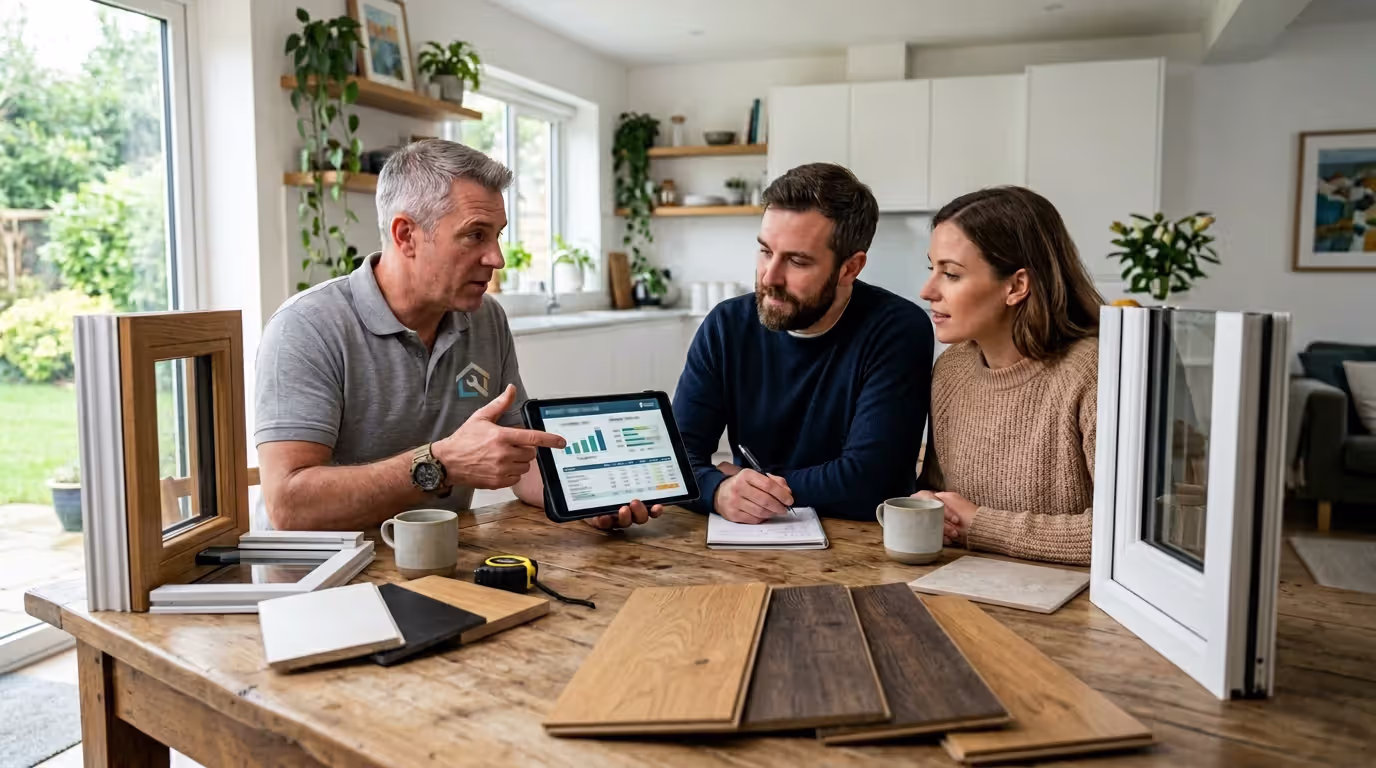
Costs and Budgeting for a Sunroom Addition
Let's talk numbers. Sunroom costs vary wildly based on type, size, materials, and location.
Three season sunrooms typically run $80-$175 per square foot installed. For a 200-square-foot room, expect $16,000-$35,000. Basic prefab kits start around $12,000-$15,000, but you'll add $4,000-$8,000 for site prep, foundation, and installation unless you're very handy.
Four season sunrooms cost $175-$400 per square foot. That same 200-square-foot space runs $35,000-$80,000. High-end custom designs with premium materials, elaborate roof systems, or complex foundations can push past $500 per square foot.
Cost factors that drive prices up include:
Site preparation challenges. Sloped lots requiring retaining walls or extensive grading add $3,000-$10,000. Poor soil conditions needing special foundations can double foundation costs.
Glass upgrades. Moving from standard double-pane to triple-pane insulated glass adds $15-$25 per square foot of window area. Impact-resistant glass for hurricane zones adds 30-50% to window costs.
Roof complexity. Simple shed roofs cost least. Gable or hip roofs add architectural interest but increase framing costs by 20-40%. Cathedral ceilings with exposed beams look stunning but add $5,000-$12,000.
HVAC requirements. Mini-split systems add $3,000-$6,000. Extending existing ductwork costs $1,500-$4,000 if your system has capacity.
Custom features. Built-in storage, ceiling fans, upgraded lighting, or special finishes all add up quickly.
Financing options range from cash to home equity loans to contractor financing.
Home equity loans or lines of credit typically offer the lowest interest rates — currently 7-9% for most borrowers in 2026. You can borrow against your home's value and deduct interest on loans up to $100,000 used for home improvements.
Cash-out refinancing makes sense if you can improve your mortgage rate while pulling out funds for the project. Less attractive in 2026 with rates still elevated compared to 2020-2021 levels.
Personal loans work if you lack home equity or want to avoid using your house as collateral. Rates run higher — typically 9-15% depending on credit — but approval is faster.
Some contractors offer financing through partnerships with lenders. Read the terms carefully — rates can be attractive initially but often include deferred interest provisions that cost you big if not paid off within the promotional period.
Author: Caleb Norton;
Source: johnhranec.com
ROI expectations should be realistic. Remodeling Magazine's 2025 Cost vs. Value report shows sunroom additions recouping 50-70% of cost at resale, varying by region and quality level.
You'll see better returns in moderate climates where year-round use is practical. Four season sunrooms in Minneapolis or Phoenix add more value than three season rooms that sit empty for months.
The real return isn't financial for most homeowners. It's the daily enjoyment of the space. If you plan to stay in your home for 5-10 years and will use the sunroom regularly, the value-per-use calculation looks good even if you don't recoup full cost at resale.
Frequently Asked Questions About Sunroom Additions
A sunroom addition changes how you experience your home. Done right, it becomes the room you use most — the space where you drink morning coffee, where guests naturally gather, where you finally have room for that reading chair or plant collection.
But it's not a project to rush. Take time to evaluate your site, understand local requirements, and choose the right type for your climate and budget. Three season rooms offer value if you'll embrace seasonal use. Four season construction makes sense if you want year-round functionality and have the budget for proper insulation and climate control.
Work with experienced contractors who've built sunrooms before. The details matter — proper flashing, adequate foundation, correct glass specifications, and solid connections to your existing structure. Cheap construction creates problems that cost more to fix than doing it right initially.
Start with clear goals. What will you actually use this space for? How much time will you spend there? What's your realistic budget including contingency for surprises? Answer these honestly before you commit.
The result — a light-filled space that connects you to your yard and sky while keeping you comfortable — is worth the planning effort. Just make sure you build it right.