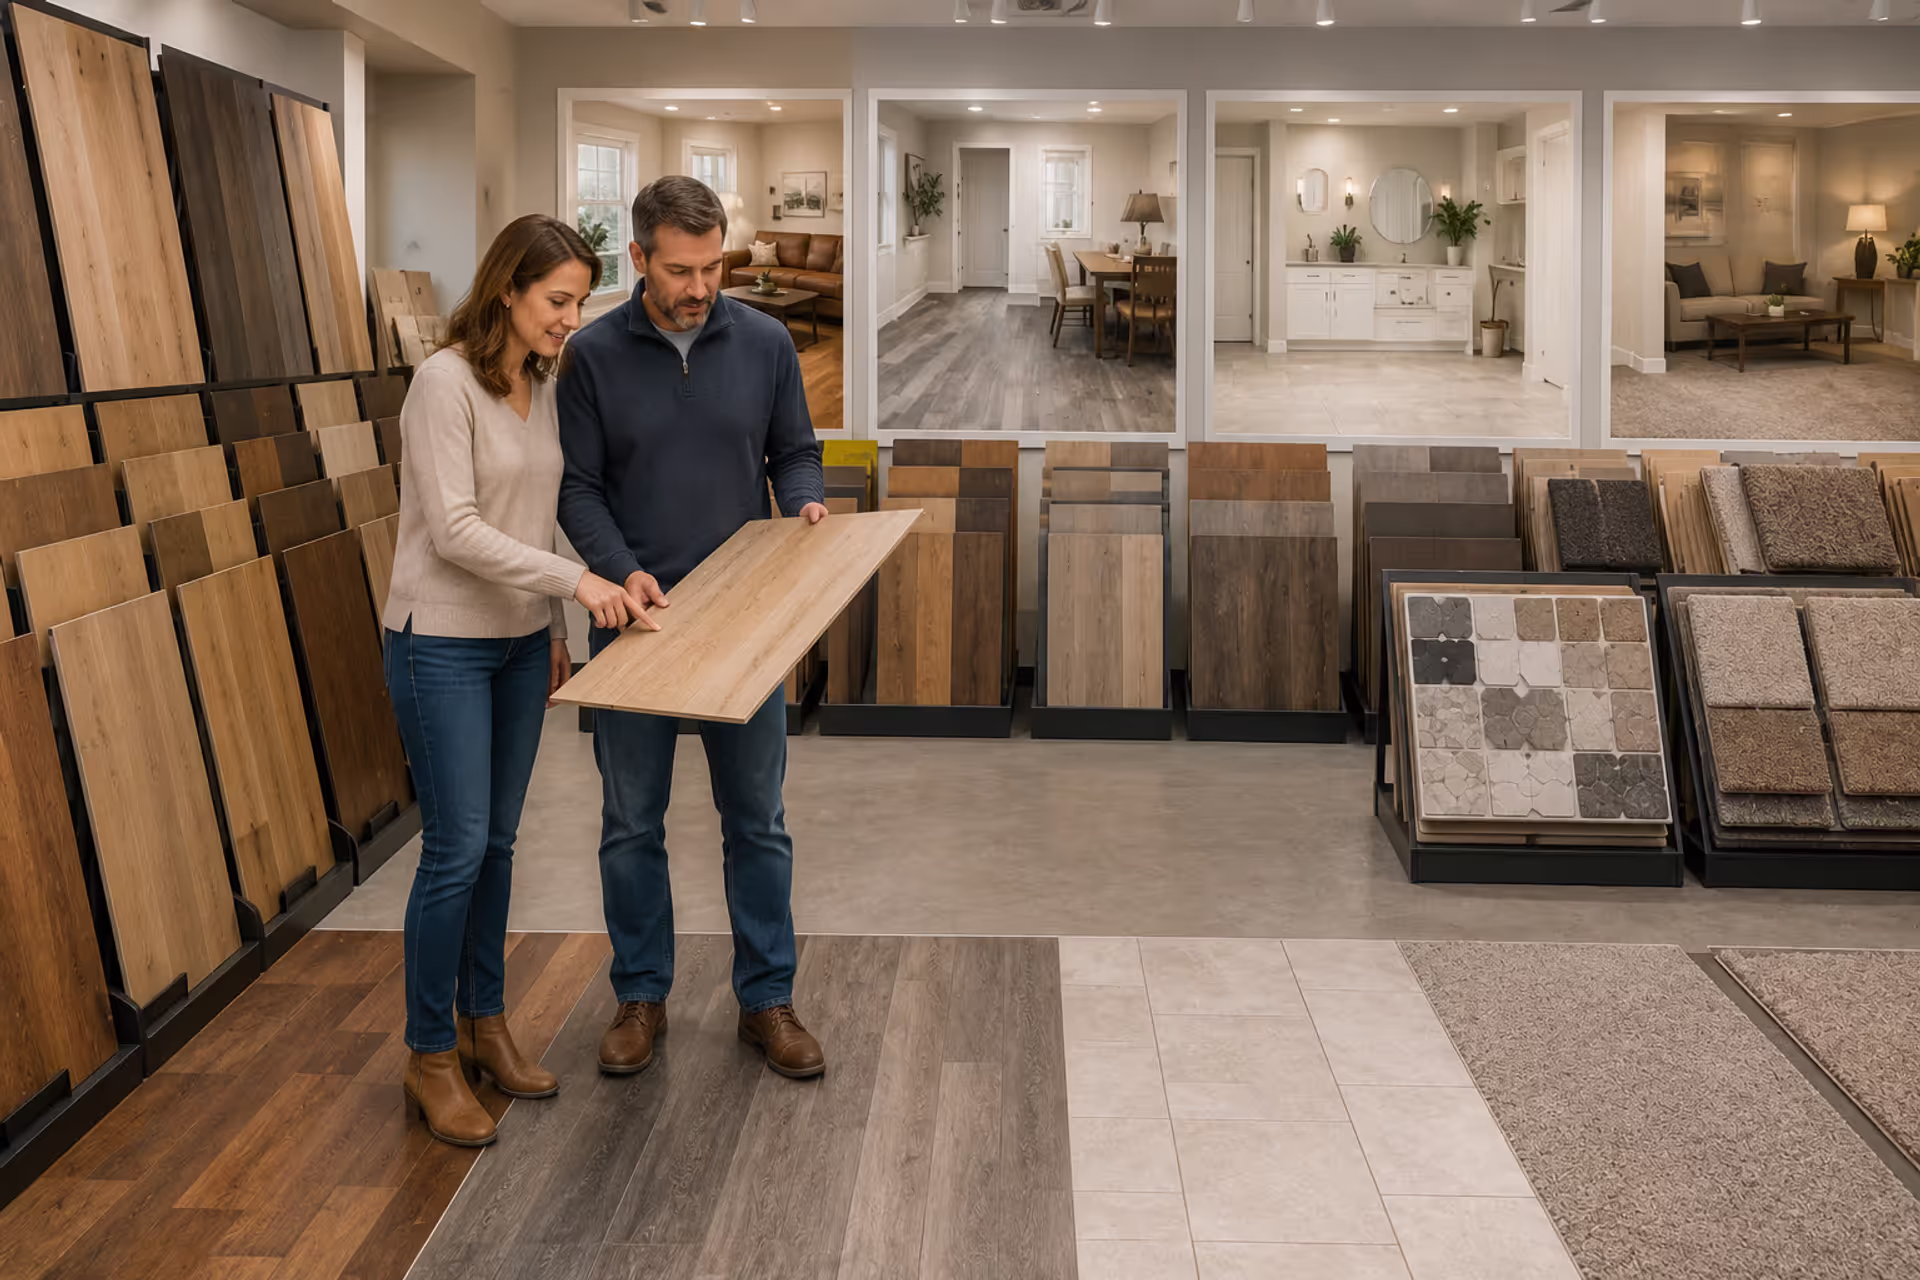
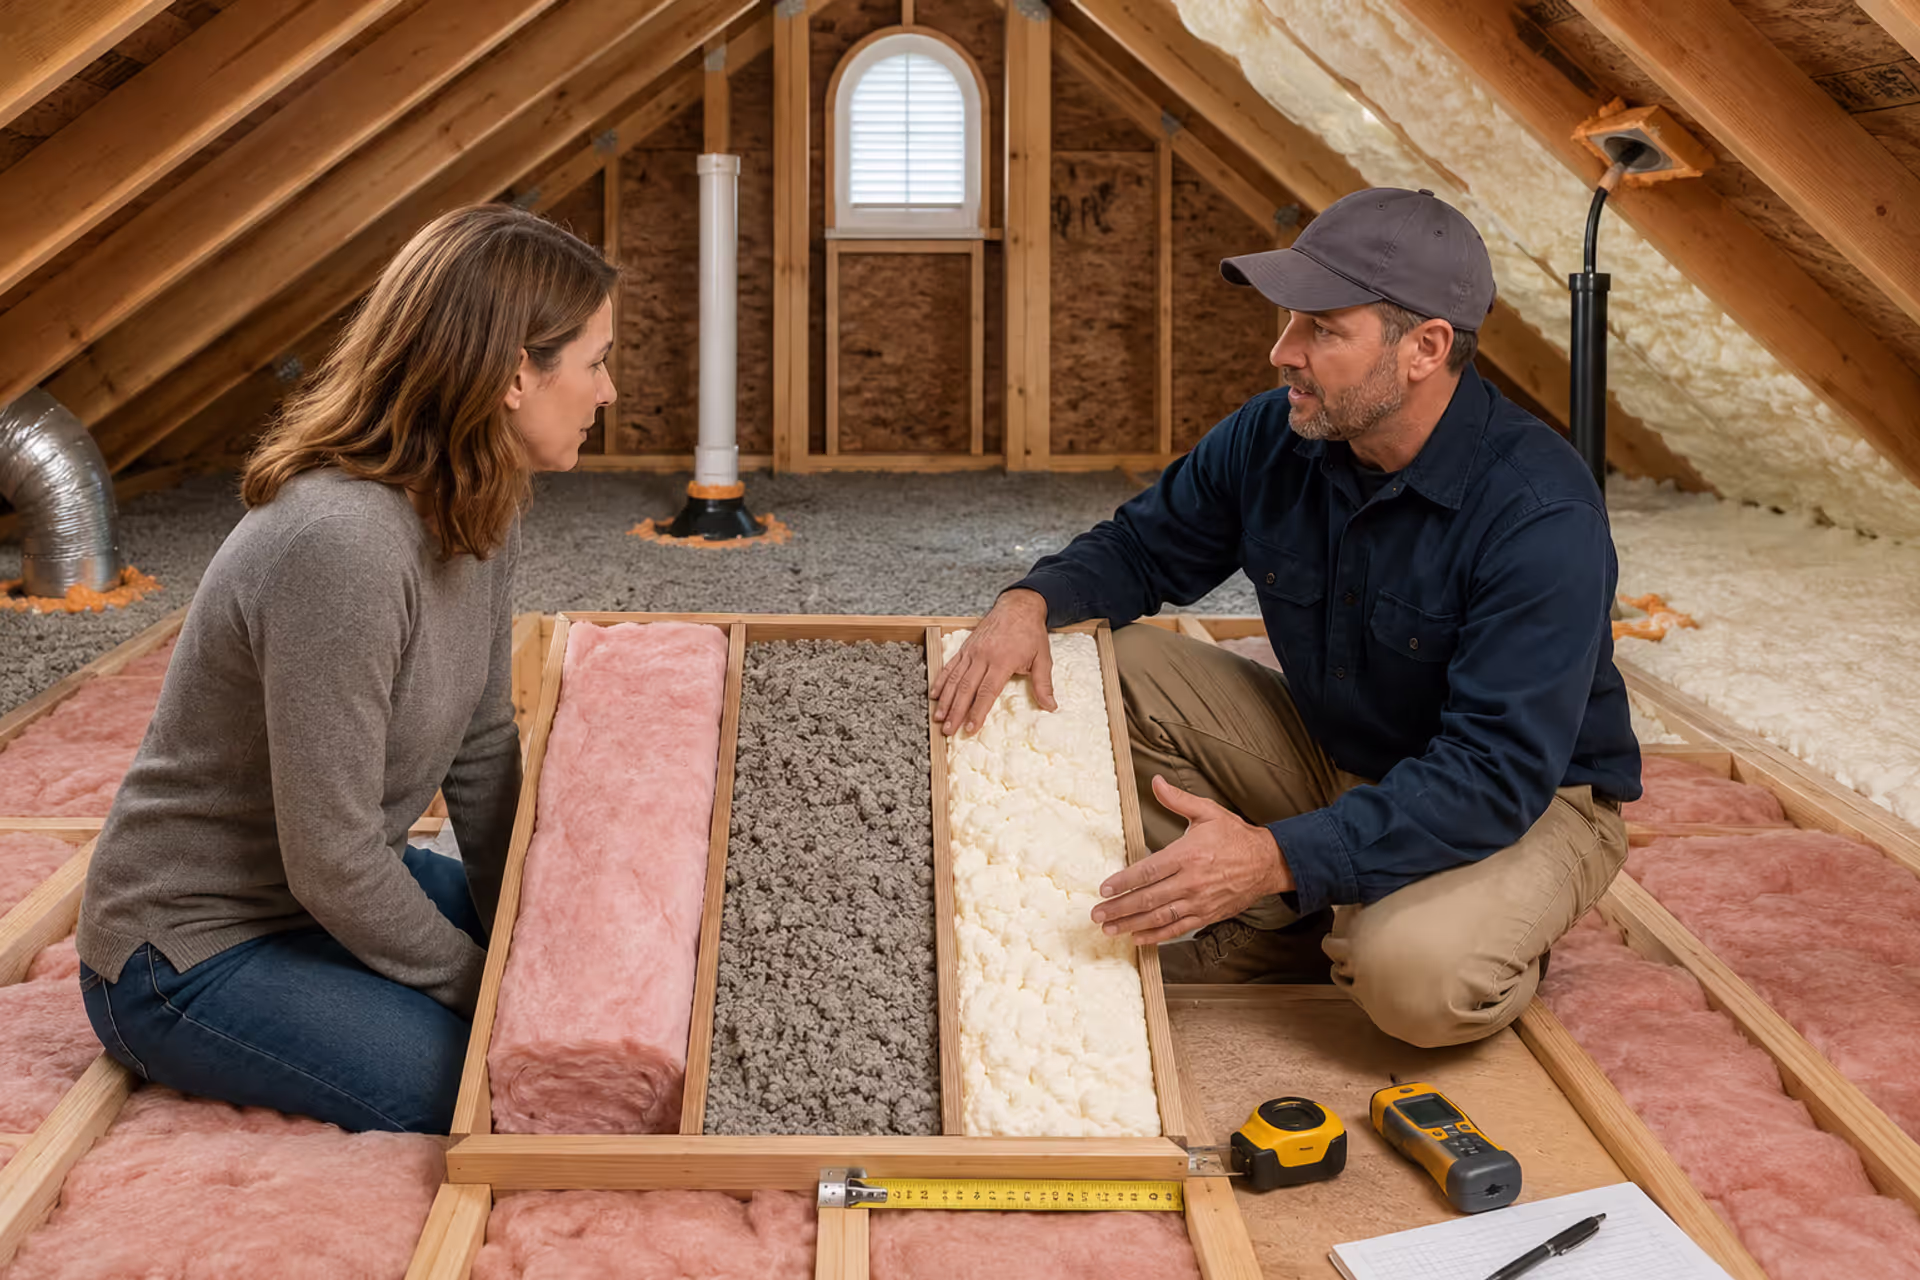
Homeowner and contractor comparing attic insulation options
Cost of Attic Insulation Guide

Content
You're probably not excited about insulating your attic. Nobody dreams about crawling through fiberglass on a Saturday afternoon. Yet this unglamorous project delivers returns that few renovations can match—lower utility bills, better comfort, and a home that actually holds the temperature you set on the thermostat.
Expect to invest anywhere from $1,500 to $4,500 for most residential attics, though premium materials and complicated layouts push that figure higher. The wide range reflects real differences in materials, square footage, existing conditions, and whether you're simply adding insulation or tackling a complete attic conversion.
Smart planning starts with understanding where your money actually goes. You need clarity on material performance, when old insulation demands replacement, why air sealing deserves its own line item, and how converting attic space into a bedroom changes the entire calculation.
Here's what you're really paying for.
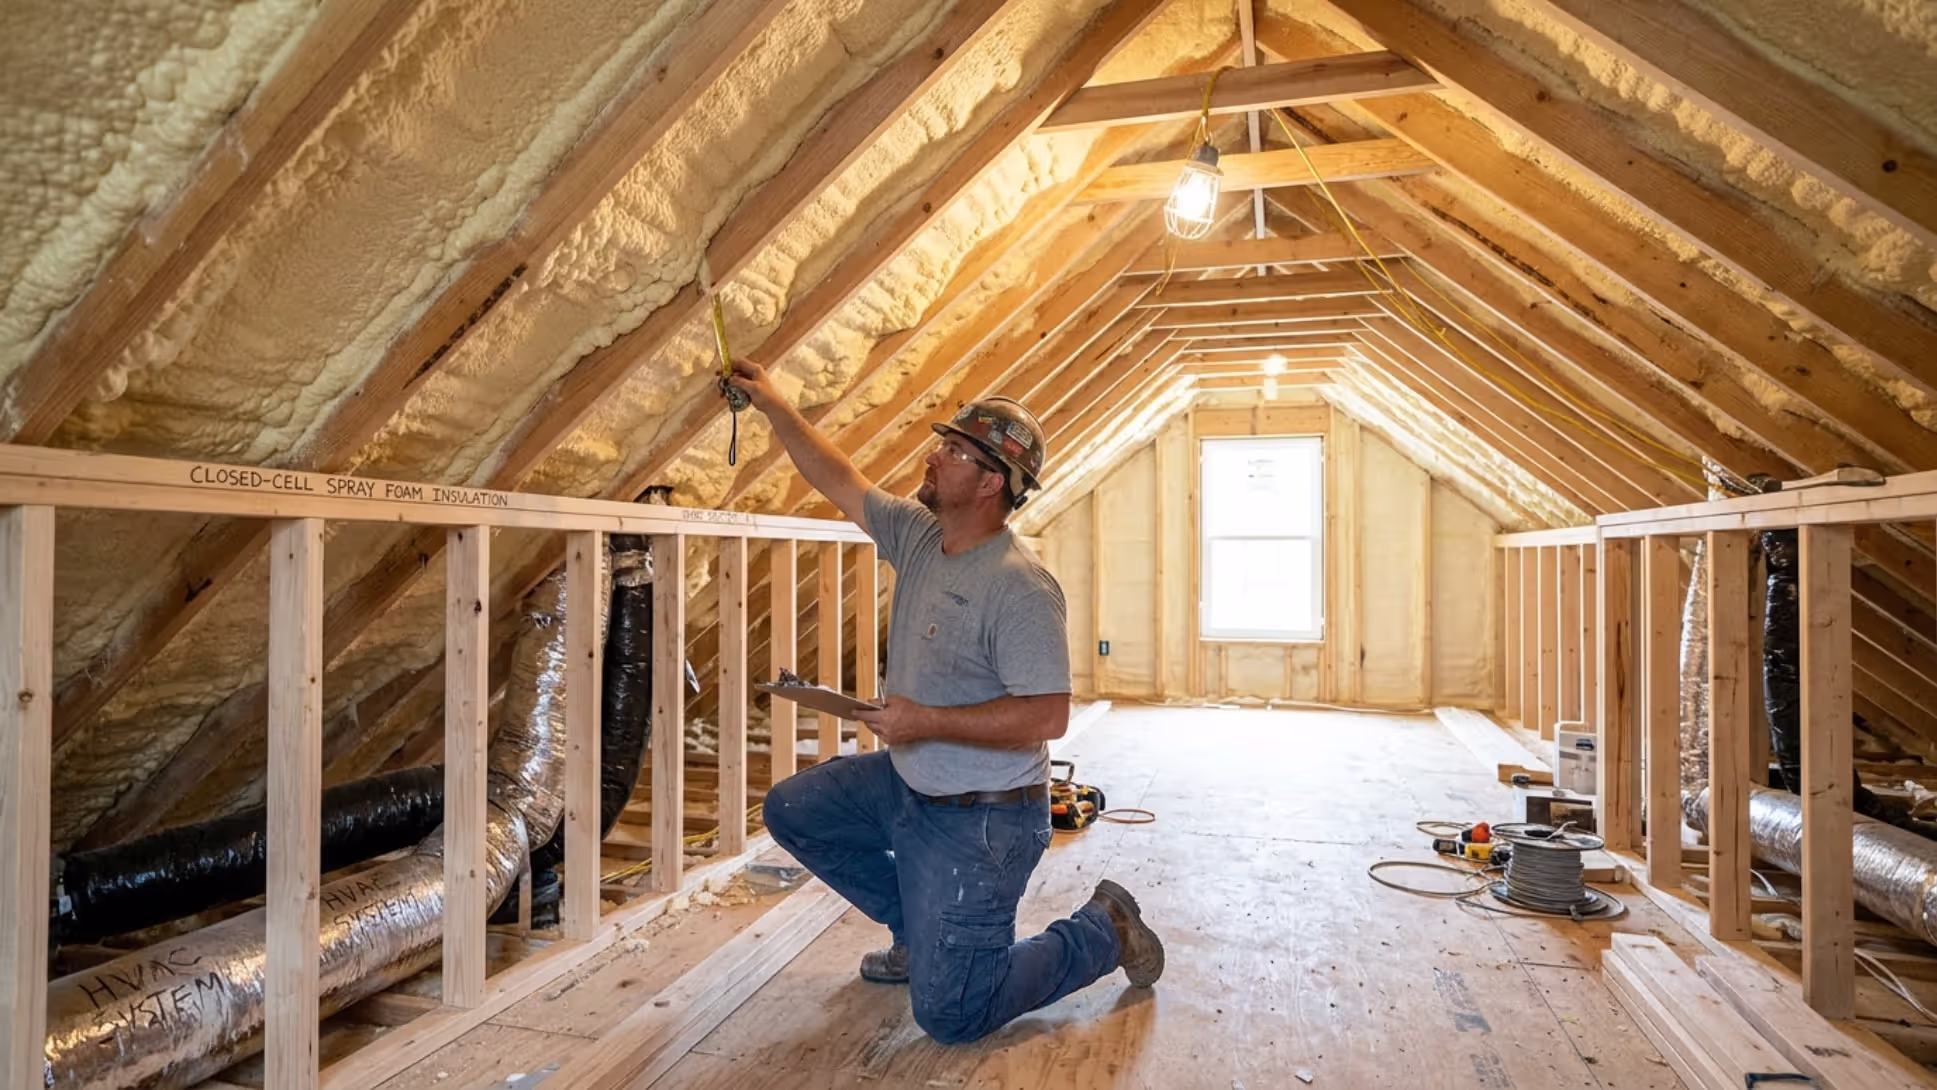
What Affects Attic Insulation Costs
Your final invoice reflects multiple variables, not just the insulation itself.
Material selection drives the largest cost swings. Basic fiberglass batts installed professionally range from $0.50 to $1.50 per square foot. Blown cellulose typically falls between $1.00 and $2.50 per square foot. Premium closed-cell spray foam? You're looking at $4.50 to $7.00 per square foot—sometimes more. Performance differences explain part of this range, though not always the entire premium.
Total square footage follows predictable math until it doesn't. Yes, doubling your attic size roughly doubles material costs. But contractors often maintain minimum project fees that don't scale proportionally downward. A 600-square-foot attic might cost more per square foot than a 1,200-square-foot space because the same crew, equipment, and travel time applies to both jobs.
Regional labor markets create substantial price variations. Coastal urban areas typically charge 30-50% more than rural Midwest locations. Seasonal demand matters too—everyone suddenly wants attic work when their July cooling bill arrives, and contractors adjust pricing accordingly. Book during shoulder seasons (spring or fall) for better rates.
Physical accessibility dramatically affects labor hours. An attic with 7-foot clearance and easy access through a proper stairway costs less to insulate than a cramped space requiring belly-crawling around HVAC ducts, electrical junction boxes, and chimney chases. Low-slope roofs, tight corners, and obstacles all increase labor time and therefore cost.
Removing existing material adds $1.00 to $2.00 per square foot in straightforward scenarios. Contaminated insulation from water damage, pest infestation, or suspected asbestos requires specialized removal and disposal—potentially $3.00 to $5.00 per square foot or higher. You can't simply pile new insulation over moldy, compressed, or rodent-damaged material and expect good results.
Most homeowners focus exclusively on material costs, then experience sticker shock when the full quote arrives. Request itemized estimates that separate materials, labor, preparation work, and disposal fees.

Author: Olivia Hartwel;
Source: johnhranec.com
Average Insulation Costs by Material Type
Each insulation category carries distinct pricing, performance characteristics, and ideal applications.
| Material | R-Value per Inch | Installed Cost per Sq Ft | Ideal Applications | Expected Lifespan |
| Fiberglass Batts | R-3.2 to R-3.8 | $0.50 – $1.50 | DIY-friendly projects, standard attic floors | 25–30 years |
| Blown Cellulose | R-3.2 to R-3.8 | $1.00 – $2.50 | Filling irregular spaces, retrofit applications | 20–30 years |
| Blown Fiberglass | R-2.2 to R-4.3 | $1.20 – $2.80 | Fast coverage, existing attic floors | 25–35 years |
| Open-Cell Spray Foam | R-3.5 to R-3.7 | $3.00 – $4.50 | Combined air sealing and insulation | 80+ years |
| Closed-Cell Spray Foam | R-6.0 to R-7.0 | $4.50 – $7.00 | Maximum thermal resistance, moisture control | 80+ years |
| Mineral Wool | R-3.0 to R-3.3 | $1.80 – $3.20 | Fire protection, sound dampening | 50+ years |
Fiberglass batts dominate the market for their affordability and straightforward installation. You can handle this as a DIY project if you're comfortable in tight spaces. The catch? Installation quality makes or breaks performance. Gaps around obstructions, compressed batts, and incomplete coverage eliminate the cost advantage. Professional installation pushes prices toward the upper range but typically delivers better long-term results.
Blown cellulose consists of recycled newspaper treated with borate for fire and pest resistance. It fills irregular spaces effectively and settles into crevices that batts can't reach. Expect roughly 20% settling during the first few years—not a fatal flaw, just something to anticipate when calculating target depths.
Spray foam commands premium pricing but delivers combined air sealing and insulation in a single application. Open-cell foam costs less and provides adequate moisture permeability for most applications. Closed-cell foam offers superior R-value per inch, adds structural rigidity, and functions as a vapor barrier. For homeowners in northern climates seeking the best attic insulation for cold climates, closed-cell spray foam frequently justifies its higher cost through superior performance.
Mineral wool (rock wool) resists compression, provides excellent fire protection, and blocks sound transmission effectively. It costs more than fiberglass but less than spray foam. Fewer contractors work with mineral wool regularly, which partly explains its limited residential market share despite strong performance characteristics.
Here's a mistake I see repeatedly: selecting materials based solely on R-value per dollar spent. Air leakage often matters more than raw insulation thickness. An attic with R-38 insulation and thorough air sealing outperforms a leaky attic with R-60 insulation.
Air Sealing Before Insulation
Proper attic insulation can reduce heating and cooling costs by 15–20% annually, but only if air sealing is done first. Most homeowners skip this step and wonder why their energy bills don't improve.
— Richardson Mark
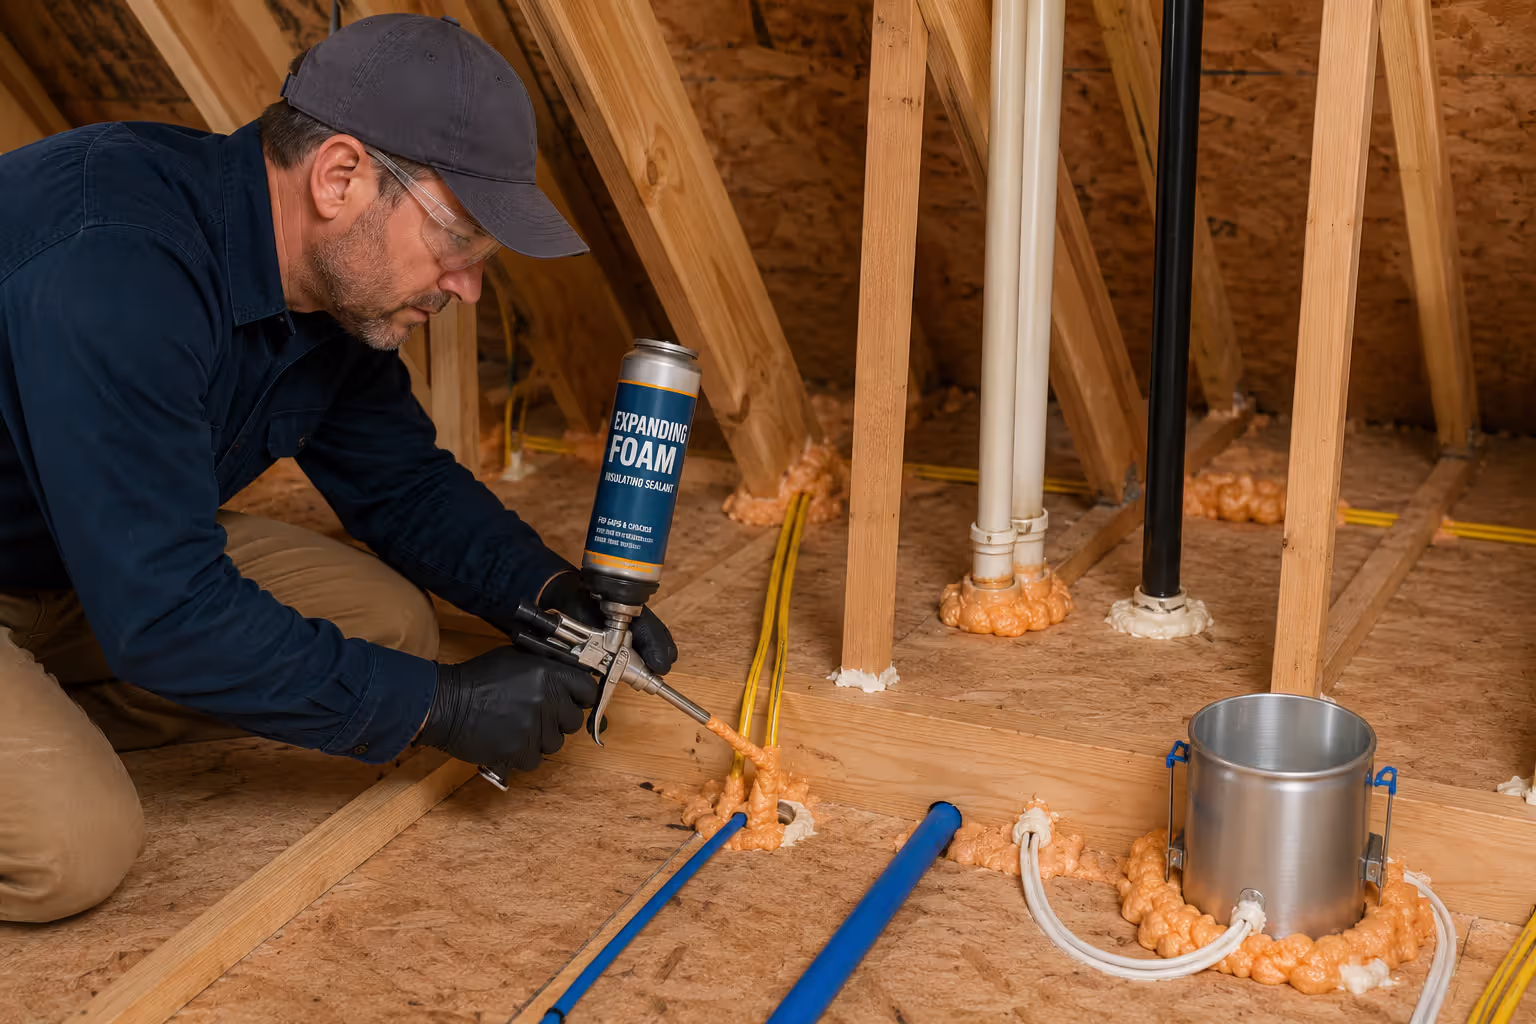
Air sealing addresses gaps, cracks, and penetrations where conditioned air escapes from living spaces into the attic. Common culprits include plumbing penetrations, electrical wire holes, recessed lighting fixtures, and the top plates where walls meet the attic floor.
Why this matters: Air movement carries both energy and moisture. An unsealed attic allows heated or cooled air to escape while drawing in outdoor air. You could install two feet of insulation, but if air flows freely through gaps underneath, you're essentially climate-controlling the neighborhood.
The actual work: Contractors apply caulk and expanding foam around penetrations, install airtight boxes over recessed lights, seal ductwork joints, and add weatherstripping plus insulated covers to attic hatches. The work is tedious, unglamorous, and easy to skip—which is exactly why many contractors do skip it.
Budget impact: Professional air sealing typically adds $500 to $1,500 depending on attic size and penetration count. Spray foam applications inherently provide air sealing during installation, which partially explains their higher cost—you're getting two services simultaneously rather than paying for them separately.
Verification: Energy auditors use blower door tests to measure air leakage rates before and after sealing work. This testing isn't mandatory for every project, but it provides objective proof of improvement and helps identify problem areas in older homes.
Skip air sealing and you'll likely wonder why your expensive new insulation didn't reduce energy bills as promised. This step separates successful projects from expensive disappointments.
Author: Olivia Hartwel;
Source: johnhranec.com
When to Replace Existing Attic Insulation
Adding new insulation over existing material works fine in many situations. But certain conditions demand complete removal and replacement.
Age and compression: Insulation installed 30+ years ago has likely degraded, compressed, or settled unevenly. Both cellulose and fiberglass lose thickness over time, creating thin coverage zones and thermal bridges. When existing insulation has compressed to less than half its original thickness or shows obvious bare spots, replacement beats supplementation.
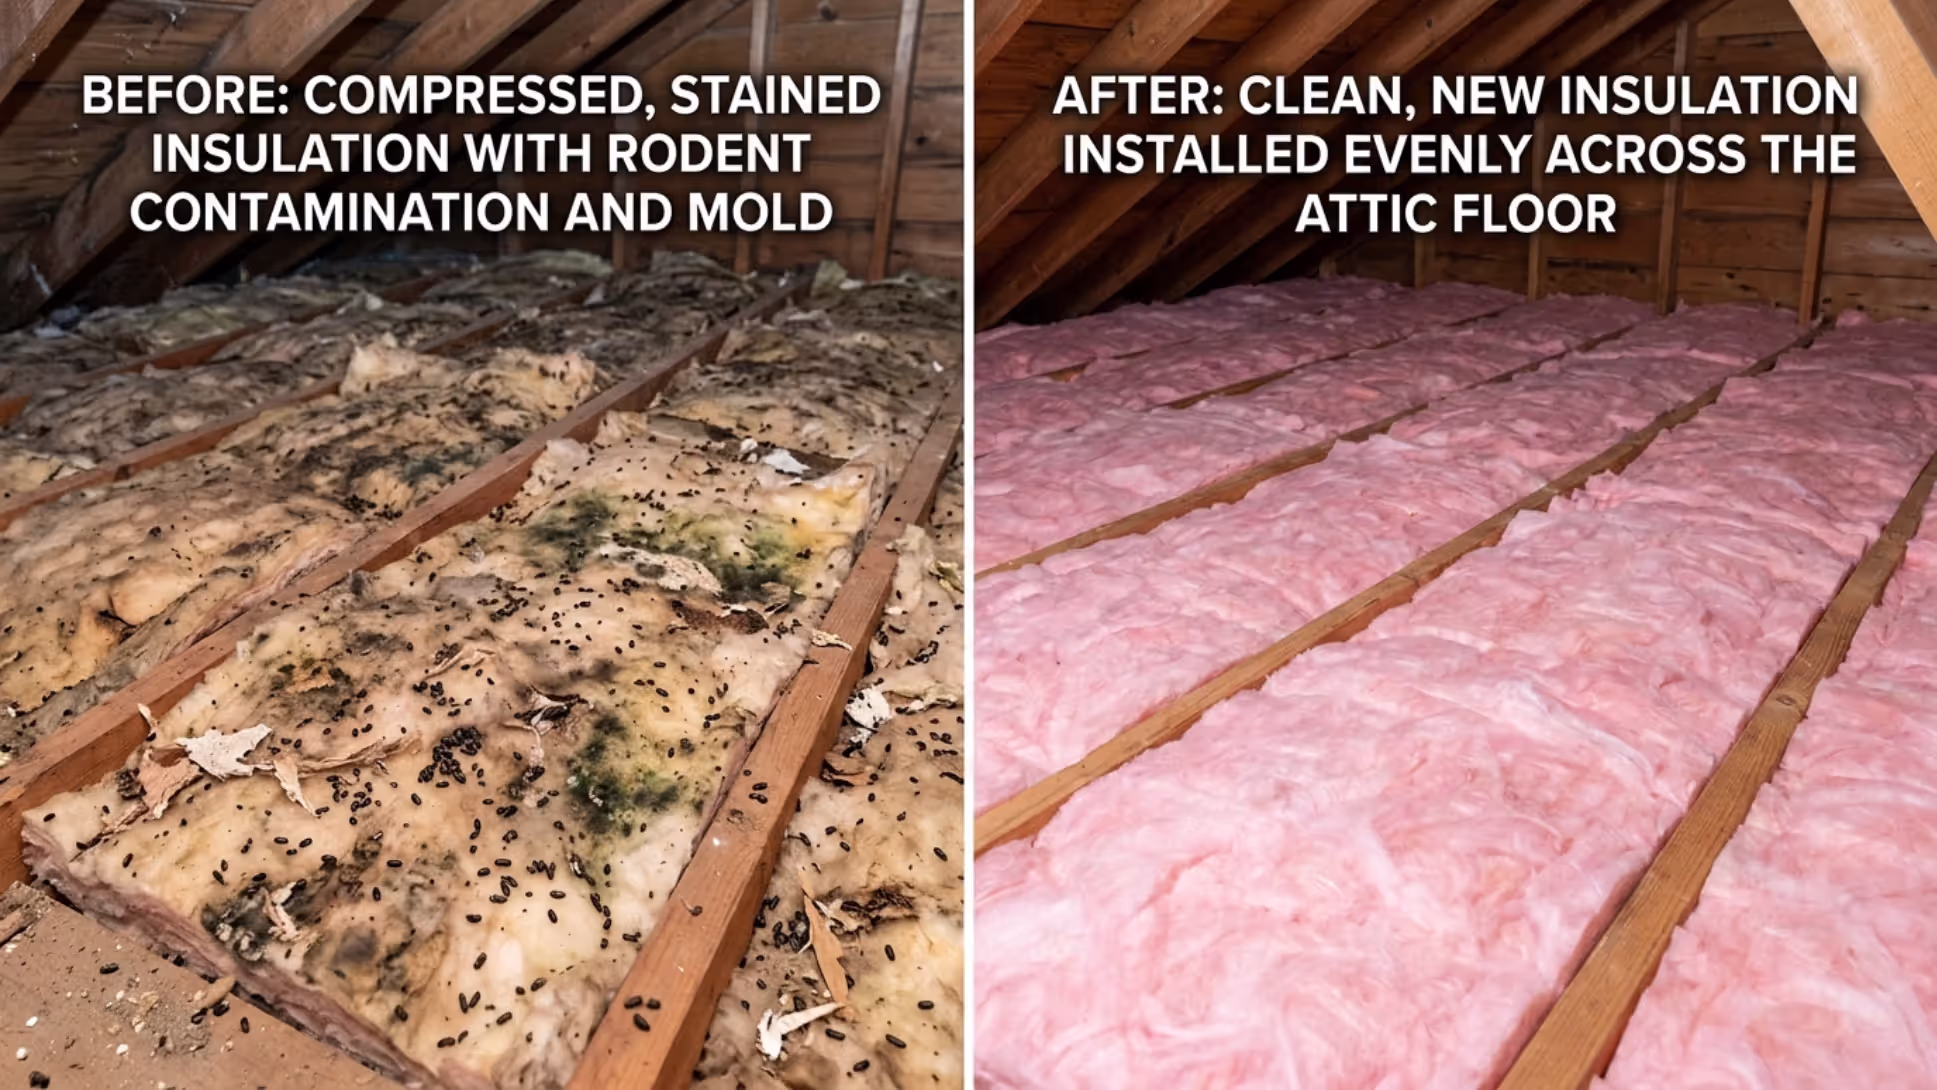
Water infiltration: Staining, musty odors, or visible mold growth indicate moisture problems. Wet insulation loses thermal resistance and creates health hazards. You must identify and fix the moisture source—whether roof leaks, condensation issues, or inadequate ventilation—then remove compromised material. Layering fresh insulation over moldy material doesn't solve anything and potentially makes problems worse.
Animal activity: Rodents, bats, and squirrels treat attic insulation as premium nesting material. Once you've dealt with an infestation, the insulation likely contains urine, feces, and contaminated nesting debris. Many local health codes classify this as contaminated waste requiring specialized disposal. Removal and disposal fees range from $1.50 to $3.00 per square foot, sometimes higher for extensive contamination.
Vermiculite concerns: Homes constructed between 1920 and 1990 sometimes contain vermiculite insulation that may harbor asbestos contamination. Professional testing and certified abatement are non-negotiable. This isn't a DIY scenario under any circumstances.
Insufficient thermal resistance: Building code requirements have evolved substantially. Insulation that met 1980 standards falls short of current recommendations. If your existing insulation provides less than R-25 and you're undertaking major renovation or conversion work, upgrading to current standards makes economic sense.
Author: Olivia Hartwel;
Source: johnhranec.com
Standard removal runs $1.00 to $2.00 per square foot for uncomplicated projects. Asbestos abatement or contaminated material disposal can reach $3.00 to $5.00 per square foot or exceed that for complex situations.
Simple guideline: Dry, pest-free insulation providing at least R-25 usually accepts supplemental layers successfully. Everything else probably needs removal and replacement.
Does Attic Insulation Pay Off
The investment returns real value, though payback timelines vary considerably based on climate and existing conditions.
Energy Savings in Cold Climates
Northern climates deliver the fastest return on insulation investments. Heat rises naturally, making poorly insulated attics the primary escape route for expensive heated air during winter months.
Upgrading from R-11 to R-49 can reduce heating expenses by 15% to 25% annually in northern states. A household spending $2,000 yearly on heating saves $300 to $500 annually. At a $3,000 total project cost, you're looking at a 6- to 10-year payback period—faster if energy prices rise.
The best attic insulation for cold climates combines high thermal resistance with comprehensive air sealing. Closed-cell spray foam delivers exceptional performance despite higher upfront costs. Alternatively, blown cellulose or fiberglass installed to R-49 or R-60 with thorough air sealing provides excellent results at lower initial investment.
Ice dam prevention adds another dimension. Proper insulation and ventilation prevent warm interior air from melting roof snow, which then refreezes at eaves and creates damaging ice dams. Good insulation eliminates this expensive problem entirely.
Cooling Benefits in Summer
Does attic insulation help in summer? Absolutely, though savings often run smaller than winter heating reductions in northern regions.
Attic temperatures regularly hit 140°F to 160°F during summer afternoons. That accumulated heat radiates downward into living spaces, forcing air conditioning systems to run longer cycles and consume more electricity. Quality insulation establishes a thermal barrier that slows downward heat transfer substantially.
Southern homeowners often see summer cooling savings that match or exceed winter heating reductions. Well-insulated attics can cut cooling costs 10% to 20%. Combining insulation with reflective roofing materials or radiant barriers amplifies the effect.
Ventilation plays a critical supporting role. Insulation slows heat transfer, while attic ventilation removes heat that does accumulate. The two systems work together—neither performs optimally alone.
One counterintuitive point: excessive insulation without adequate ventilation can trap moisture and create condensation problems. More insulation isn't automatically better if you ignore the complete system.
Author: Olivia Hartwel;
Source: johnhranec.com
Insulation Requirements for Attic Conversions
Converting attic space into livable area fundamentally changes insulation requirements. You're no longer insulating the attic floor—you're creating a conditioned envelope by insulating the roof deck and knee walls.
Building codes shift dramatically. Unfinished attics require R-38 to R-60 depending on climate zone. Finished conditioned spaces must meet residential wall and ceiling requirements—typically R-30 to R-49 for sloped ceilings and R-13 to R-21 for vertical walls. You'll also need either proper ventilation channels or an unvented roof assembly, depending on your design approach.
Spray foam becomes the preferred solution. Insulating between rafters with closed-cell spray foam creates an unvented conditioned attic assembly. This approach dominates conversions because it delivers effective thermal performance without complex ventilation baffles. Budget $4.00 to $7.00 per square foot for closed-cell foam application on roof decks.
Access standards matter significantly. Building codes specify minimum attic access dimensions—typically 22 by 30 inches with adequate headroom. Converting space to habitable area requires proper stairs, not pull-down ladders. This consideration affects your overall attic remodel planning substantially.
Mechanical systems require extension. Conditioned spaces need heating and cooling. Extending HVAC ductwork and registers into converted attic space adds $3,000 to $8,000 depending on system complexity and distance from existing equipment.
Permits and inspections become mandatory. Converting attic space to bedroom or living area requires building permits in virtually all jurisdictions. Inspectors verify insulation meets code requirements along with egress windows, minimum ceiling heights, structural adequacy, and electrical safety.
For homeowners exploring converting attic to bedroom ideas or other attic conversion ideas, insulation represents just one component of a comprehensive project. The attic renovation planning guide should account for structural reinforcement, mechanical system extensions, and full code compliance—all factors affecting budget and timeline.
A realistic attic finishing cost guide should budget $50,000 to $100,000 or more for complete conversions, with insulation representing 5% to 15% of total investment. The economics often favor simpler options: attics not originally designed for conversion can generate rapidly escalating costs.
Frequently Asked Questions About Attic Insulation Costs