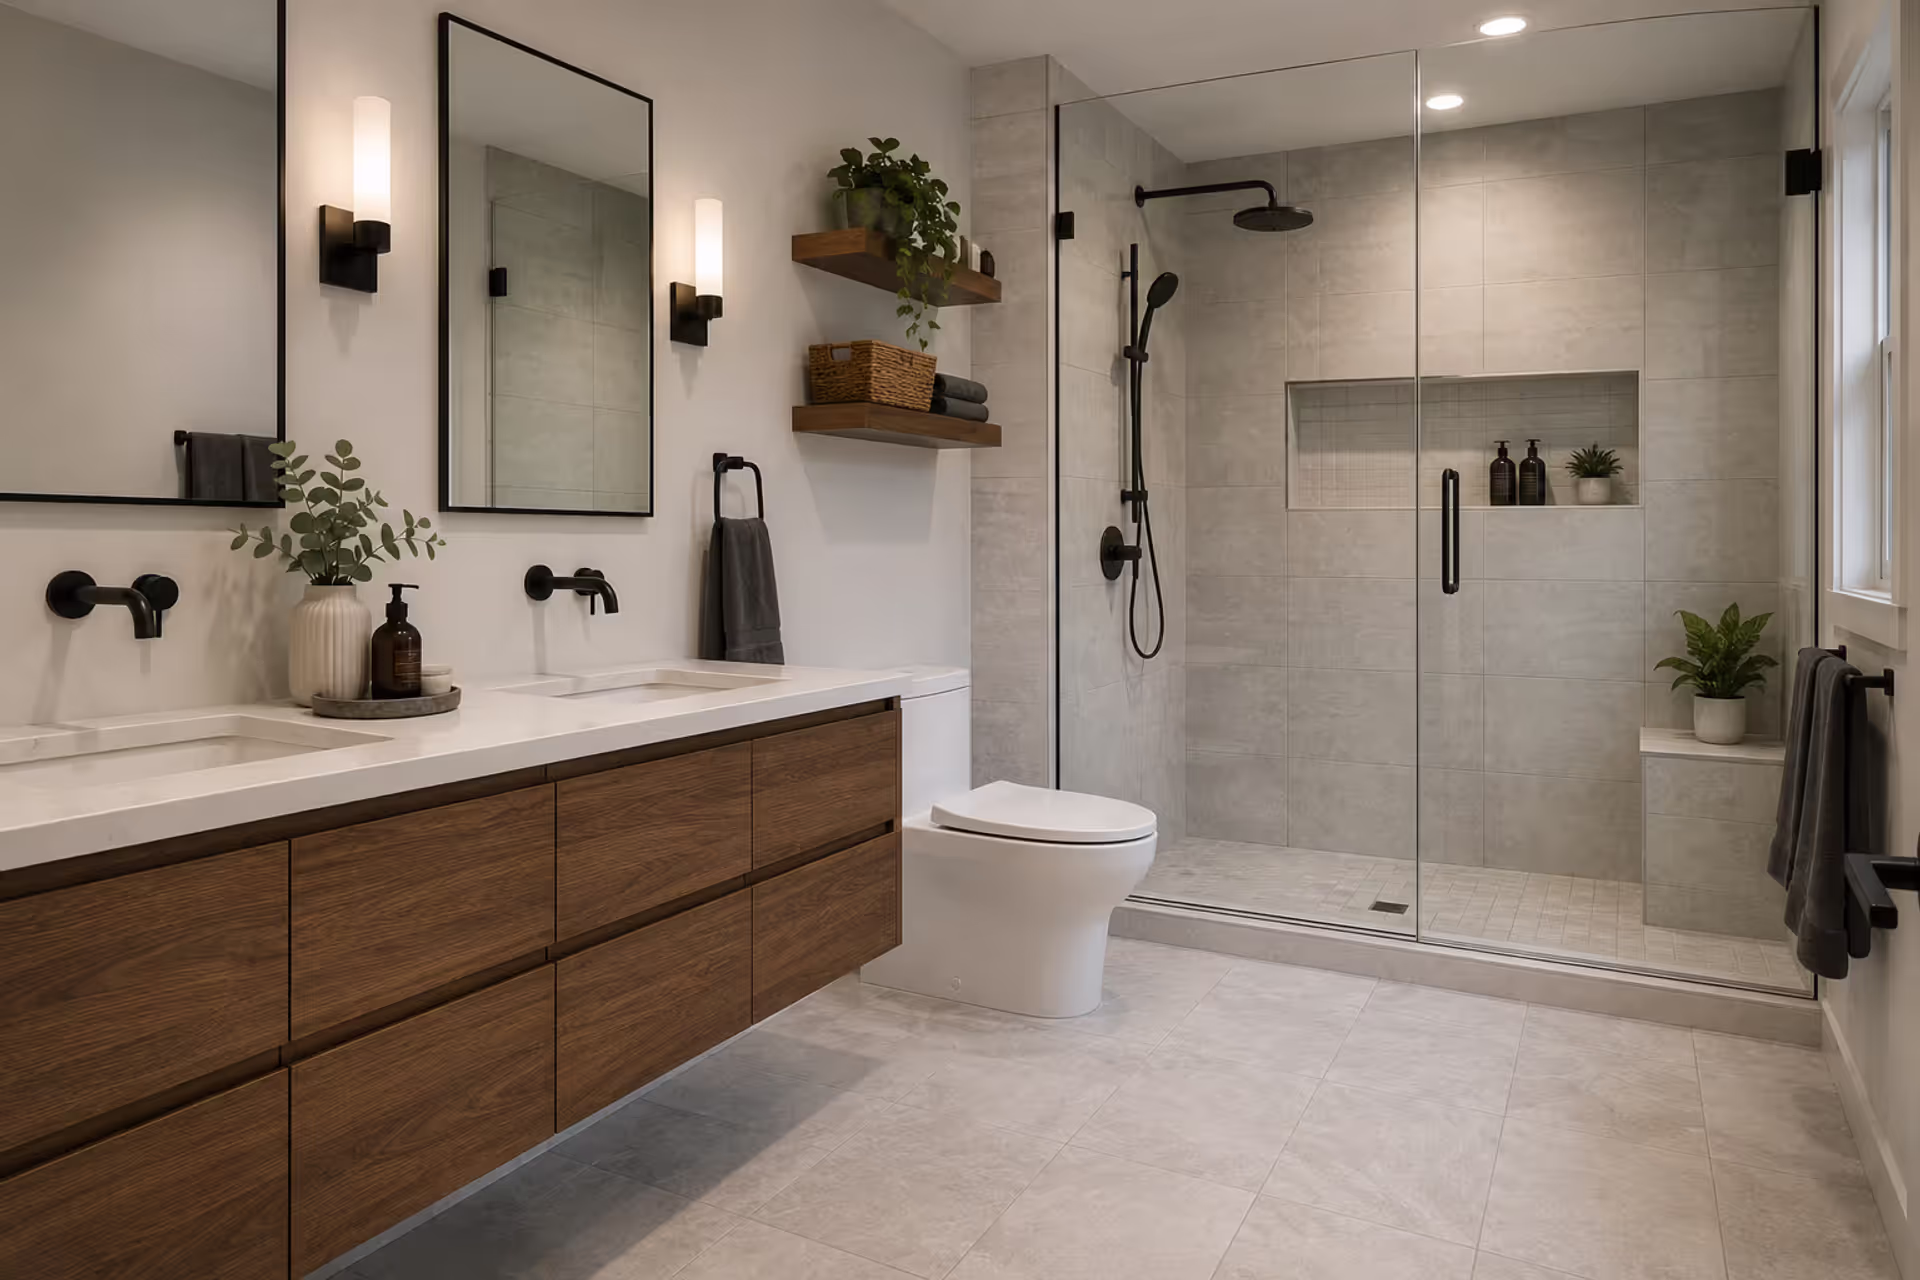
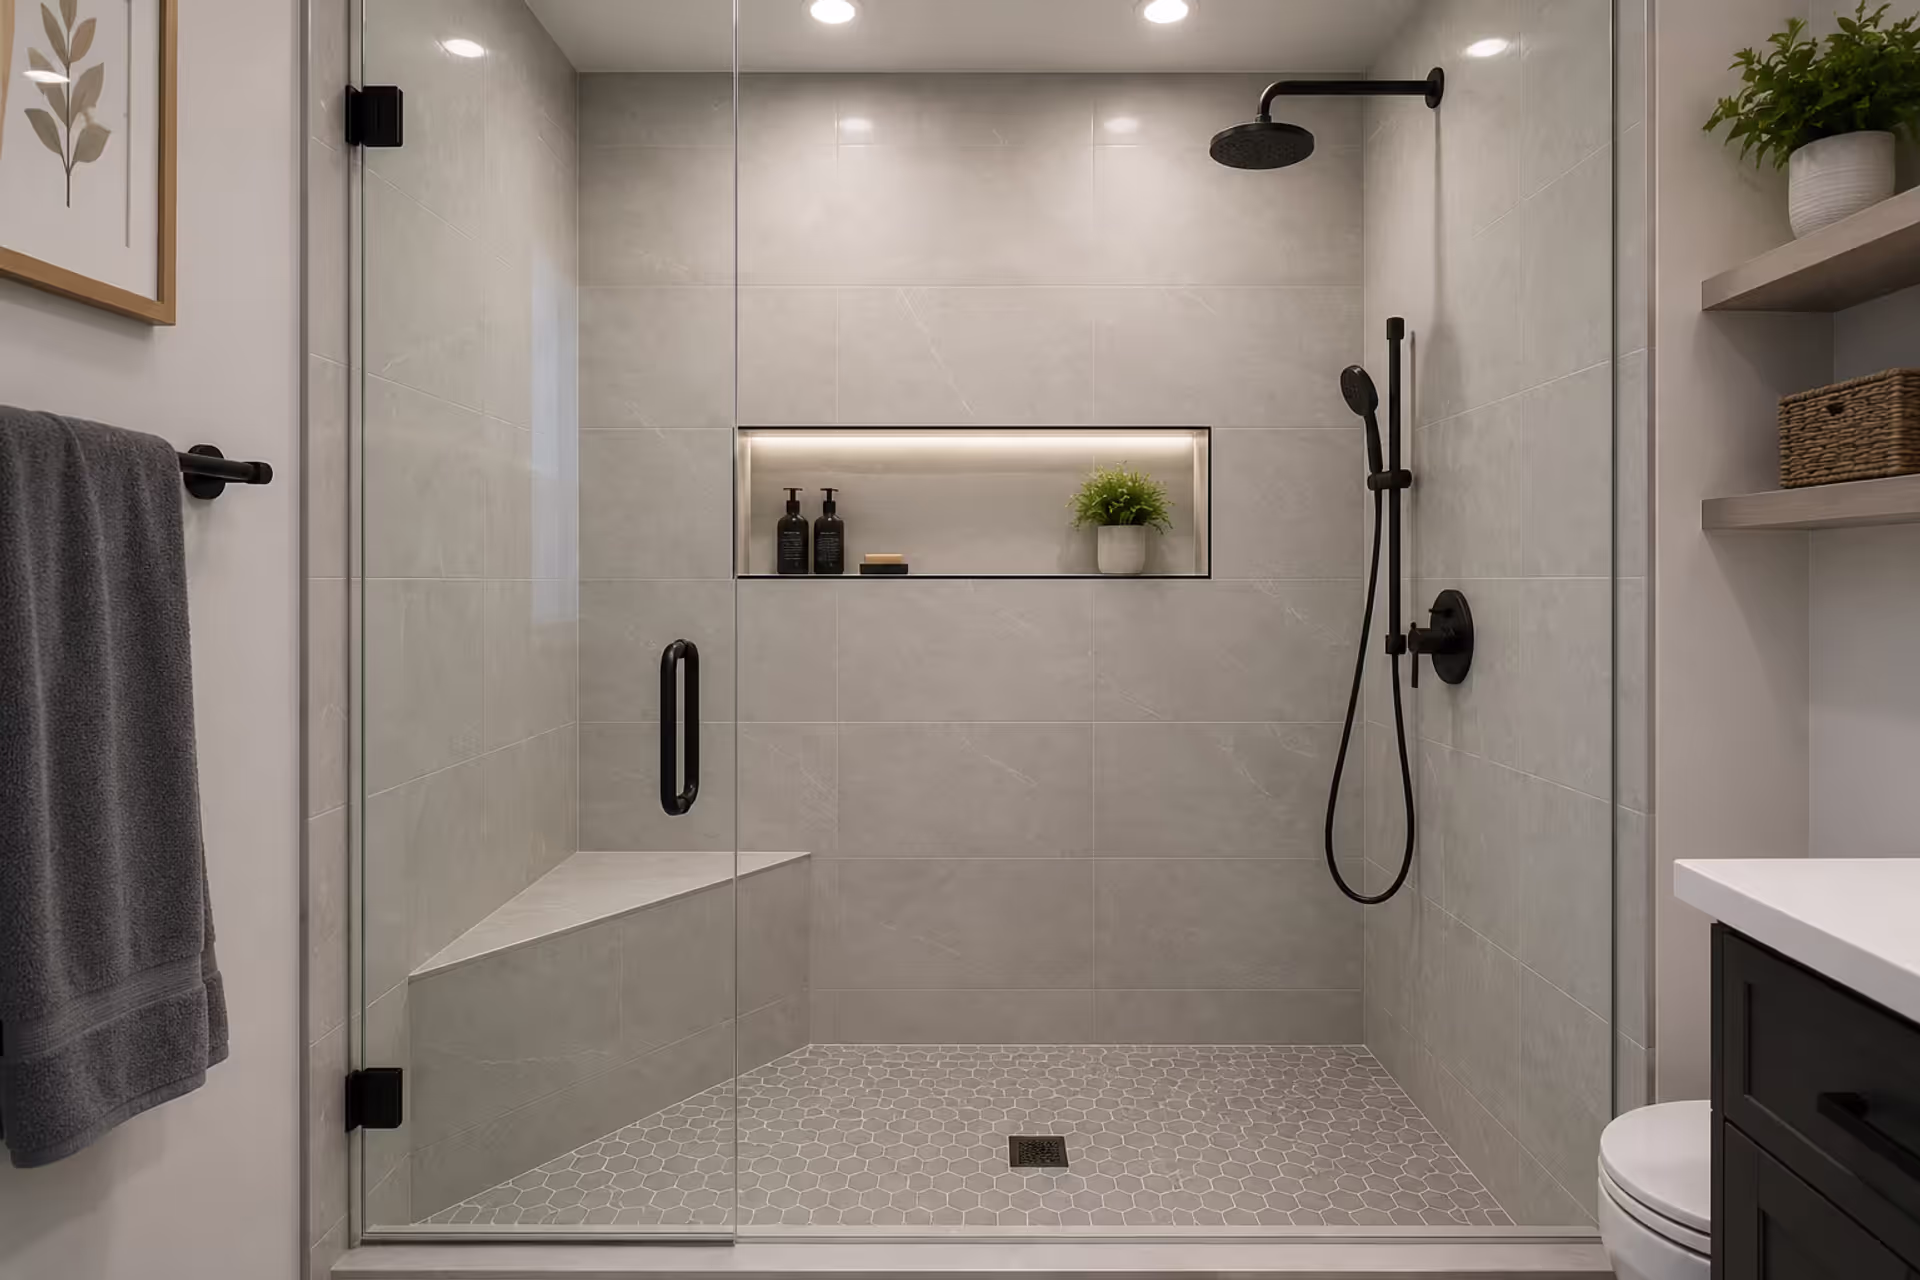
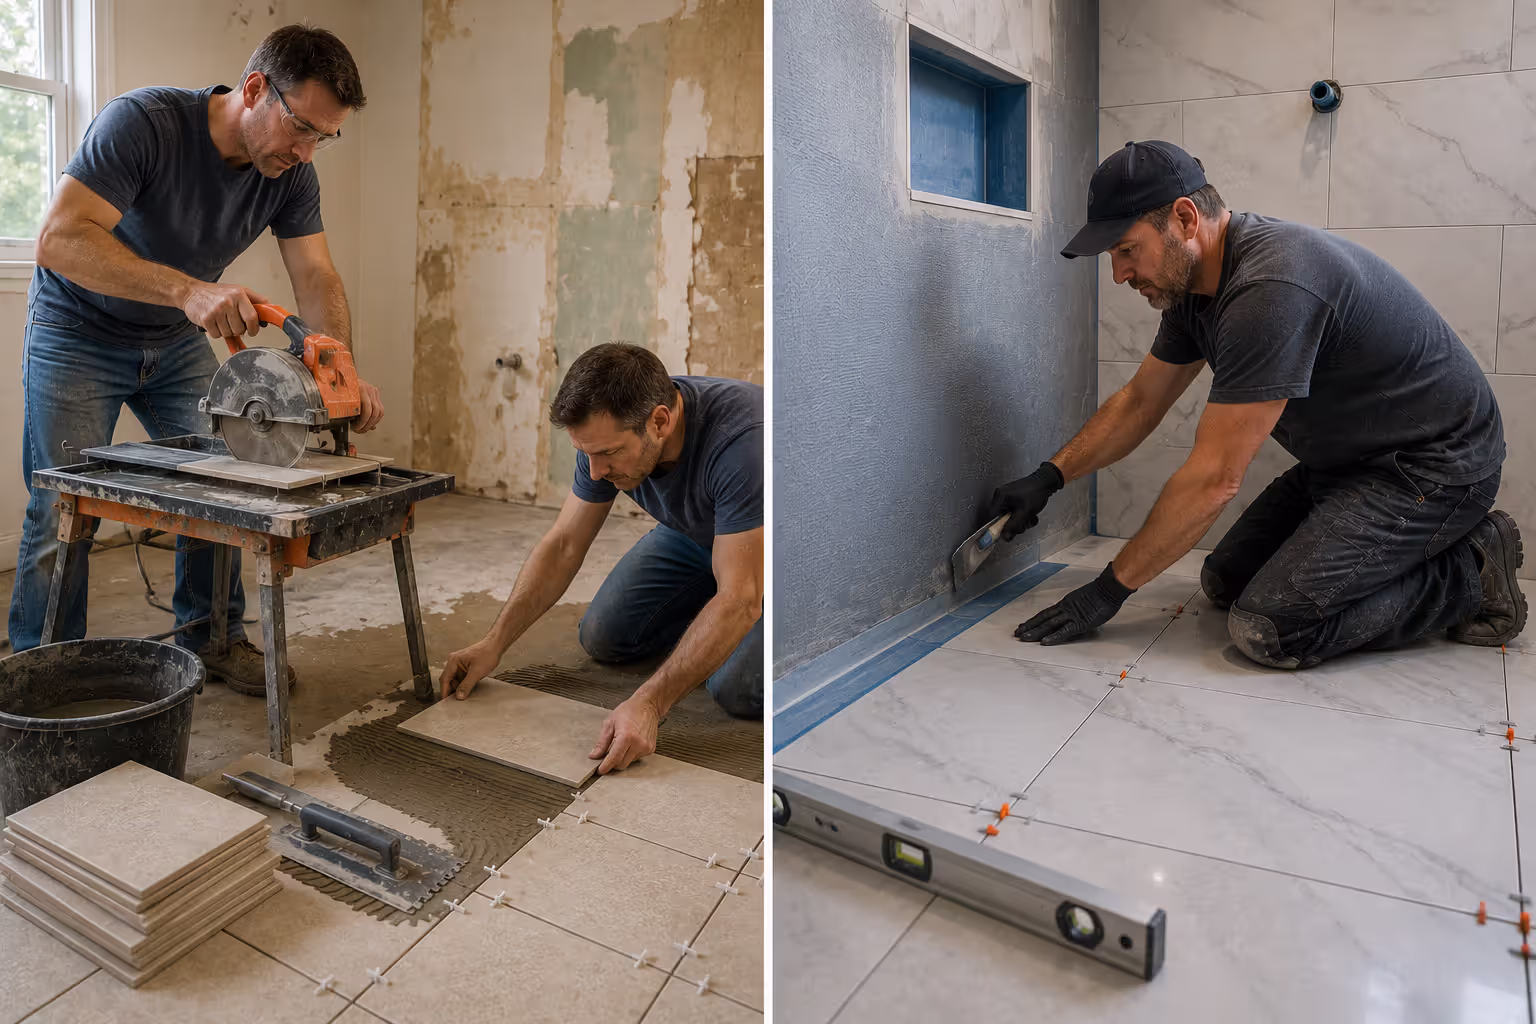
Modern walk-in shower with porcelain tile and frameless glass enclosure
How Much Does It Cost to Tile a Shower?

Content
Here's what nobody tells you at the tile store: that gorgeous display shower they've got set up? It probably cost $8,000 to install. Meanwhile, your neighbor down the street just redid their guest bath shower for $1,600. The typical homeowner lands somewhere between $1,400 and $4,500, though I've watched budgets explode past $10,000 when someone discovers Calacatta Gold marble or decides their walk-in needs three separate shower heads. You're not just buying tiles—you're paying for demolition, waterproofing that actually works, fixing whatever disaster is hiding behind your current walls, and someone who knows how to cut a tile without chipping it. Let's dig into where every dollar goes and what you should actually plan to spend.
Average Shower Tiling Costs in the US
Most people end up writing a check for around $2,800 when it's all done. That assumes you've got a regular-sized shower—nothing fancy—and you're using ceramic or basic porcelain instead of imported Italian marble.
Different shower sizes hit your wallet differently:
Compact showers (32–48 square feet): Expect to spend $1,400–$2,800. These are your basic builder showers, the cramped stalls in condos, or that half-bath you never use. Less tile to buy, faster installation, smaller bills. A good crew wraps these up in two days, maybe stretching to three if they're ripping out old tile first.
Standard showers (48–80 square feet): You're looking at $2,500–$5,000 here. This covers most tub-to-shower conversions and the standard walk-ins you see in suburban homes built in the last thirty years.
Spacious showers (80+ square feet): Now we're in the $4,500–$10,000+ territory. These luxury jobs include built-in benches, rainfall heads, body jets, recessed niches for your seventeen different shampoo bottles, and all those extras that make contractors grin because they're billing hourly.
Labor typically devours about 60% of what you'll pay, with materials grabbing the remaining 40%. Why does labor cost so much? Because tiling isn't something you rush through if you want it to look decent and not leak. Professional installers bill anywhere from $10 to $35 per square foot for their time alone—and that spread depends heavily on your zip code and whether you want a simple grid pattern or something that requires an engineering degree to plan out.
Geography matters more than you'd think. How much to tile a shower in Boston or San Diego runs 25–40% higher than the same job in Omaha or Boise. That's just construction economics in expensive metro areas.
Author: Nathan Cole;
Source: johnhranec.com
Factors That Affect Shower Tile Installation Costs
No two showers cost exactly the same. Here's what actually drives your final number up or down.
Shower Size and Layout
Square footage is straightforward—bigger space needs more tile. But here's where it gets interesting: layout complexity.
A basic three-wall rectangular enclosure? That's easy work. Your contractor's team moves fast. Now throw in a corner bench, two shampoo niches, or some angled walls, and suddenly you're paying 30–50% more for labor. Every angle needs precision cuts. Every transition point has to line up perfectly. One sloppy cut and you'll notice it every single morning for the next fifteen years.
Ceiling height changes everything too. Standard 8-foot walls are quick work. But those dramatic floor-to-ceiling installations or vaulted ceilings extending past 10 feet? You're renting scaffolding, buying extra materials, and watching your installer work at half-speed because they're reaching overhead all day.
Tile Material and Quality
This is where budgets either stay reasonable or completely fall apart. Basic ceramic starts under a buck per square foot. Handmade Moroccan zellige or book-matched marble slabs? You're pushing $50+ per square foot before anyone even opens their toolbox.
Here's something most homeowners miss: large-format tiles (think 12x24 or bigger) can actually trim your labor costs. Fewer individual pieces means faster installation. But those adorable penny-round mosaics you pinned on Pinterest? They'll double your labor bill even though the actual tiles might cost less per square foot. Every tiny piece takes time to set.
Labor Rates by Region
Your location determines your labor costs more than almost anything else. Here's what tile setters actually charge for installation work:
- Small towns and rural areas: $8–$15 per square foot
- Mid-sized cities: $12–$22 per square foot
- Major metros and coastal cities: $20–$35 per square foot
- High-end luxury markets: $30–$50+ per square foot
The same craftsman doing the same quality work charges $12 in rural Alabama and $35 in Manhattan. It's not about skill—it's about market rates, cost of living, and what the local competition charges.
Demolition and Prep Work
This is where "surprise" costs ambush your budget. You can't just stick new tile over old tile (okay, technically you can, but you'll regret it). Proper installation means tearing out everything down to the studs.
Ripping out existing tile runs $3–$8 per square foot. And here's the fun part—you won't know what's behind that tile until it comes off. Damaged cement board? Moldy drywall? Surprise plumbing issues? That's another $2–$5 per square foot for substrate replacement. Waterproofing membranes add $1.50–$3 per square foot, but skip this step and you'll be dealing with black mold in three years.
Then there's the stuff nobody can predict: plumbing that needs relocating, electrical work for new fixtures, or discovering your shower pan was installed wrong in 1987. Keep $500–$3,000 in reserve for these pleasant surprises.
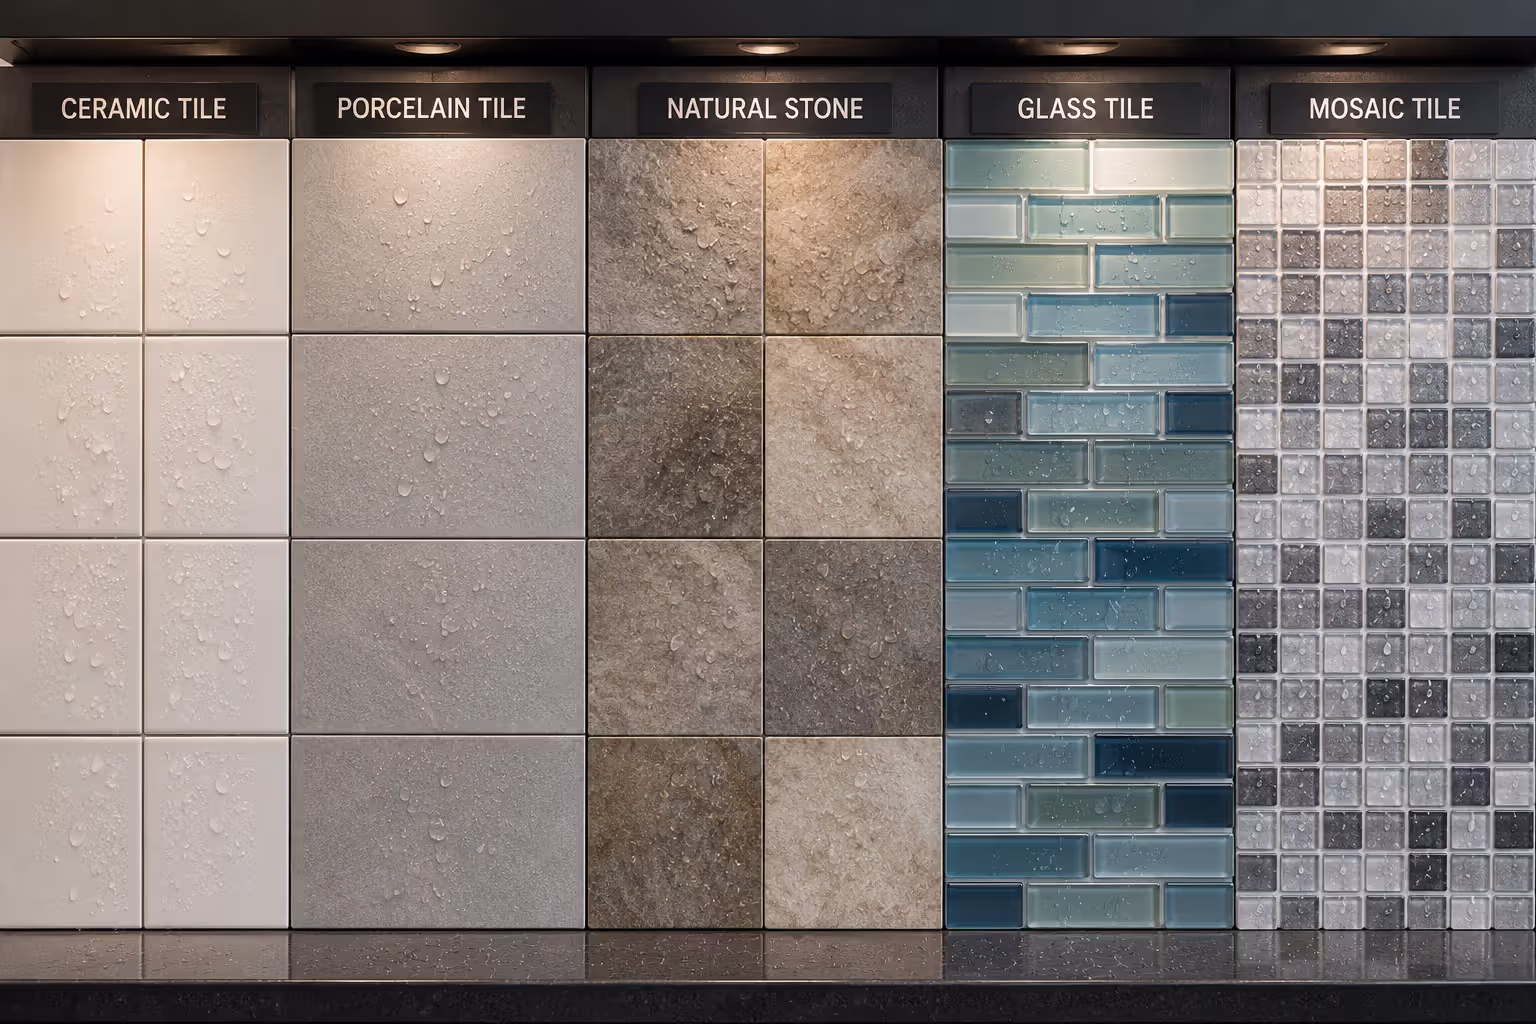
Shower Tile Material Costs Comparison
Author: Nathan Cole;
Source: johnhranec.com
Picking tile means balancing what it costs today against how long it'll last and whether you'll still like looking at it in five years. Here's the breakdown:
| Tile Type | Cost Range (per sq ft) | How Long It Lasts | Water Resistance | Maintenance Needs | Where It Works Best |
| Ceramic | $0.50–$7 | Good for 7–10 years | Handles moisture well | Wipe and forget | Walls on a budget |
| Porcelain | $3–$12 | Excellent—15+ years | Best in class | Virtually none | Floors and high-traffic |
| Stone (marble, slate, etc.) | $10–$50 | Depends on sealing | Needs maintenance | High—annual sealing | Accent walls only |
| Glass | $7–$30 | Decent but can chip | Very good | Shows water spots | Feature walls |
| Mosaic | $5–$25 | Varies by material | Very good | Grout needs attention | Floors for slip resistance |
Ceramic tile remains the budget-friendly workhorse. It's everywhere, it's affordable, and it handles bathroom moisture just fine. The glazed surface keeps water out, and modern ceramic can fake the look of pricier materials pretty convincingly. The downside? It chips and cracks more easily than porcelain, especially on floors where you're standing.
Porcelain tile costs more initially but you'll replace it less often. It's denser, harder, and more water-resistant than ceramic. Temperature changes don't bother it, stains don't penetrate easily. When people ask about ceramic vs porcelain tile for bathroom projects, I point them toward porcelain for floors where durability matters. Ceramic works fine for walls where nothing's getting dropped on it.
Natural stone looks incredible but demands ongoing attention. Marble, slate, travertine, granite—each one brings unique character and color variation. You're spending $10–$50 per square foot, plus you'll be maintaining it forever. Stone is porous, which means proper waterproofing underneath and annual resealing on top to prevent water damage and discoloration.
Glass tile catches light beautifully and adds depth, but don't cover every surface with it. It shines as an accent band or feature wall. Glass shows every water spot and soap scum streak, so you're constantly wiping it down. It also reveals every imperfection in the wall behind it, which means your installer needs to be absolutely meticulous with their prep work.
Mosaic tiles excel on shower floors for one simple reason: slip resistance. Those smaller pieces create more grout lines, which means better traction when everything's wet. You can get mosaics in ceramic, porcelain, glass, or stone. Installation takes forever though—all those tiny pieces mean serious labor hours, so expect higher installation costs even when the tile material itself is reasonably priced.
The best tile material for bathrooms? For most people, porcelain hits the sweet spot of durability, water resistance, and reasonable cost without requiring constant maintenance.
Retiling vs. New Tile Installation Costs
How much does it cost to retile a shower versus starting fresh? Retiling typically runs 20–40% higher because you're paying for demolition and fixing whatever problems are hiding behind your current installation.
Fresh installations in new construction or completely gutted bathrooms run $1,200–$3,500 for standard-sized showers. You're starting with clean substrate, proper waterproofing already installed, and zero surprises. Installers work efficiently without stopping every hour to deal with demo debris or repair water-damaged walls.
Retiling existing showers stacks up additional costs:
- Removing old tile: $200–$600 depending on your shower size and what kind of tile is coming off. Small mosaics take forever to chisel out. Stone tiles weigh a ton and require more labor to demolish and haul to the dumpster.
- Fixing the substrate: $150–$800. You won't discover what's behind that tile until it's gone. Water damage, mold, crumbling cement board—all of it needs fixing before new tile goes up.
- Updated waterproofing: $100–$400. Modern waterproofing systems perform better than whatever was installed 10+ years ago. This step isn't negotiable.
- Hauling debris: $75–$200. Old tile is surprisingly heavy and disposal isn't free.
How much to retile a shower really depends on what your contractor uncovers during demolition. Set aside an extra 25% beyond your initial estimate for unexpected repairs. This cushion keeps your project moving forward when someone peels back tile and discovers problems you didn't know existed.
The upside? Retiling gives you a chance to fix mistakes from the original installation. Poor drainage, incorrectly sloped floors, inadequate waterproofing—you can correct all of it now. You're not just getting prettier tile; you're getting a properly built shower that'll last decades without leaking.
DIY Shower Tiling vs. Hiring a Professional
Can you save thousands by doing it yourself? Potentially. But there's an enormous gap between watching installation videos online and actually understanding how to properly waterproof and tile a shower enclosure.
Author: Nathan Cole;
Source: johnhranec.com
DIY costs run $800–$1,800 for materials and supplies in a typical shower. Your shopping list includes:
- Tile plus all the trim pieces
- Thinset and grout
- Waterproofing membrane system
- Cement board or backer panels
- Tile saw (rent for $50–$100/day or buy for $150–$600)
- Various trowels, spacers, levels, and hand tools
- Sealers and finishing products
That's just the money part. Now add 40–80 hours of your time if you're figuring things out as you go. Mastering tile work takes practice, and your first shower isn't going to be perfect.
Professional installation runs $2,000–$4,500 for the same shower, but you're buying experience, proper waterproofing technique, and warranty coverage. Skilled professionals finish in 3–5 days what takes you 2–3 weeks of evenings and weekends.
The real DIY danger isn't whether your tile lines look straight—it's waterproofing. Screw up the waterproofing and you'll have mold, wood rot, and structural damage costing $5,000–$15,000 to remediate. One missed step in membrane application or improper mortar consistency compromises the entire installation. You won't know you messed up until water starts leaking into your walls.
When DIY makes sense: You've tiled before, you're comfortable with precision work, and you're tackling a small, straightforward shower with basic materials.
When to hire a pro: Complex layouts, expensive materials, large showers, or zero tile experience. The cost difference between DIY and professional work shrinks considerably when you factor in tool purchases, wasted materials from your learning mistakes, and what your time is actually worth.
This bathroom tile renovation guide offers straightforward advice: if you're questioning whether you can handle it, you probably can't. Experienced DIYers don't second-guess their abilities—they already know what they're capable of executing properly.
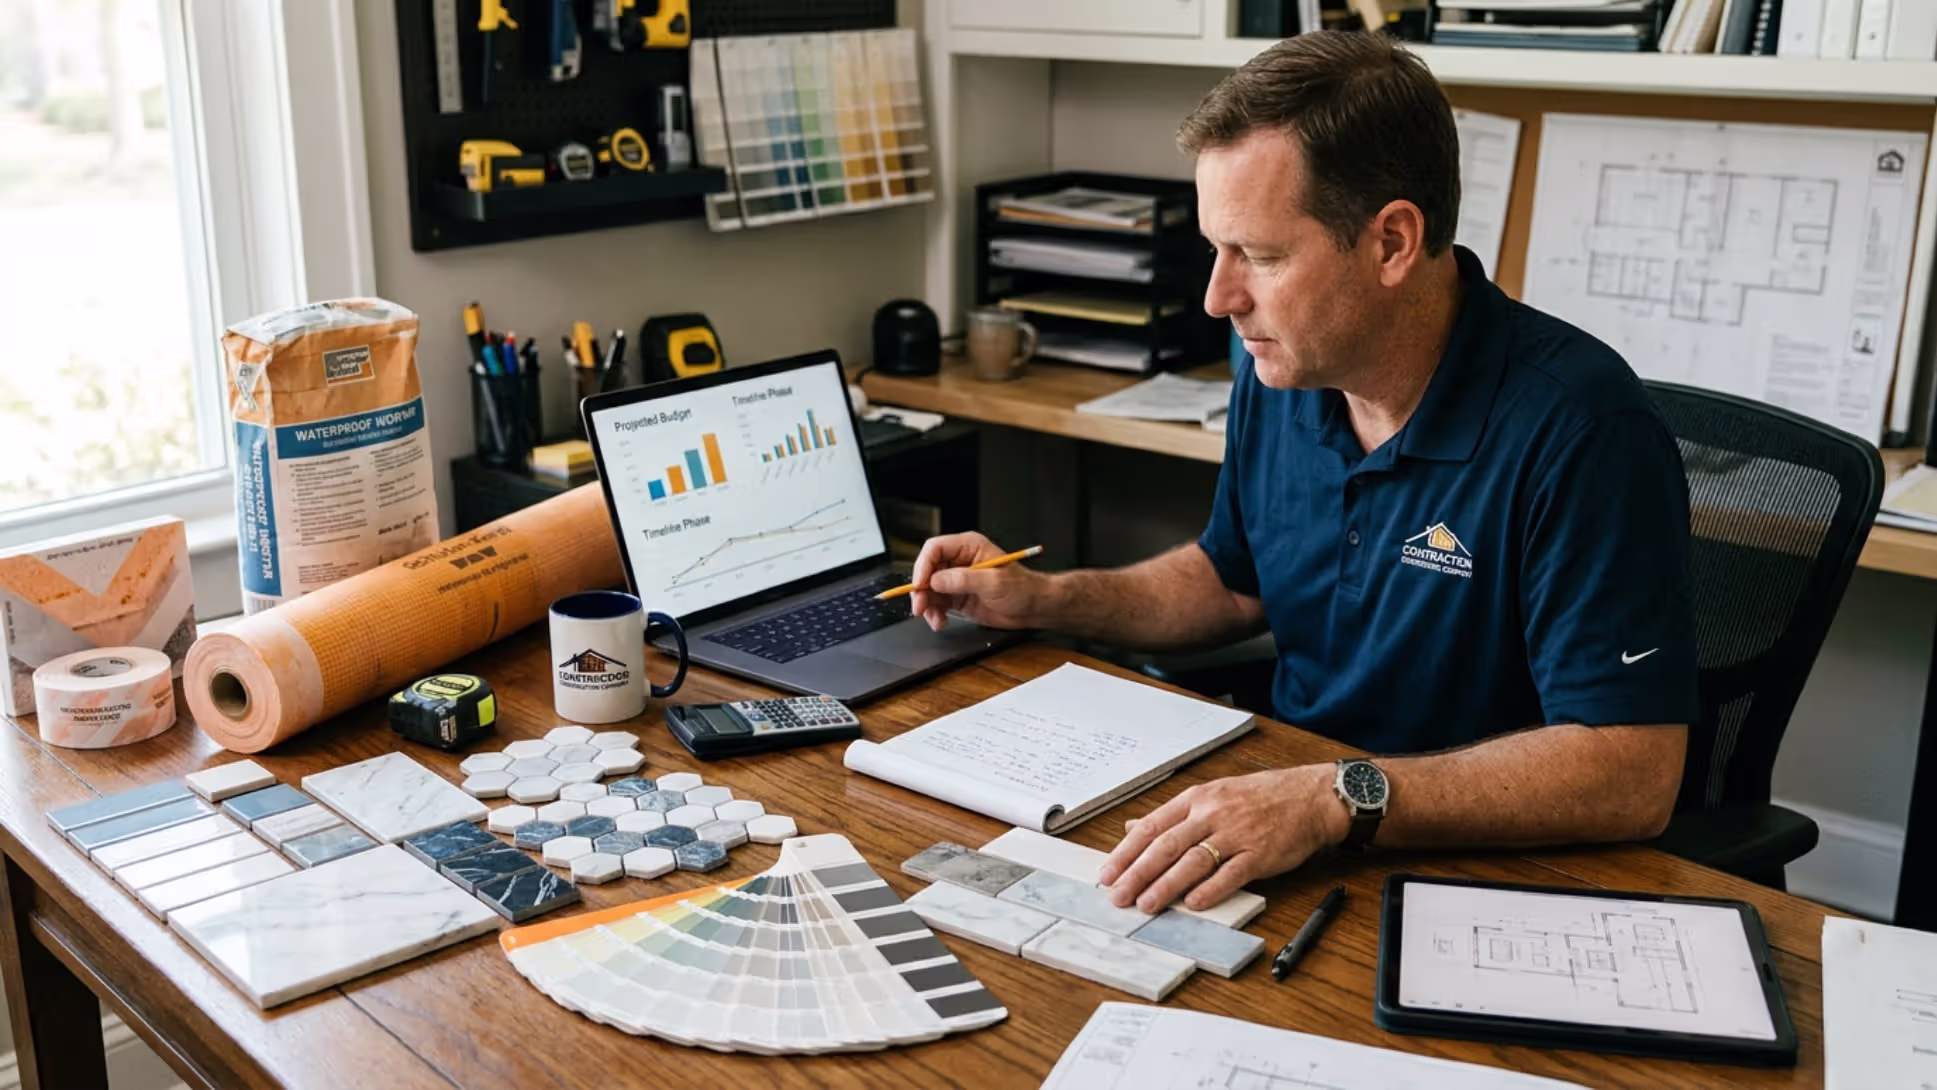
How to Plan and Budget for Your Shower Tile Project
Smart planning prevents budget disasters. Start with these steps:
Get at least three quotes. Written proposals should itemize labor, materials, prep work, and timeline separately. Avoid quotes that lump everything into one mysterious number—you need transparency to compare accurately.
Hidden costs that'll show up:
- Permits: $50–$200 in most jurisdictions
- Plumbing adjustments: $200–$1,500 if fixtures need moving
- Electrical work: $150–$800 for new lighting or outlets
- Better ventilation: $150–$500 for upgraded exhaust fans
- Finishing materials: $100–$400 for caulk, sealers, and trim
Add 15–20% to your highest quote for contingencies. This buffer handles surprises without stopping your project dead.
Author: Nathan Cole;
Source: johnhranec.com
Ways to cut costs without sacrificing quality:
Choose mid-range porcelain instead of natural stone. Performance is nearly identical, but costs differ dramatically. Use expensive tile strategically as accents and cover the rest with quality basics that look good.
Stick with standard sizes and simple layouts. Straight-set patterns cost less than herringbone, diagonal, or elaborate designs that require constant measuring and cutting.
Do your own demo work. Removing old tile requires muscle and a hammer, not specialized expertise. You'll save $200–$600 in labor if you're willing to handle demolition and haul debris yourself.
Buy tile directly from distributors instead of big-box stores. You'll often find better prices and more selection, though you need to know exactly what you want before walking in.
Timeline expectations: Count on 1–2 weeks from start to finish for typical showers. That includes demo, prep, installation, grouting, and curing time. Your shower can't be used for 72 hours after grouting, and full curing takes up to two weeks before you should seal grout.
Schedule during dry weather if possible. Humidity affects curing times and can complicate waterproofing application.
The biggest mistake homeowners make is choosing tile before understanding their substrate condition and waterproofing requirements. I've ripped out beautiful tile installations that failed within three years because someone skipped proper prep work to save $400. Spend your money on what's behind the tile first, then buy the prettiest tile your remaining budget allows.
— Morrison James
Grout renovation tips matter more than people realize. Grout color affects maintenance—darker grouts hide staining better but can make small showers feel cramped. Epoxy grout costs more ($4–$8 per pound versus $1–$3 for cement grout) but resists staining permanently and never needs sealing. For shower floors and high-use areas, epoxy grout justifies the premium.
Seal natural stone before grouting and again after. Cement-based grout needs sealing 72 hours after installation and annually thereafter. Skip this maintenance and you'll get staining, mildew, and deterioration.
Frequently Asked Questions