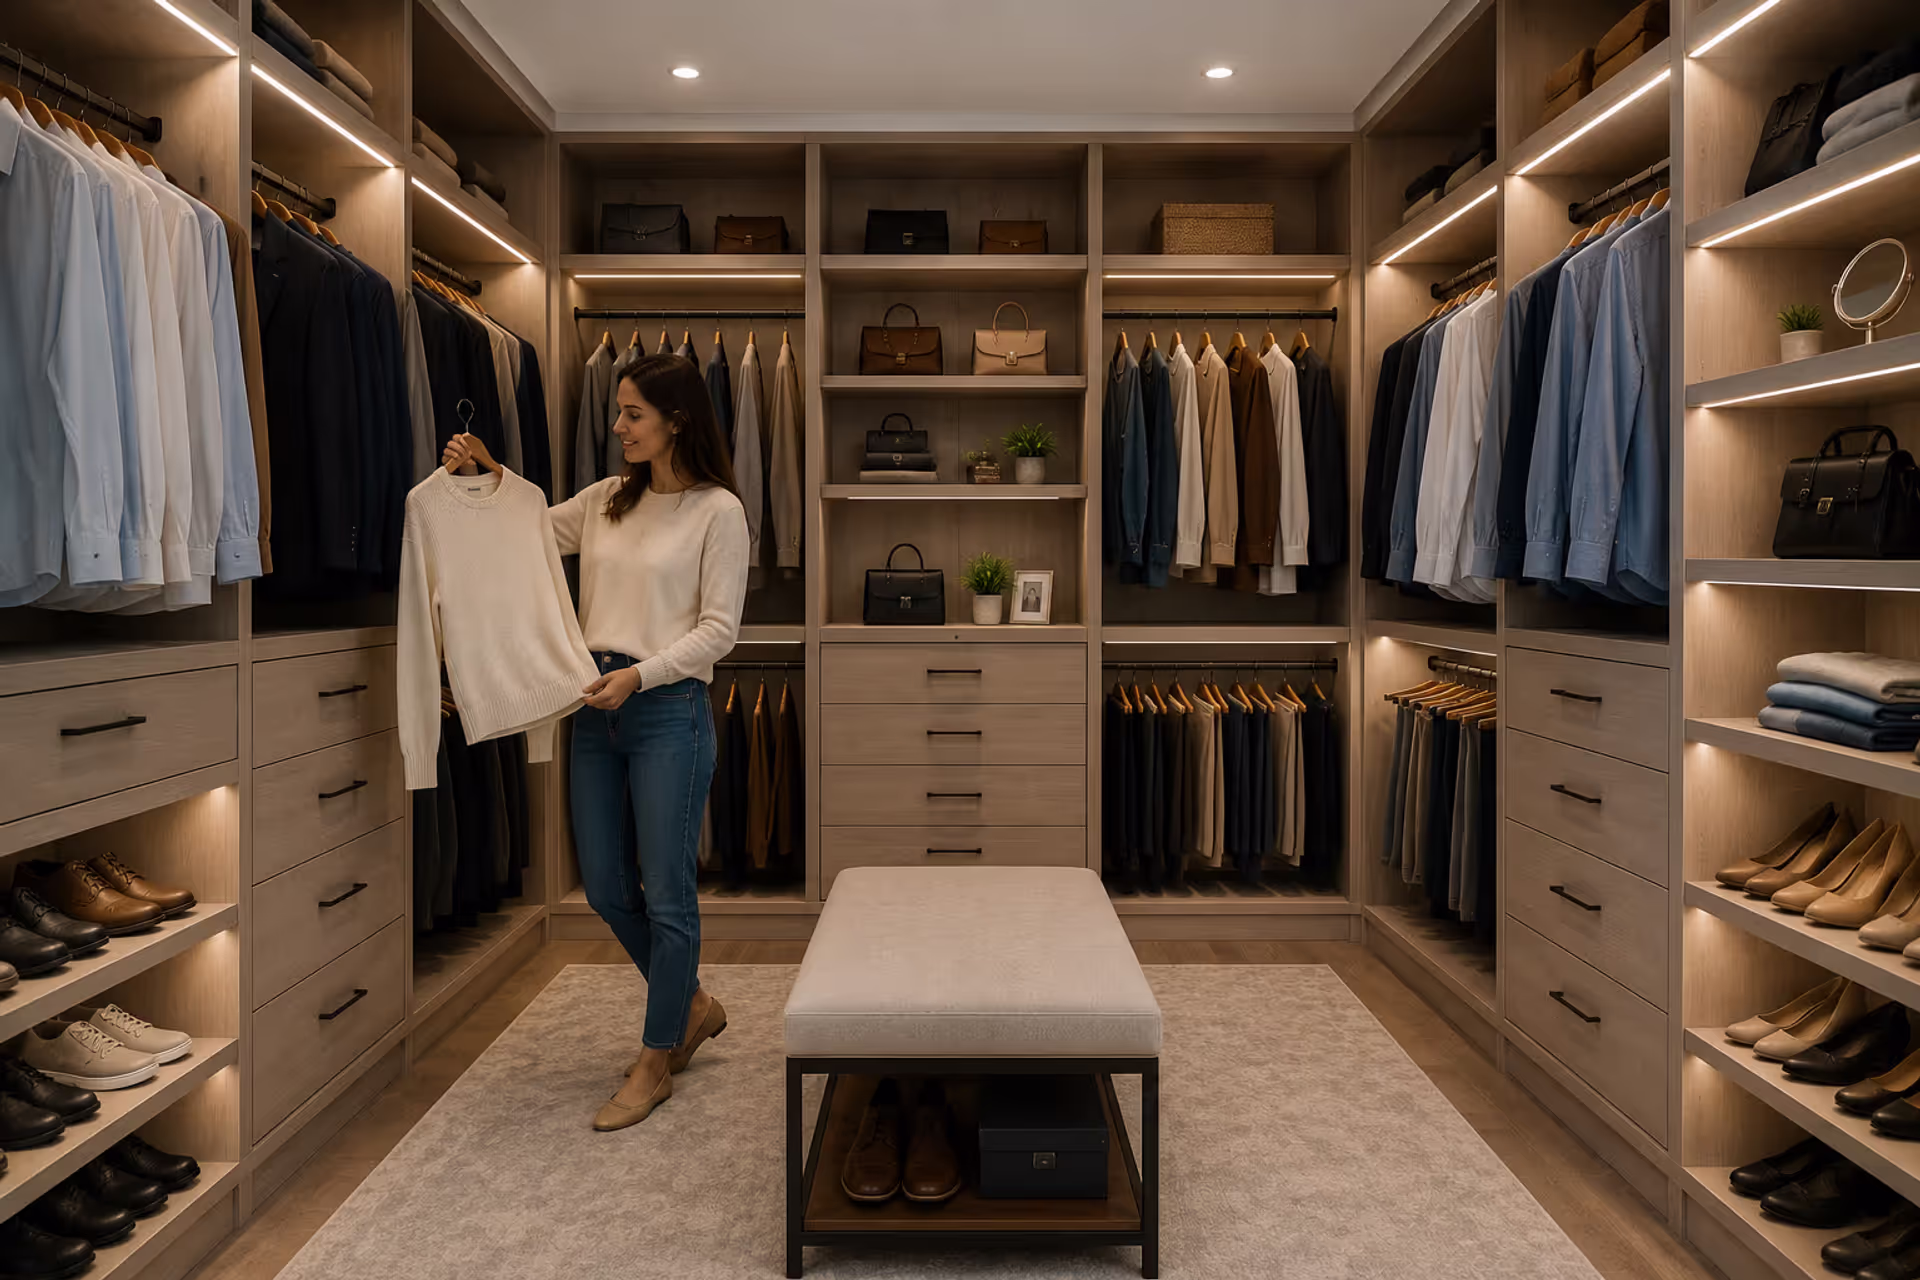
Modern walk-in closet with custom built-in storage and organized wardrobe
How to Plan and Execute a Closet Remodel?

Content
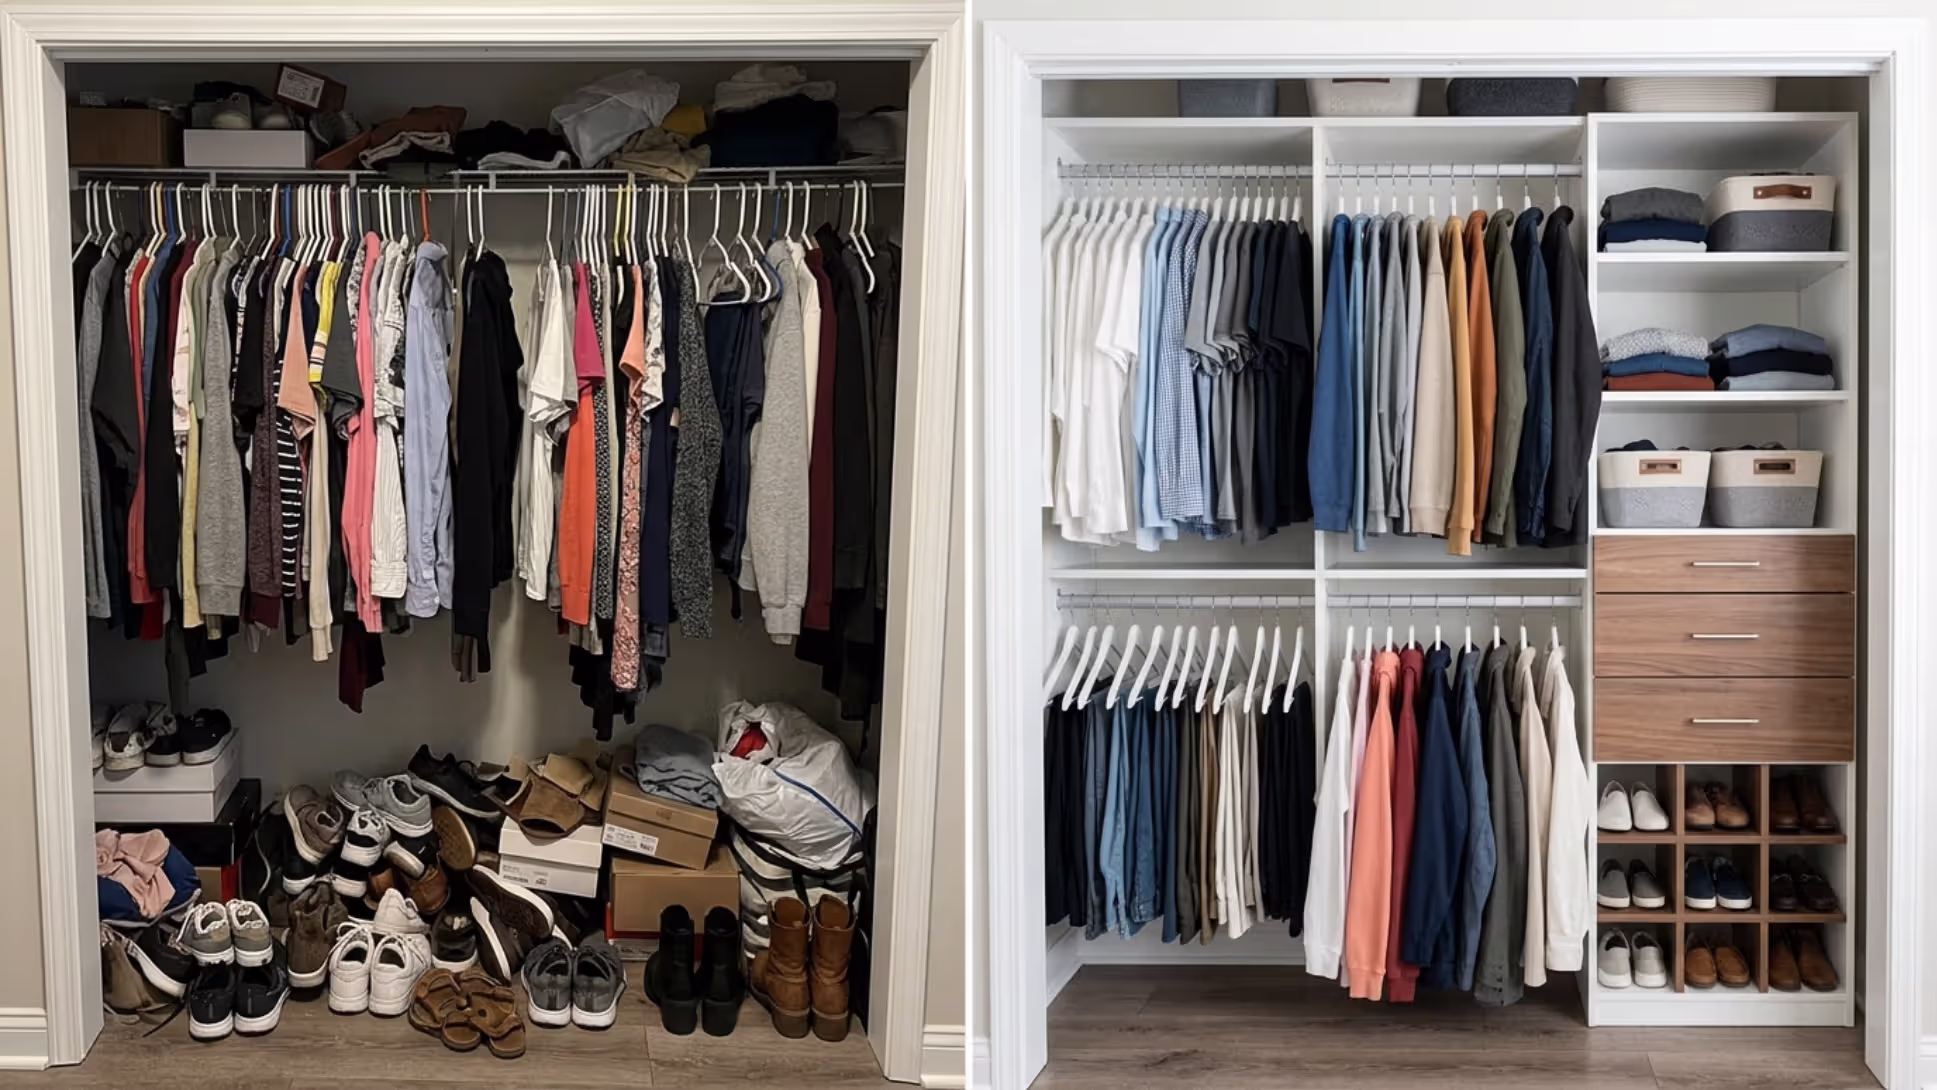
Last month, my neighbor spent $8,000 on a walk-in closet that looks like a showroom but holds fewer clothes than her old setup. She designed it around the wardrobe she planned to buy, not the one hanging in her bedroom. I see this constantly—people fall in love with a design before they've counted their shoes or measured their door frame.
Here's what actually works: Grab a tape measure first. Count your hanging items second. Pick your Pinterest inspiration third. Most closet projects fail because people reverse that order. You'll save money and get better results by designing around reality instead of aspiration.
The good news? Even a $300 system installed on a Saturday can double your usable space if you plan it right. You're not competing with Architectural Digest. You're trying to find your favorite shirt on a Tuesday morning without digging through three piles.
Types of Closet Remodels and Their Benefits
Let's break down what each closet style actually gives you.
Walk-in closets need at least 25 square feet to function—that's a 5×5 space minimum. Anything smaller and you're building a walk-through, not a walk-in. The payoff is seeing your entire wardrobe at once. No more forgetting about that jacket buried behind winter coats. You can get dressed inside the closet instead of dragging options to your bed.
Reach-in closets are what 80% of bedrooms have: 24 inches deep, somewhere between 4 and 8 feet wide, one sad rod, maybe a shelf. A built-in closet renovation multiplies capacity by stacking rods and adding drawer units. You're stuck with the footprint, but you can fit three times more stuff.
Built-in closets mean custom storage that's permanently installed. These work in hallways, under stairs, in awkward corners—anywhere you can carve out 22 inches of depth. The advantage is zero wasted space. Every shelf sits at exactly the right height for your stuff.
A place for everything, and everything in its place.
— Benjamin Franklin
Linen closets get ignored during renovations, which is why your towels live in a bathroom drawer and your sheets pile up on the guest bed. A proper linen closet keeps household supplies contained. It's not glamorous, but it prevents clutter from metastasizing.
Conversion projects steal space from somewhere else. That alcove collecting boxes? Closet. The area under your sloped attic ceiling? Closet. The back third of your 200-square-foot bedroom? Also closet. You're adding storage without adding square footage to your house.
Closet Design Ideas by Type
Walk-In Closet Remodel Ideas
Create zones instead of treating the whole space like one big closet. Left wall for hanging, right wall for folded items, back wall for shoes. Your brain processes organized zones faster than mixed storage.
Double hanging rods are the cheapest way to double capacity. Shirts need 40 inches of vertical clearance. Stack two rods and suddenly you've got space for 80 shirts instead of 40. Save the 65-inch single-height hanging for dresses and coats—most people need less of this than they think.
Center islands look impressive but only make sense if your walk-in is at least 8 feet wide. In a narrow 5-foot-wide space, an island blocks movement. Mount a dresser unit on the wall instead. Same drawer storage, doesn't kill your floor space.
Lighting separates amateur closets from professional ones. One ceiling fixture creates shadows exactly where you're trying to see colors and patterns. Run LED strips under shelves. Add puck lights inside cabinets. You own clothes you've forgotten about because you literally can't see them in dim corners.
Here's the mistake that drives me crazy: over-compartmentalizing. Twelve tiny cubbies for specific accessories sounds organized until you spend ten minutes every morning deciding which cubby holds which scarves. Use adjustable shelving. Your storage needs will change.
Reach-In Closet Upgrade Ideas
Reach-in closets punish inefficiency. You're working with maybe 32 cubic feet of space.
Rip out that single rod. Install double rods immediately. Upper rod holds off-season items at 80 inches. Lower rod at 40 inches keeps current clothes accessible. Add a shelf at 84 inches for luggage and the bin of Halloween decorations you drag out annually.
Pull-out baskets beat floor storage by a mile. Bending down to grab shoes off the closet floor gets old when you're 30. It's intolerable at 60. Slide-out bins bring everything to eye level. I installed these in my reach-in three years ago and my back thanks me daily.
The door is usable real estate. Over-door organizers look cheap and fall off, but mounted hooks or slim shelves hold weight properly. I've got five hooks on mine holding two weeks of scarves and belts.
Slimline hangers aren't just aesthetic. They're 30% thinner than drugstore plastic hangers. In a 6-foot closet, that's 15 extra garments. Do the math—you're paying $25 for slimline hangers to gain $2,500 worth of closet space.
Bedroom Closet Expansion Ideas
Sometimes you need to steal space from neighboring areas.
Hallways are prime targets. If yours is 48 inches wide, you can bump your closet out 12 inches and still leave the required 36-inch corridor clearance. Check codes first—requirements vary. But adding a foot of depth transforms a shallow closet into a functional one.
Combine two undersized closets by demolishing the wall between them. Older homes often have matching 3-foot closets in adjacent bedrooms. One shared 6-foot closet with proper organization beats two cramped ones. This works great for kids sharing a room or for converting a bedroom into an office-plus-storage space.
Expand upward if you've got attic access above. Raising the ceiling into unused attic space costs less than horizontal expansion. You gain high-level storage for Christmas decorations and camping gear. Not every house allows this, but when it works, it's cheaper than building out.
Small Closet Renovation Ideas
Small closets magnify every planning mistake.
Corner shelves capture the triangular dead zones that standard rectangular shelving creates. I measured once—corners waste about 15% of a small closet's volume. Curved shelving units or L-shaped configurations recover most of that.
Hooks are miracle workers. One hook holds seven scarves. A row of hooks at staggered heights organizes belts, purses, and hats without consuming shelf space. I've got eight hooks in my 3-foot closet doing the work of three shelves.
Tension rods create shelves without drilling holes. Wedge one between walls about 12 inches below the top shelf. Stack folded sweaters or purses on top. When your needs change, pull it out. No damage, no commitment.
Simplicity wins in tight spaces. Three clearly defined zones beat ten tiny cubbies that never hold the right items. I learned this by over-organizing a small closet with specialty dividers for every accessory type. Spent more time organizing than using it.
Author: Nathan Cole;
Source: johnhranec.com
Key Dimensions and Space Planning
Wrong measurements mean expensive do-overs. Measure twice, drill once.
Closet depth standards:
- Reach-in: 24 inches (22 inches minimum before it's too shallow)
- Walk-in sides: 24-30 inches per wall, 36-inch aisle minimum
- Linen: 15-24 inches depending on what you're storing
How deep should a linen closet be? Between 18 and 20 inches hits the sweet spot. That's enough depth for folded towels and sheet sets without items disappearing into the back. Go shallower than 15 inches and queen-size sheets won't fit folded. Go deeper than 24 inches and you'll need pull-out shelves to access anything. I've got a 19-inch linen closet and can reach everything from the front.
Hanging rod heights:
- Single rod: 60-68 inches (66 is standard, but adjust for your height)
- Upper rod in double-rod setup: 80-84 inches
- Lower rod in double-rod setup: 40-42 inches
- Long dresses and coats: 70 inches minimum
Shelf spacing:
- Between shelves for folded clothes: 12-16 inches
- Between shelves for shoes: 10-12 inches
- Top shelf for storage bins: 84 inches or higher
Clearances that matter:
- Rod to shelf above it: 3 inches minimum (hangers need room to hook)
- Rod to back wall: 12 inches (so hangers hang parallel, not diagonal)
- Shelf depth: 12 inches for most items, 14 inches for shoes
Counterintuitive fact: deeper isn't automatically better. A 30-inch-deep closet sounds luxurious until you lose items in the back. I've watched people install 30-inch shelves, then stack items two-deep, then forget what's in back. The functional sweet spot is 24-25 inches. Anything deeper needs pull-out systems.
Author: Nathan Cole;
Source: johnhranec.com
Step-by-Step Closet Remodel Process
Here's how to actually execute a custom closet remodel without expensive mistakes.
Planning phase (1-2 weeks)
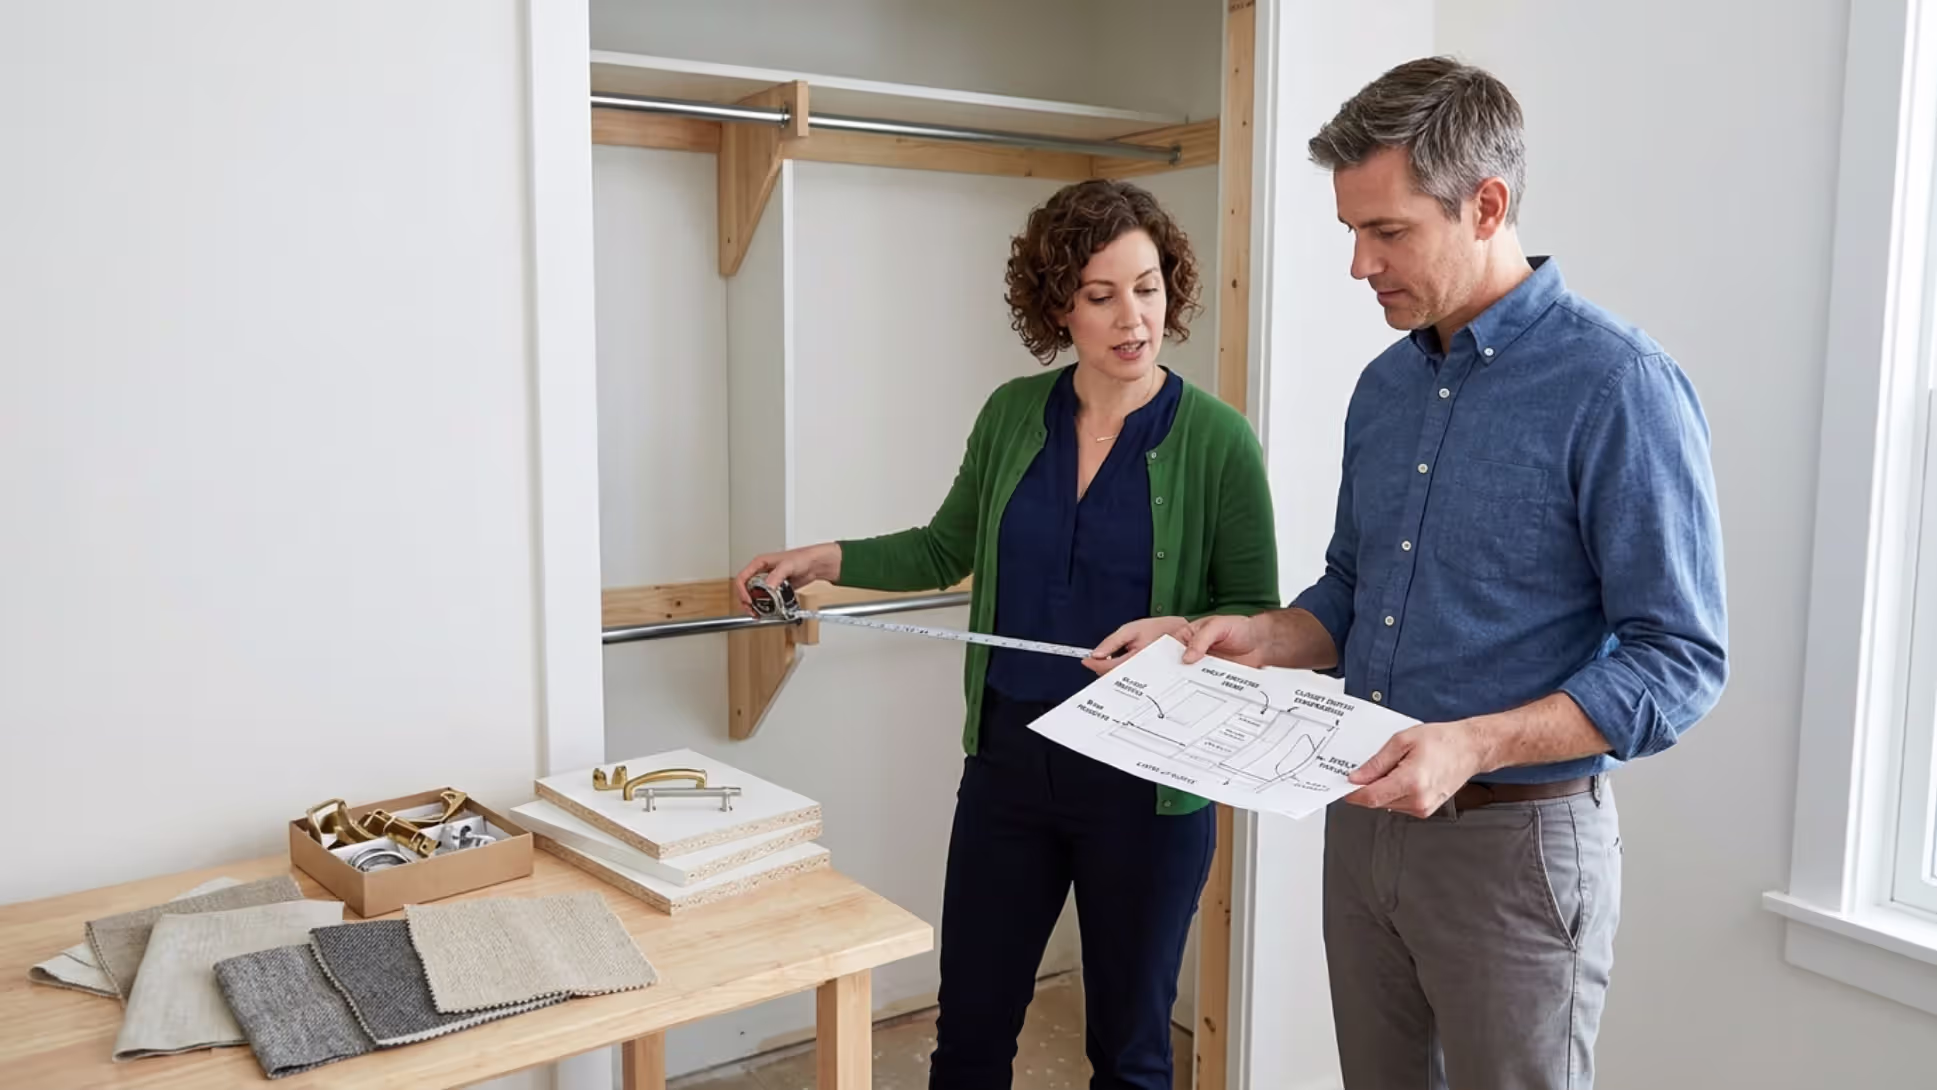
Measure width, depth, and height. Note where outlets and vents sit. Take photos from multiple angles—you'll reference these constantly. I keep measurements and photos in a shared album so I can check them from the hardware store.
Count what you're storing. Hanging items, folded stacks, shoe pairs, accessories. Add 20% for future growth. My wife and I did this before our walk-in remodel and discovered we had 60% more shoes than we thought. Changed our entire plan.
Choose between DIY and hiring professionals. Simple adjustable shelving systems? DIY. Custom built-ins with drawers and specialty hardware? Hire pros. The dividing line is complexity and your comfort with a drill.
Demolition (1 day)
Remove existing rods, shelves, and brackets. Patch holes with spackle so paint goes on smooth. If you're changing the closet's footprint by moving walls, that's when demolition gets serious. Also when permits become necessary.
Inspect for problems while walls are open. I found a slow pipe leak during a closet renovation that would've caused thousands in damage if we'd closed it back up. Check for electrical issues, plumbing problems, or mold.
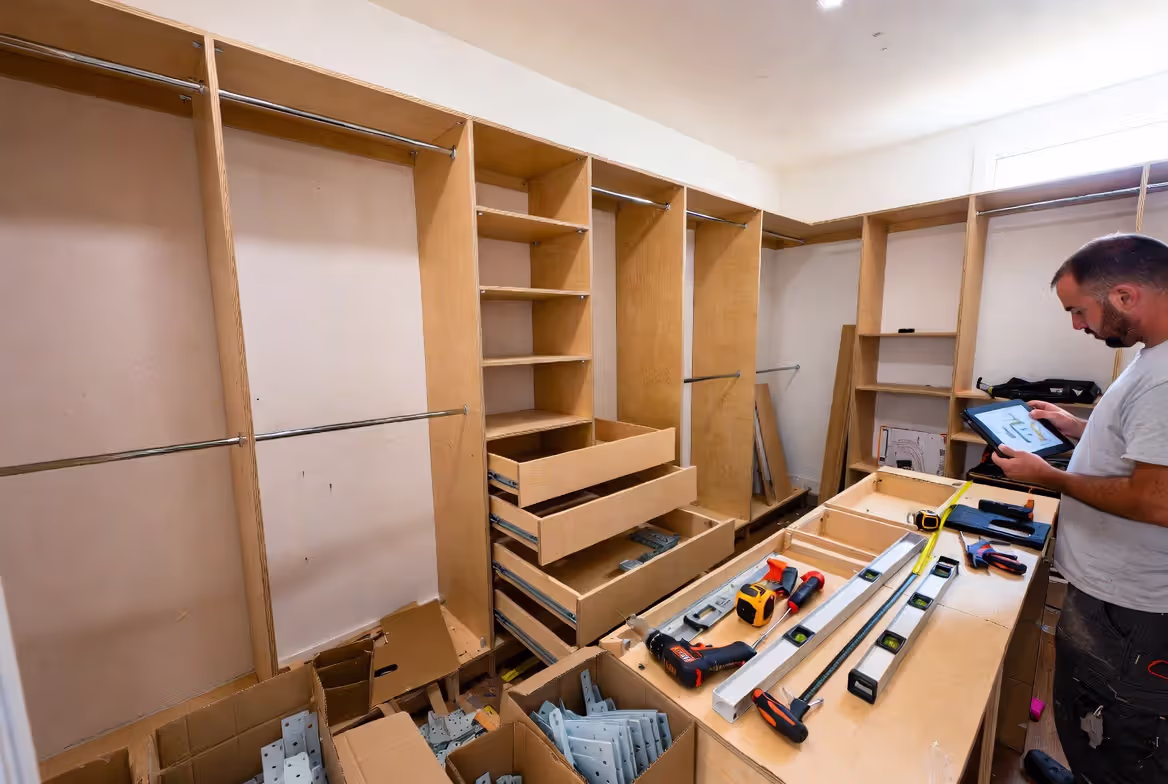
Installation (1-3 days)
Handle structural changes first—new walls, relocated doors, electrical work for lighting. Then paint. Painting after the closet system is installed means taping off everything and inevitably getting paint where you don't want it.
Install top to bottom. Upper shelves first, then rods, then lower shelves and drawers. Working top-down prevents you from leaning over finished sections and damaging them.
Level everything obsessively. A rod that's half an inch off over 6 feet looks terrible and makes hangers slide to one end. I use a 6-foot level and check twice.
Finishing touches (1 day)
Add lighting, hooks, and accessories. Install baskets, drawer dividers, and specialty hangers. This is when the closet transforms from construction project to usable space.
Load strategically. Eye-level items are what you use daily. Seasonal items go high. Shoes and bags go low. I rearrange my closet twice a year when seasons change.
The biggest installation mistake? Rushing measurements because you're excited to see progress. A rod mounted one inch too low won't fit long coats. A shelf too high becomes wasted space. Measure twice, drill once. I've learned this the expensive way.
Closet Conversion Tips
Unused space can become functional closets without adding to your home's footprint.
Under-stair closets work perfectly for coats, cleaning supplies, or pantry overflow. The challenge is working with sloped ceilings. Use the tallest section for hanging rods and transition to shelves as the ceiling drops. Standard rectangular shelving wastes 40% of the space. Custom angled shelving costs more upfront but delivers triple the storage.
Alcoves and nooks sit empty in many homes. I've got a 3-foot-wide alcove in my hallway that collected junk for years. Added bifold doors and a rod-and-shelf system for $400. Instant coat closet. Minimum dimensions: 22 inches deep and 36 inches wide to be actually useful.
Bedroom subdivisions work when you've got an oversized bedroom—at least 140 square feet. Sacrifice 30-40 square feet to build a walk-in closet. Requires a new wall, which triggers permits, electrical considerations, and HVAC adjustments. My friends did this and said the smaller bedroom feels more relaxing because clothes aren't visible.
Permits and structural concerns:
Cosmetic updates don't need permits. Swapping shelving systems or repainting? You're fine. But you'll need permits for:
- Removing or building walls
- Moving electrical or plumbing
- Relocating doors
- Adding square footage
Local requirements differ—call your building department before starting. Permit issues during home sales are nightmares.
Don't assume empty space can become a closet. Check for HVAC vents, electrical panels, or plumbing access that can't be blocked. I almost built a closet over a water shutoff valve. Would've been a disaster during the next plumbing emergency.

Author: Nathan Cole;
Source: johnhranec.com
Costs and Timeline Expectations
Budgets swing wildly based on closet type and finish level.
Reach-in closet costs:
- DIY wire or laminate system: $200-$600
- Mid-range custom system: $800-$2,000
- High-end built-in with drawers: $2,000-$5,000
Walk-in closet costs:
- Basic DIY system: $500-$1,500
- Professional custom installation: $2,500-$7,000
- Luxury with island and premium finishes: $10,000-$25,000+
Built-in renovation costs:
- Simple shelving and rods: $300-$1,000
- Custom cabinetry: $3,000-$8,000
Linen closet costs:
- DIY adjustable shelving: $100-$300
- Custom built-in: $500-$1,500
Conversion project costs:
- Basic conversion with drywall and door: $1,500-$4,000
- Complex conversion with electrical and HVAC: $4,000-$10,000+
DIY versus hiring professionals:
DIY saves 40-60% on labor but takes longer. I installed a reach-in system myself in 6 hours. Pros would've done it in 3. Walk-in systems are more complex—budget a full weekend for DIY versus one day for professionals.
Go DIY if you're comfortable with a drill, level, and stud finder. Hire pros for electrical work, complex custom cabinetry, or tight deadlines.
Project timelines:
- Planning and ordering materials: 1-3 weeks
- DIY reach-in installation: 1 day
- Professional reach-in installation: 4-6 hours
- DIY walk-in installation: 2-3 days
- Professional walk-in installation: 1-2 days
- Full conversion project: 1-3 weeks
Supply chain delays are unpredictable. Custom systems can take 4-8 weeks to manufacture and ship. I ordered a system in March that arrived in May. Order early if you're working around a deadline.
| Closet Type | Typical Dimensions | Cost Range | Installation Time | Best Use Case |
| Walk-in | 5×5 ft minimum, 24-30" depth per side | $2,500-$25,000+ | 1-3 days | Master bedrooms, dedicated dressing rooms |
| Reach-in | 4-8 ft wide, 24" deep | $800-$5,000 | 4-8 hours | Standard bedrooms, guest rooms |
| Linen closet | 18-24" deep, 2-4 ft wide | $100-$1,500 | 2-4 hours | Bathrooms, hallways, laundry areas |
| Built-in | Custom to space | $1,000-$10,000+ | 1-3 days | Any room needing tailored storage |
Author: Nathan Cole;
Source: johnhranec.com
Closet renovations aren't really about shelves and rods. They're about reducing friction in your daily routine.
The best closets make getting dressed faster, laundry easier to put away, and seasonal changes less chaotic. You stop buying duplicates because you can actually see what you own. You stop stuffing sweaters into random corners because everything has a designated place.
And here's the important part: bigger isn't automatically better. I've seen tiny reach-in closets outperform massive walk-ins because the smaller space was planned intelligently. Smart zoning, proper dimensions, and realistic storage choices matter more than square footage.
Start with measurements. Count what you own honestly. Prioritize accessibility over aesthetics. And leave flexibility for the future because your storage needs will absolutely change.
A closet should work for your life—not force you to reorganize your life around the closet.
FAQ