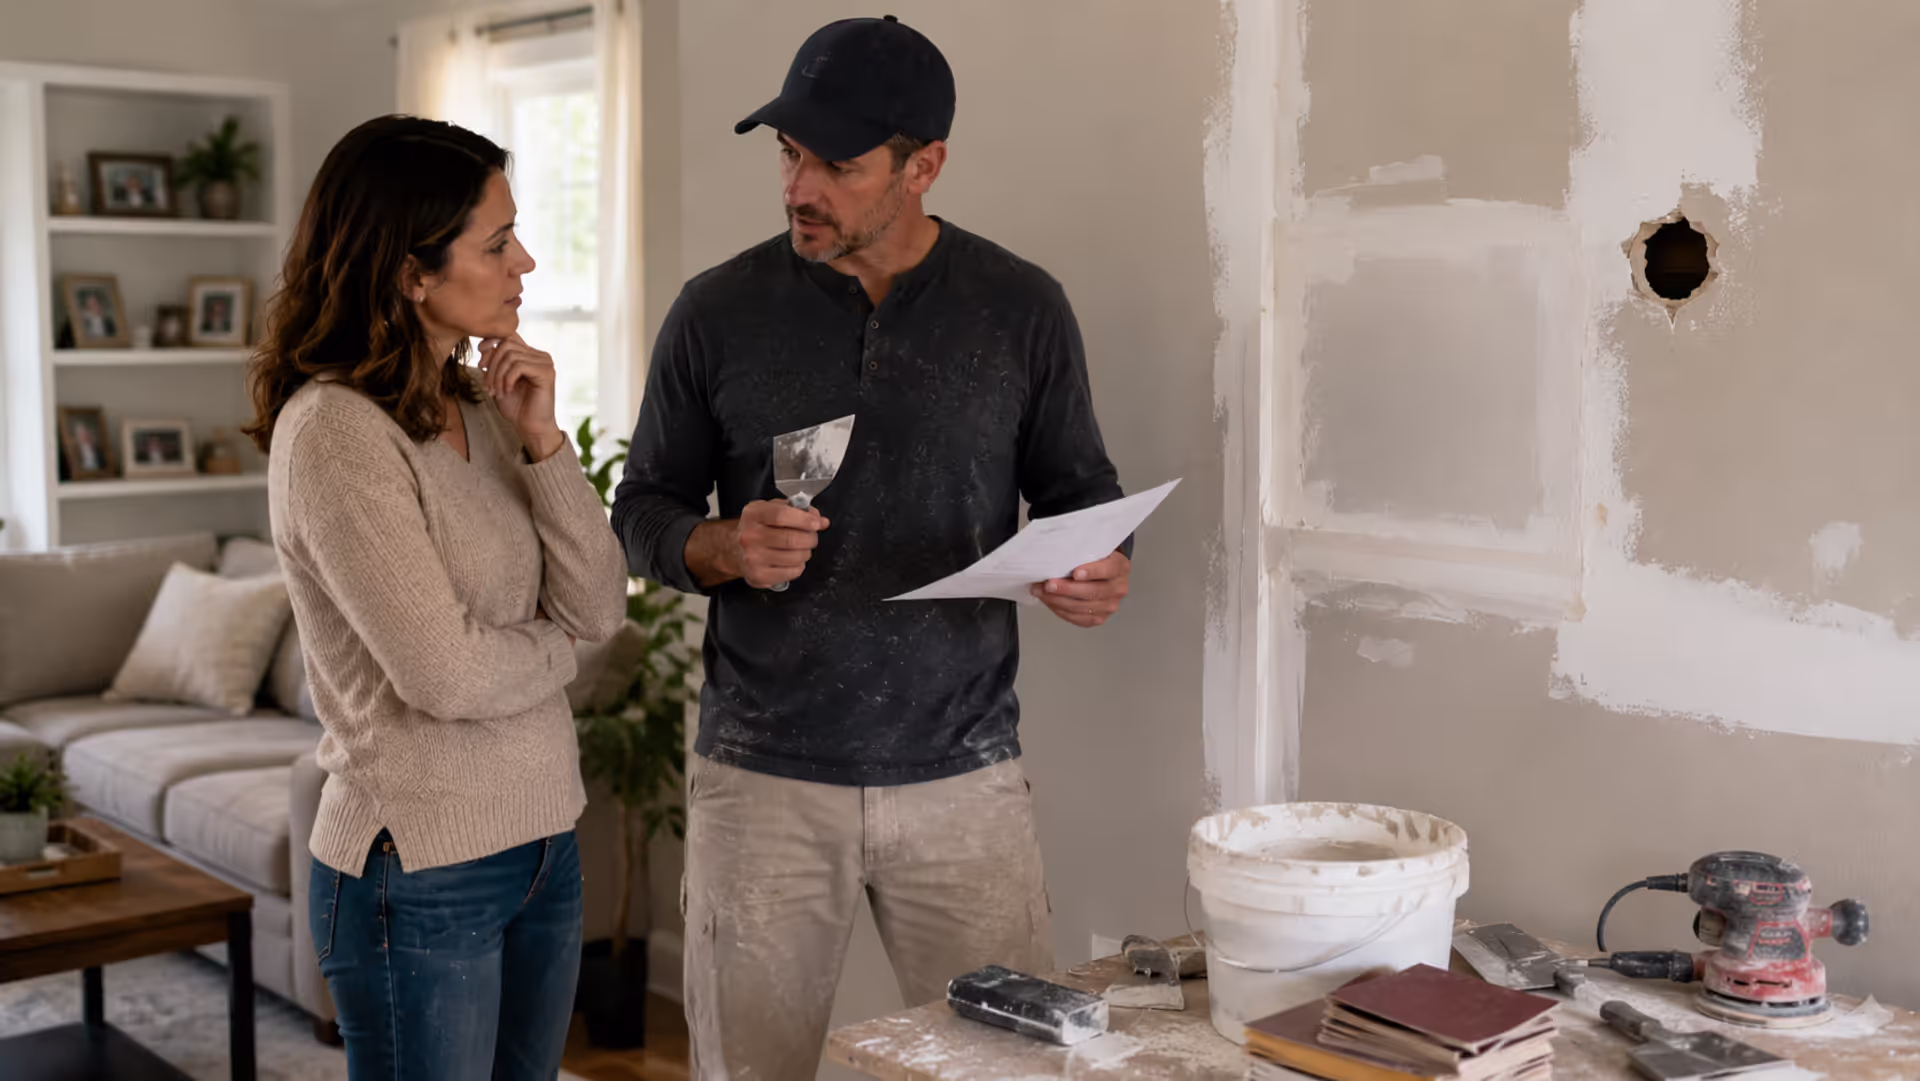
Homeowner discussing drywall repair costs and wall damage with contractor
How Much Does Drywall Repair Cost?

Content
That hole in your wall isn't going to fix itself, and you're probably wondering what it'll cost. The truth is, basic patches start around $75, while extensive water damage spanning multiple rooms can push past $3,000. The typical homeowner pays between $200-$750, though your final bill depends on the damage type, wall location, and whether you're dealing with complications like moisture intrusion or mold contamination.
Knowing what influences these prices protects you from contractor overcharges and helps you budget realistically.
Average Drywall Repair Costs by Project Type
The damage type determines your costs more than any other factor. There's a world of difference between filling a picture hanger hole and reconstructing wall sections destroyed by a burst pipe.
Different repairs come with different price tags:
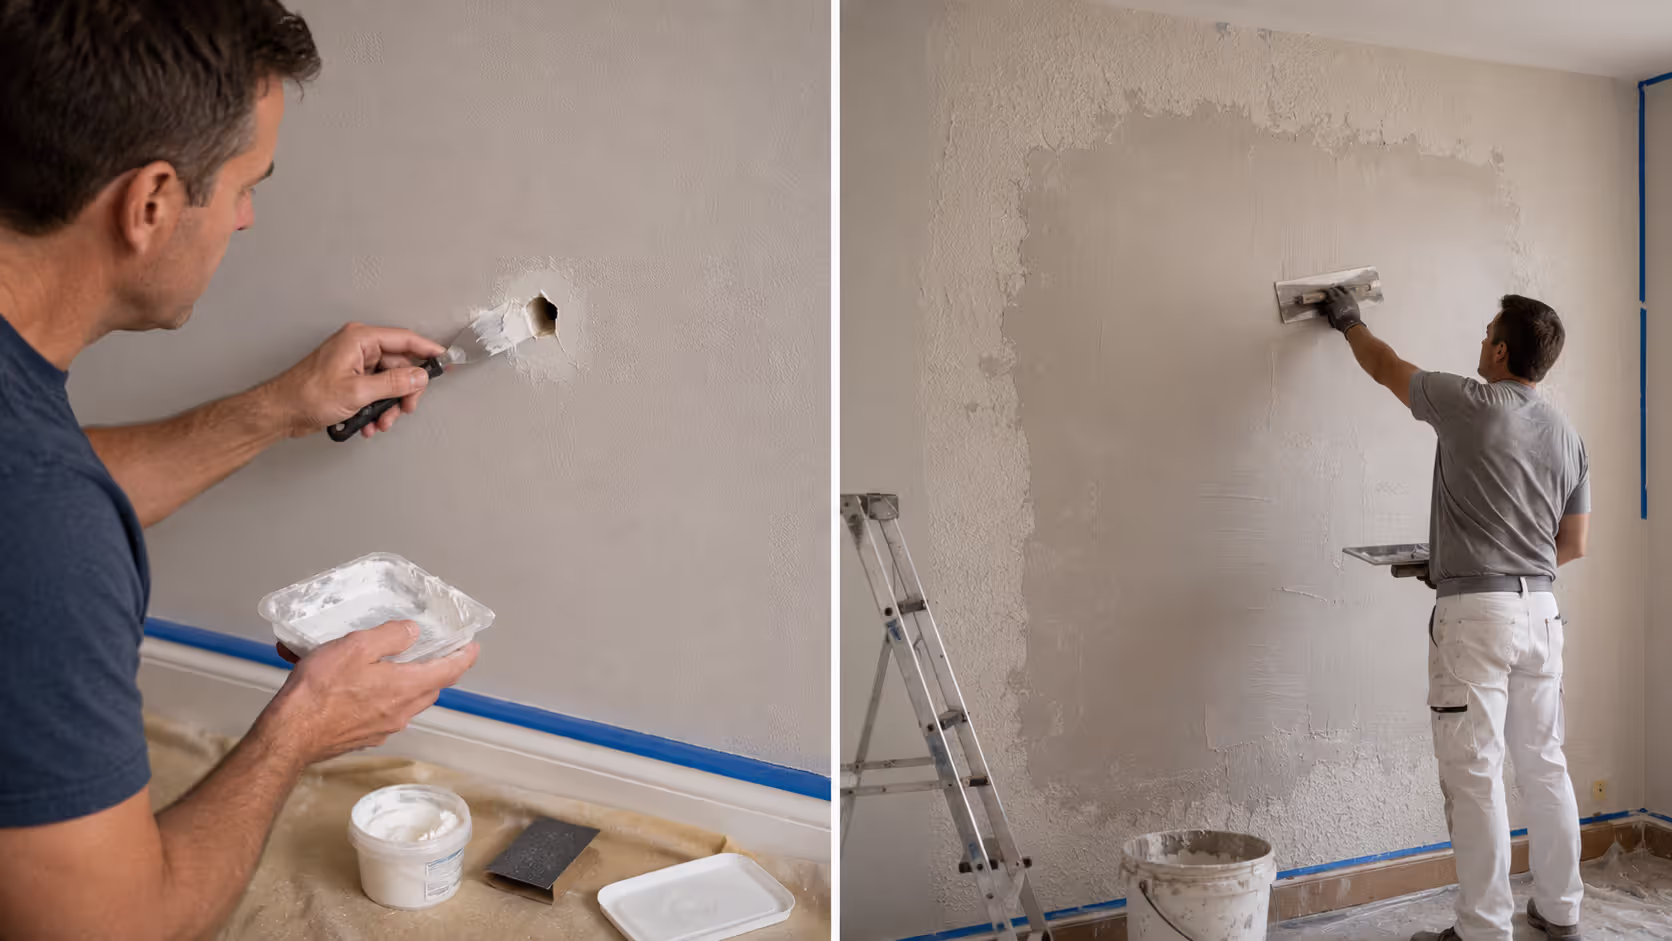
Minor imperfections cost less because contractors apply compound directly without cutting out material. They'll use mesh reinforcement, build up compound layers, sand everything flush, and you're finished. Once damage exceeds six inches, though, removing the damaged section and installing fresh drywall becomes more efficient than attempting to build up extensive compound layers.
Moisture-related damage causes costs to skyrocket. You're paying for mold treatment, insulation replacement, leak source repairs, and potentially damaged framing lumber. Water damage repairs frequently cost triple or quadruple what you'd spend fixing dry damage of identical dimensions.
Texture replication deserves emphasis because homeowners consistently underestimate this expense. Whether you have knockdown, orange peel, or acoustic texture, your contractor must recreate it flawlessly or the repair becomes glaringly obvious. This requires specialized skills and additional time. Expect texture work to add $200-$400 to your quote—completely standard for quality results.
| Repair Category | Damage Dimensions | Cost Range | Duration |
| Tiny imperfections and nail pops | Less than 1" diameter | $75-$150 | 1-2 hours |
| Medium punctures | 1"-6" across | $150-$350 | 3-5 hours |
| Substantial holes | 6"-12" wide | $300-$600 | 6-8 hours |
| Linear crack repairs | Per linear foot | $100-$250 | 2-3 hours |
| Structural crack remediation | Varies by extent | $400-$1,200 | 1-2 days |
| Limited moisture damage | Single wall segment | $300-$800 | 1-2 days |
| Extensive water destruction | Multiple surfaces | $1,000-$3,500 | 5-7 days |
| Surface texture replication | One room | $200-$600 | 3-5 hours |
| Complete sheet installation | 4×8 panel | $400-$900 | 6-8 hours |
Factors That Affect Drywall Repair Pricing
Damage dimensions matter, obviously, but contractors weigh numerous variables when calculating estimates.

Author: Sophie Langston;
Source: johnhranec.com
Vertical versus horizontal surface repairs dramatically alter costs. Overhead ceiling work runs 20-50% higher than equivalent wall repairs. Your contractor battles gravity constantly, works with elevated arms throughout the day, and typically needs scaffolding or stilts. The physical demands increase both time and difficulty.
Accessibility significantly impacts labor time. An exposed living room wall presents no challenges. That identical hole tucked behind your furnace in a cramped mechanical room? Expect premium charges because your contractor spends substantial time navigating obstacles and working in awkward positions.
Required finish quality varies by location. A basement workshop wall doesn't demand the same meticulous finishing as your formal dining room wall catching direct afternoon sunlight through large windows. Some applications need flawless, smooth surfaces. Others simply need functional repairs.
Geographic location dramatically influences labor expenses. Major metropolitan areas like New York City, San Francisco, or Boston see skilled drywall labor rates between $80-$120 hourly. Contractors in smaller regional markets throughout the Midwest or South typically charge $50-$75 per hour for comparable expertise.
Material expenses have stabilized following the volatility of 2020-2022, though prices still fluctuate. Standard 4×8 drywall panels cost $12-$20 depending on thickness specifications. Moisture-resistant or mold-resistant panels? Expect 15-30% price premiums over standard boards.
Emergency service commands premium pricing. Your pipe bursts Saturday evening with water cascading down walls? Weekend emergency response typically costs 50-100% above standard rates. This premium applies across all home repair sectors, not exclusively drywall.
Common Drywall Problems and When to Repair
Some issues tolerate delay, while others deteriorate rapidly without intervention.
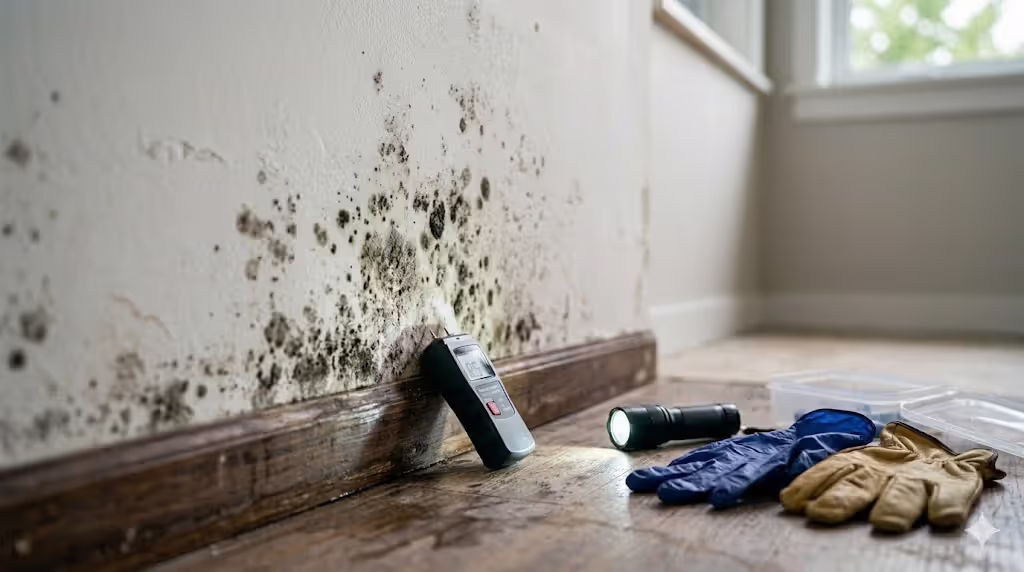
Identifying Mold on Drywall
Mold appears as discolored patches—black, green, brown—with textures ranging from fuzzy to slimy depending on species. You'll notice discoloration spanning yellow through dark brown. The surface typically appears raised or fuzzy rather than remaining flat and smooth.
Author: Sophie Langston;
Source: johnhranec.com
Here's the tricky part: mold doesn't always announce itself dramatically. Sometimes it begins as subtle darkening near baseboards or corner areas that you might dismiss as dirt accumulation or shadows.
With proper conditions—moisture presence, warm temperatures, organic material for nutrition—mold spores begin colonizing within one to two days after water exposure. Visible growth often appears within seven days. This timeline explains why moisture damage demands immediate attention rather than waiting weeks or months.
Discovered mold? Surface cleaning won't solve the problem. You must eliminate the moisture source, remove contaminated materials, and properly treat affected areas. Mold remediation typically adds $500-$2,000 to repair costs depending on contamination severity.
Understanding Drywall Cracks
Cracks develop from multiple causes: foundation settlement, thermal and humidity fluctuations, structural shifting, improper installation, or incorrect fastener selection. Those narrow hairline cracks appearing in corners or along seams? Typically just cosmetic concerns from normal house settling.
Diagonal fissures exceeding one-quarter inch width? These warrant attention. They potentially indicate foundation concerns or structural deficiencies. You must identify and address the underlying cause before attempting surface repairs. Otherwise you'll patch the same crack repeatedly every few months.
Cracks that repeatedly reappear signal ongoing problems. Stop ignoring them. Consult a structural engineer before wasting money on repeated cosmetic patches.
Asbestos Concerns in Older Homes
The common question: does drywall contain asbestos?
Your home's construction date determines this. Drywall manufactured after the mid-1980s? Almost universally asbestos-free. But structures built from the 1930s through 1980s may contain asbestos in joint compounds, texture applications, or patch materials used on drywall—though rarely in the actual drywall panels.
When repairing older structures, consider testing before cutting or sanding begins. Asbestos testing runs $200-$800. That's inexpensive protection compared to health hazards from disturbing asbestos-containing materials.
Drywall Installation and Finish Standards
Understanding professional standards helps you recognize quality workmanship versus sloppy execution.
Screw Spacing Requirements
Building codes specify screw placement every 12 inches along framing members for wall applications. Ceiling installations follow comparable guidelines, though many professionals use 8-inch spacing on ceilings for enhanced holding strength, particularly with heavier 5/8-inch drywall.
Perimeter screws should sit 3/8 to 1/2 inch from panel edges—sufficiently close for secure attachment, distant enough to prevent paper tearing or gypsum crumbling. Field screws throughout panel centers maintain that 12-inch spacing along each framing member.
Installation depth matters equally. Screws should create slight surface dimples without penetrating the paper facing. Insufficient depth prevents proper compound coverage. Excessive depth damages the paper and compromises holding strength.
Level 5 Finish Explained
Homeowners inquire about level 5 finishing when they want absolutely perfect surfaces, particularly in spaces with challenging lighting or when using flat paint finishes.
Level 5 represents the highest available finish standard. Following all standard taping and mudding procedures, the contractor applies a thin skim coat across the entire surface. This creates uniform texture that conceals every imperfection—even subtle differences between joint compound and paper facing.
Level 5 isn't universally necessary. It's excessive for garages, closets, or textured surfaces. It makes sense for:
- Spaces with challenging illumination (large windows, angular lighting)
- Surfaces receiving flat or matte paint
- Commercial installations with elevated aesthetic expectations
- Anywhere you demand absolutely flawless surfaces
Level 5 adds $0.60-$1.20 per square foot versus standard level 4 finishing. For a typical 12×12 bedroom with 8-foot ceilings, that's an additional $200-$400.
Quick clarification: gypsum board and drywall are identical products. Drywall, gypsum board, wallboard, sheetrock (a brand name)—these terms reference the same material. Gypsum plaster core encased between thick paper facings. The industry uses these terms interchangeably.
DIY vs. Professional Drywall Repair Costs
Minor repairs? You can tackle those yourself. Significant damage? Professional help usually proves more economical long-term.
Author: Sophie Langston;
Source: johnhranec.com
DIY supplies for minor repairs cost approximately $20-$50. You'll need joint compound, reinforcement tape (mesh or paper), application knives, sandpaper, and primer. Missing tools? Add another $30-$60 for essential equipment.
Professional repair of equivalent minor damage runs $75-$150 covering labor and materials. You're purchasing expertise, efficiency, and a finish that truly blends with existing surfaces.
The break-even calculation hits around medium damage (3-6 inches). At these dimensions, achieving invisible repairs requires genuine skill. Texture matching becomes critical. Mistakes cost more to correct than initial professional service.
People consistently underestimate the difficulty of matching existing texture and achieving invisible repairs. I regularly see homeowners spend $100 on materials attempting to fix a $200 repair, then hire me to correct their work. Damage under two inches? Absolutely try it yourself. Anything larger, especially requiring texture matching, typically costs less when executed properly initially.
— Martinez Robert
Choose DIY when:
- Damage measures under 2 inches
- You possess reasonable handyman skills
- The surface has minimal or simple texture
- Perfect results aren't essential
- You have available time
Hire professionals for:
- Damage exceeding 6 inches
- Any ceiling repairs
- Moisture damage or mold contamination
- Complex texture matching
- Cracks indicating foundation issues
- Multiple repair locations
Drying time matters regardless of approach. Joint compound requires approximately 24 hours to dry under typical conditions—though humidity, temperature, and application thickness all influence this. Most repairs need at least two coats, frequently three, with drying intervals between applications. Even straightforward repairs require 2-3 days from start to finish.
Patience delivers better results. Attempting to paint over damp compound produces cracking, bubbling, and complete project failure.
How to Get Accurate Repair Quotes
Collecting multiple quotes isn't merely about finding the lowest price—it's about understanding precisely what you're purchasing.

Author: Sophie Langston;
Source: johnhranec.com
Essential questions to ask:
- What specific work does this estimate include? (materials, preparation, cleanup, texture, primer)
- How many compound coats will you apply?
- What finish level am I receiving?
- What warranty do you provide and what's the coverage period?
- Can you provide current licensing and insurance documentation?
- What's the timeline from project start to completion?
Warning signs to recognize:
- Prices substantially below all competitors (usually indicates corner-cutting)
- Refuses written documentation
- Applies immediate decision pressure
- Cannot provide credentials
- Cash-only payment demands
- Vague descriptions of included work
Obtain at least three estimates for projects exceeding $500. This establishes realistic market pricing and helps identify outliers. The lowest estimate doesn't guarantee best value, and the highest price doesn't ensure superior quality.
Project timing influences pricing. Contractors experience slower periods during winter (except warm climates) and may offer better rates. But never delay water damage or mold repairs—these issues worsen exponentially and become dramatically more expensive over time.
Demand written agreements. Even for minor jobs, document included work, timeline, and payment terms. This prevents misunderstandings and provides recourse if problems arise.
FAQ: Drywall Repair Questions Answered
Drywall repair expenses vary dramatically based on damage type, extent, and repair complexity. While most homeowners invest $200-$750 for typical repairs, understanding cost drivers helps you budget accurately and avoid overcharges.
Small cosmetic repairs work well as DIY projects if you're handy and patient. Larger repairs, water damage, mold contamination, and jobs requiring precise texture matching typically prove more economical with professional service from the start. The time savings and frustration avoidance often justify professional costs.
Don't dismiss warning signs like recurring cracks, water stains, or mold growth. These conditions deteriorate and become increasingly expensive when ignored. Prompt intervention saves money and protects your property value.
Collect multiple estimates for significant repair projects. Ask detailed questions about included work, materials, and warranties. Remember that the lowest estimate doesn't always deliver optimal value—quality workmanship costs more than shortcuts, but delivers superior longevity and appearance.
Your walls represent one of your home's most visible features. Investing in proper repairs, whether DIY or professional, pays dividends in both aesthetics and long-term durability.