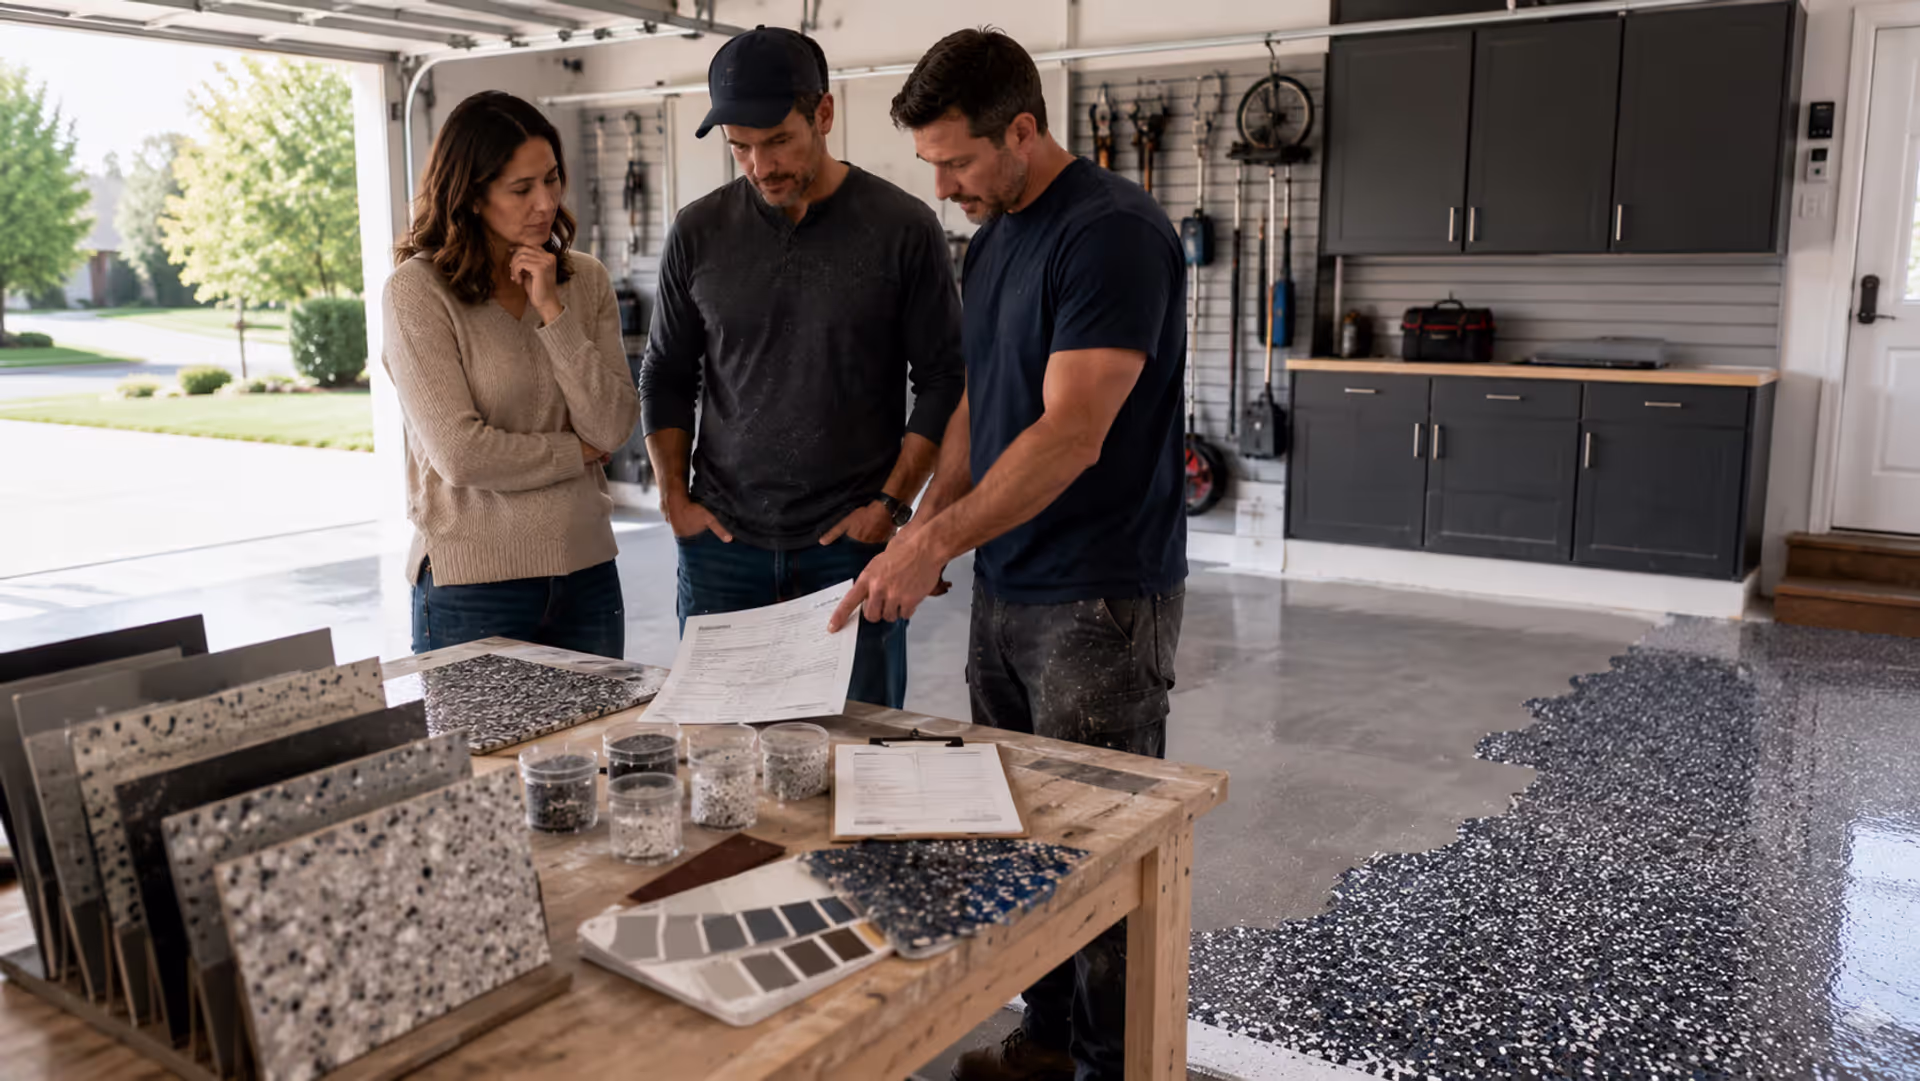
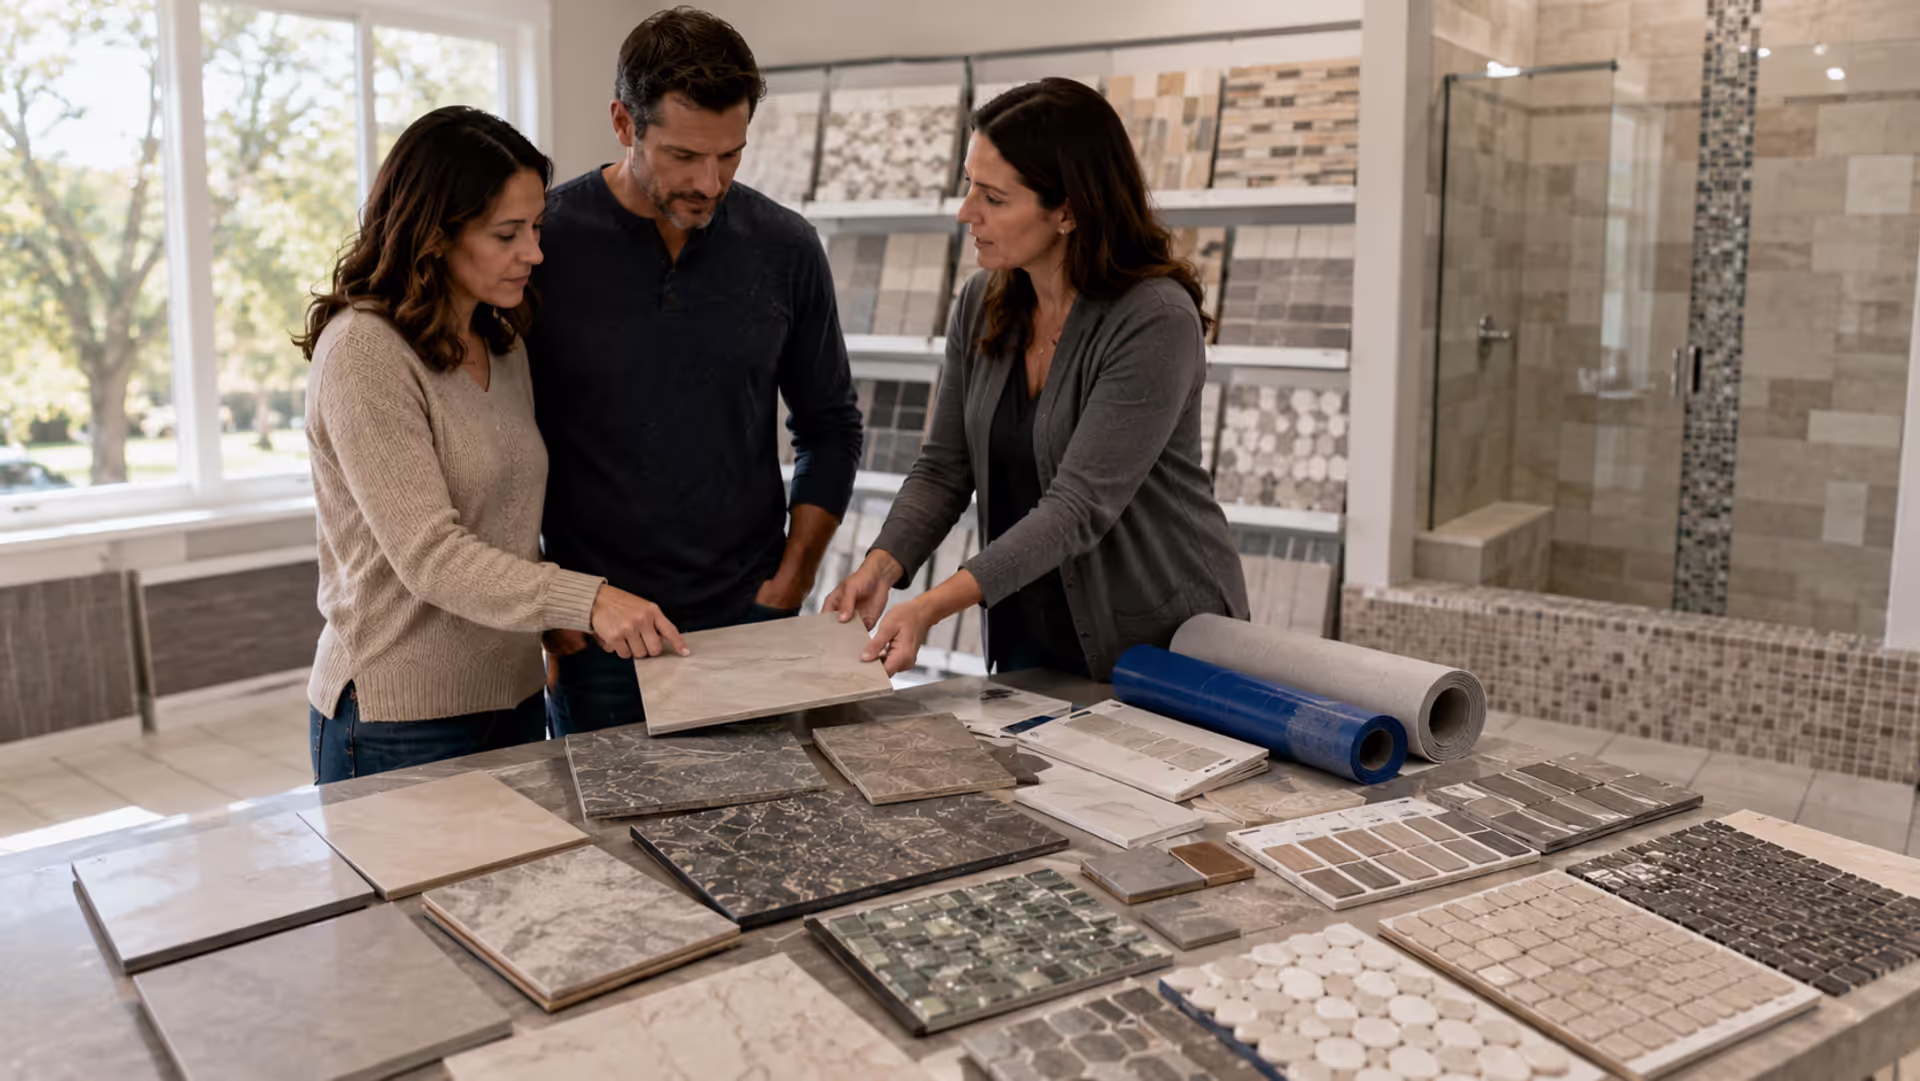
Homeowners comparing waterproof tile options for a bathroom renovation
Is Tile Waterproof Guide for Bathroom Renovations?

Content
You're standing in a flooring showroom, staring at a gorgeous tile display, and the salesperson says, "These are perfect for your bathroom—totally waterproof." But here's the thing: that statement is both true and misleading at the same time. The tile itself might resist water beautifully, but what about the grout lines? The substrate underneath? The installation method? Whether tile is actually waterproof depends on way more than just the tile you pick. Let's break down what really matters when you're planning a renovation in wet areas.
Understanding Tile and Water Resistance
First, we need to get our terms straight. "Waterproof" and "water-resistant" aren't interchangeable, and this distinction matters when you're choosing materials for a shower or kitchen.
Waterproof means water can't penetrate the material at all. Water-resistant means the material can handle moisture exposure but might absorb some water over time. Most tile falls somewhere on this spectrum, measured by what's called the water absorption rate.
The tile industry uses a percentage to classify this. Porcelain tile with less than 0.5% absorption? That's essentially waterproof. Ceramic tile at 3% absorption? Water-resistant, but not waterproof. Natural stone can range from 0.2% to over 20%, depending on the type.
Here's where people get confused: even if your tile body is waterproof, the grout between tiles is porous. Always has been. So when we talk about whether tile is waterproof, we're really asking two separate questions—one about the tile material itself, and another about the complete installation system.
Wall tile and floor tile also behave differently with water. Floor tiles need to handle standing water and foot traffic while wet. Wall tiles in a shower face constant spray but rarely deal with pooling water. The requirements shift based on location.
The pattern I see most often is homeowners focusing entirely on the tile and ignoring everything else. That's backwards.
Which Tile Materials Are Actually Waterproof
Not all tile materials handle water the same way. Some laugh at moisture. Others practically drink it up.

Author: Nathan Cole;
Source: johnhranec.com
| Tile Type | Water Absorption Rate | Best Uses | Maintenance Needs | Cost Range (per sq ft) |
| Porcelain | <0.5% | Showers, bathroom floors, outdoor | Minimal; grout sealing only | $3–$25 |
| Ceramic | 0.5%–3% | Bathroom walls, kitchen backsplash | Moderate; seal grout regularly | $1–$15 |
| Natural Stone (granite, slate) | 0.2%–5% | Floors, feature walls (with proper sealing) | High; tile and grout sealing | $5–$50 |
| Natural Stone (marble, limestone) | 2%–20% | Low-moisture areas preferred | Very high; frequent sealing | $8–$100+ |
| Glass | 0% | Backsplash, accent walls, shower walls | Low; grout care only | $7–$30 |
Porcelain vs. Ceramic for Wet Areas
Porcelain is the workhorse for wet areas. It's fired at higher temperatures than ceramic, making it denser and less porous. That 0.5% absorption rate means water just sits on the surface.
Ceramic tile works fine for many bathroom applications, but you'll want to be more careful about where you use it. A ceramic tile backsplash behind your kitchen sink? Perfect. Ceramic on a shower floor that sees daily use? You can do it, but porcelain is the safer bet.
Price-wise, porcelain costs more upfront—typically 20% to 40% higher than comparable ceramic. But it lasts longer in wet environments and needs less maintenance. The math usually works out in porcelain's favor for showers and high-moisture areas.
One common mistake: assuming all porcelain is created equal. Check the PEI rating (Porcelain Enamel Institute) for durability and always verify the absorption rate. Some lower-grade porcelain isn't much better than ceramic.
Natural Stone and Water Exposure
Natural stone is tricky. It's beautiful, timeless, and completely variable in how it handles water.
Dense stones like granite and slate have low absorption rates and can work beautifully in showers and bathrooms—if you seal them properly and maintain that seal. Softer stones like marble, travertine, and limestone are porous enough that water can penetrate and cause staining, etching, or even structural damage over time.
Can you use marble in a shower? Sure. People do it all the time. But you're signing up for regular sealing (every 6 to 12 months), careful cleaning with pH-neutral products, and acceptance that the stone will develop a patina over the years. Some homeowners love that aged look. Others hate it.
Slate and granite are more forgiving. They still need sealing, but they won't etch from acidic cleaners the way marble will. For a wet bathroom floor, these are solid choices if you want the natural stone aesthetic.
Glass tile is technically the most waterproof option—zero absorption. It's popular for shower accent walls and kitchen backsplashes. The catch? It's slippery when wet, so it's not ideal for floors. And installation costs run higher because it requires specific adhesives and skilled labor.
Choosing the Right Tile for Bathrooms, Showers, and Kitchens
Now we get practical. You've got a renovation project and need to pick tile that won't fail in six months.
Author: Nathan Cole;
Source: johnhranec.com
For shower walls, porcelain or ceramic both work well. Porcelain edges ahead for durability, but ceramic offers more design options at lower price points. Glass tile makes a stunning accent but covering an entire shower in glass gets expensive fast. Budget $12 to $25 per square foot installed for standard porcelain or ceramic shower walls.
Shower floors demand more attention. You need slip resistance above all else. Look for tiles with a textured surface or small format tiles (2×2 inch or smaller) that create more grout lines—those lines add grip. Porcelain is your best bet here. The water absorption rate matters less than slip rating and durability.
Bathroom floors see standing water, dropped bottles, and foot traffic. Porcelain or ceramic rated for floor use (PEI 3 or higher) handles this easily. Natural stone works if you're committed to maintenance. Avoid highly polished finishes—they're beautiful in showrooms and dangerous when wet.
Kitchen backsplashes face splashes, steam, and the occasional grease spatter, but they don't deal with constant water exposure. This opens up your options. Ceramic, porcelain, glass, and even some natural stones all work beautifully. Pick based on aesthetics and budget rather than waterproofing.
The simpler option usually wins here: standard ceramic subway tile remains popular because it looks good, costs less, and performs reliably behind a sink or stove.
One counterintuitive point: larger format tiles (12×24 inch or bigger) mean fewer grout lines, which sounds like less maintenance. But in showers, those big tiles can be harder to slope properly for drainage, and if water does get behind them, you've got bigger problems. Medium-format tiles (6×6 to 8×10 inch) often strike the best balance.
What Makes a Tile Installation Waterproof
Here's the truth: even 100% waterproof tile won't protect your bathroom if it's installed wrong.
Author: Nathan Cole;
Source: johnhranec.com
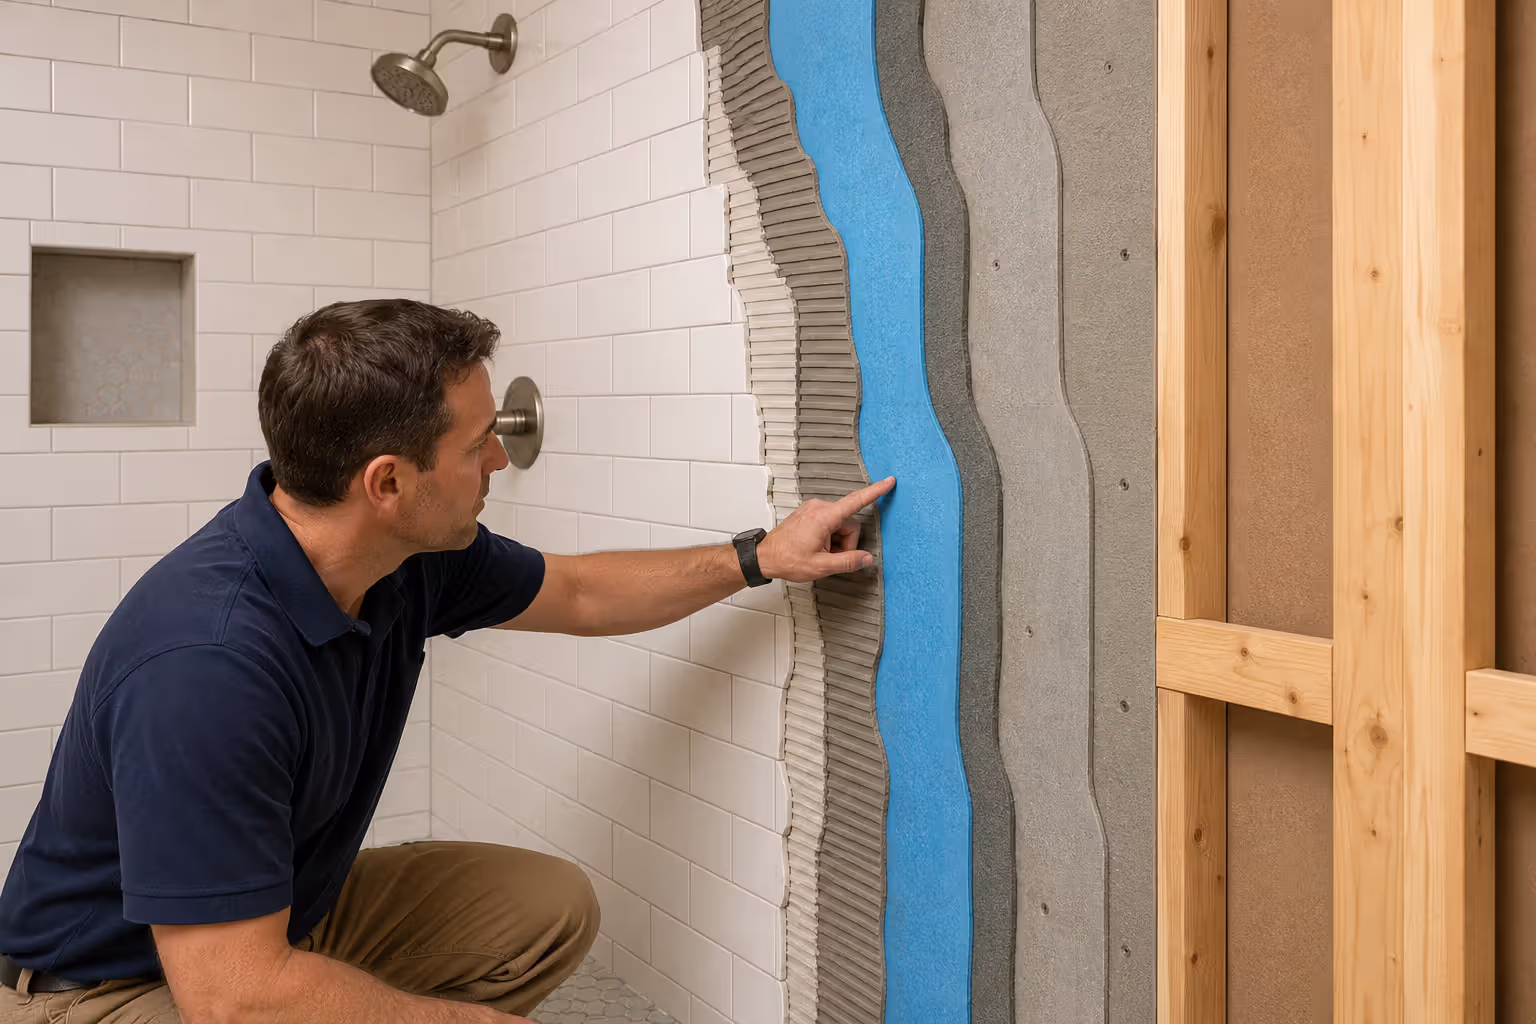
The real waterproofing happens in layers beneath and between the tiles. You need a proper waterproof membrane on the substrate, the right mortar, appropriate grout, and sometimes a penetrating sealer on top. Miss any of these steps and you're inviting water damage.
Start with the substrate. In showers and wet areas, you'll typically use cement board, a foam board system, or a mortar bed. These materials resist water better than standard drywall (which should never be used in wet areas, period). But even cement board isn't waterproof on its own.
Next comes the waterproof membrane. This is a sheet material or liquid coating applied over the substrate before tile installation. It's your actual water barrier. Popular options include sheet membranes like Schluter-KERDI or liquid membranes like RedGard. This step isn't optional for showers—it's the backbone of a waterproof installation.
The tile is only as waterproof as the system behind it. I've torn out countless showers where beautiful tile was installed over inadequate waterproofing. Homeowners spent thousands on premium materials but skipped the $200 membrane. That's like buying a luxury car and skipping the engine oil. The membrane is what actually keeps water out of your walls and subfloor—the tile is just the pretty face.
— Thompson Mark
Grout choice matters too. Standard cement-based grout is porous and will absorb water unless sealed. Epoxy grout is waterproof but harder to work with and more expensive. For most bathroom renovations, cement grout with a good penetrating sealer hits the sweet spot between performance and cost.
Sealing is the final layer. Grout needs sealing in wet areas—no debate. Some tiles (natural stone, unglazed ceramic) also need sealing. Glazed porcelain and ceramic don't need tile sealer because the glaze itself is waterproof.
Common mistakes in installation? Skipping the waterproof membrane to save money. Using wall tile on floors. Not sloping shower floors properly for drainage. Forgetting to seal grout. Any of these can lead to water intrusion, mold, and expensive repairs down the line.
Tile Renovation Costs and Planning Considerations
Let's talk money. Tile renovations vary wildly in cost depending on materials, labor, and how waterproof you need the installation to be.
Material costs run from $1 per square foot for basic ceramic to $100+ per square foot for exotic natural stone. Mid-range porcelain—which is what most bathroom renovations use—typically costs $3 to $8 per square foot for the tile itself.
But materials are just the start. Professional installation adds $5 to $15 per square foot for standard tile work, and more for complex patterns, small mosaic tiles, or natural stone. A complete shower retile including waterproofing typically runs $2,000 to $5,000 for an average-sized shower stall. A full bathroom floor might cost $1,200 to $3,500 installed.
Waterproofing systems add to the budget but they're non-negotiable for wet areas. A waterproof membrane system adds roughly $2 to $4 per square foot in material and labor. Skipping this to save $300 on a shower installation is penny-wise and pound-foolish.
DIY installation can cut labor costs in half or more, but only if you know what you're doing. Tile work looks straightforward until you're three hours into trying to get consistent grout lines or realize your shower floor doesn't slope toward the drain. The waterproofing layer especially demands precision—mess that up and you won't know until water damage appears months later.
For planning purposes, budget for:
- Tile material: 30% of total cost
- Labor: 40% to 50% of total cost
- Waterproofing, substrate, adhesive, grout: 15% to 20%
- Contingency for surprises: 10%
Renovation timelines matter too. A shower retile takes 3 to 5 days minimum—one day for demolition, one for substrate and waterproofing, one for tile installation, one for grouting, and a day or two for curing before use. Bathroom floors are faster since you don't need as much waterproofing prep.
The biggest planning mistake? Underestimating how long the bathroom will be out of commission. If it's your only bathroom, you'll need backup arrangements for nearly a week.
How to Maintain Waterproof Tile Over Time
You've invested in quality tile and proper installation. Now you need to keep it performing.
Author: Nathan Cole;
Source: johnhranec.com
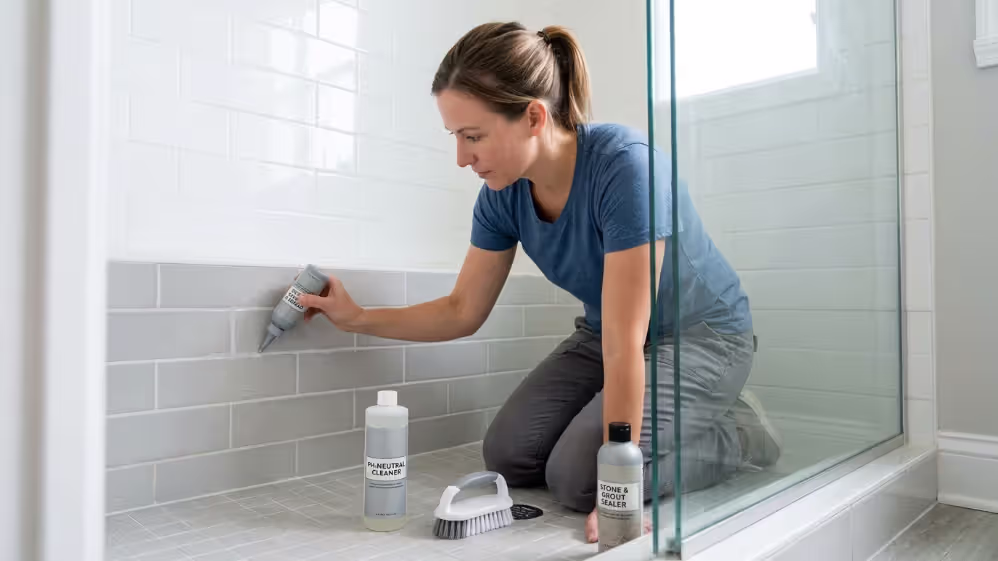
Grout is your weak point. Even with sealer, grout is porous and needs attention. Reseal grout lines every 1 to 2 years in showers and wet areas. You'll know it's time when water stops beading on the grout surface and starts soaking in instead.
Sealing is easy—buy a penetrating grout sealer from any hardware store, apply it with a small brush or applicator, wipe away excess, and let it cure. Takes maybe an hour for an average shower. Do this and your grout will resist staining, mildew, and water penetration far better.
Natural stone tile needs its own sealing schedule. Dense stones like granite might need sealing every 1 to 2 years. Porous stones like marble or limestone need it every 6 to 12 months. Test by putting a few drops of water on the stone—if it darkens or absorbs quickly, it's time to reseal.
For cleaning, stick with pH-neutral cleaners. Acidic cleaners (vinegar, citrus-based products) can etch natural stone and degrade grout over time. Alkaline cleaners (bleach, ammonia) can also damage grout and discolor colored grout. A simple pH-neutral tile cleaner works for daily maintenance.
Don't use abrasive scrubbers on glazed tile—you'll scratch the glaze and make it more prone to staining. A soft brush or sponge does the job without damage.
Watch for cracked grout or loose tiles. These are entry points for water. Fix them immediately—dig out the damaged grout, clean the joint, and regrout. A small repair now prevents major water damage later.
Mildew happens in damp environments. The best prevention is ventilation and regular cleaning. Run your bathroom fan during showers and for 20 minutes after. Squeegee shower walls after use if you're motivated. These simple habits dramatically reduce mildew growth.
If mildew does appear on grout, a diluted bleach solution (1 part bleach to 10 parts water) kills it effectively. Apply, let sit for 10 minutes, scrub gently, and rinse thoroughly. Just don't use this on natural stone—bleach can discolor it.
FAQ: Tile Waterproofing Questions Answered
Tile isn't automatically waterproof just because it's tile. The material matters, the installation matters, and the maintenance matters. Get all three right and you'll have a beautiful, water-resistant surface that lasts decades. Cut corners on any of them and you're setting yourself up for problems.
If you're planning a bathroom, shower, or kitchen renovation, start by picking the right tile for your specific application. Porcelain for high-moisture areas. Ceramic for moderate moisture. Natural stone only if you're ready for the upkeep. Then—and this is just as important—make sure whoever installs it uses proper waterproofing methods. That membrane layer beneath the tile is what actually keeps water out of your walls and subfloor.
Budget appropriately. Quality materials and professional installation cost more upfront but save you from expensive repairs later. And once it's installed, keep up with basic maintenance like sealing grout every couple of years. It's simple work that makes a huge difference in how long your tile performs.
You don't need to become a tile expert to get this right. You just need to ask the right questions, understand the basics we've covered here, and work with contractors who don't skip the important steps. Do that and your tile will keep water exactly where it belongs—on the surface, not behind your walls.