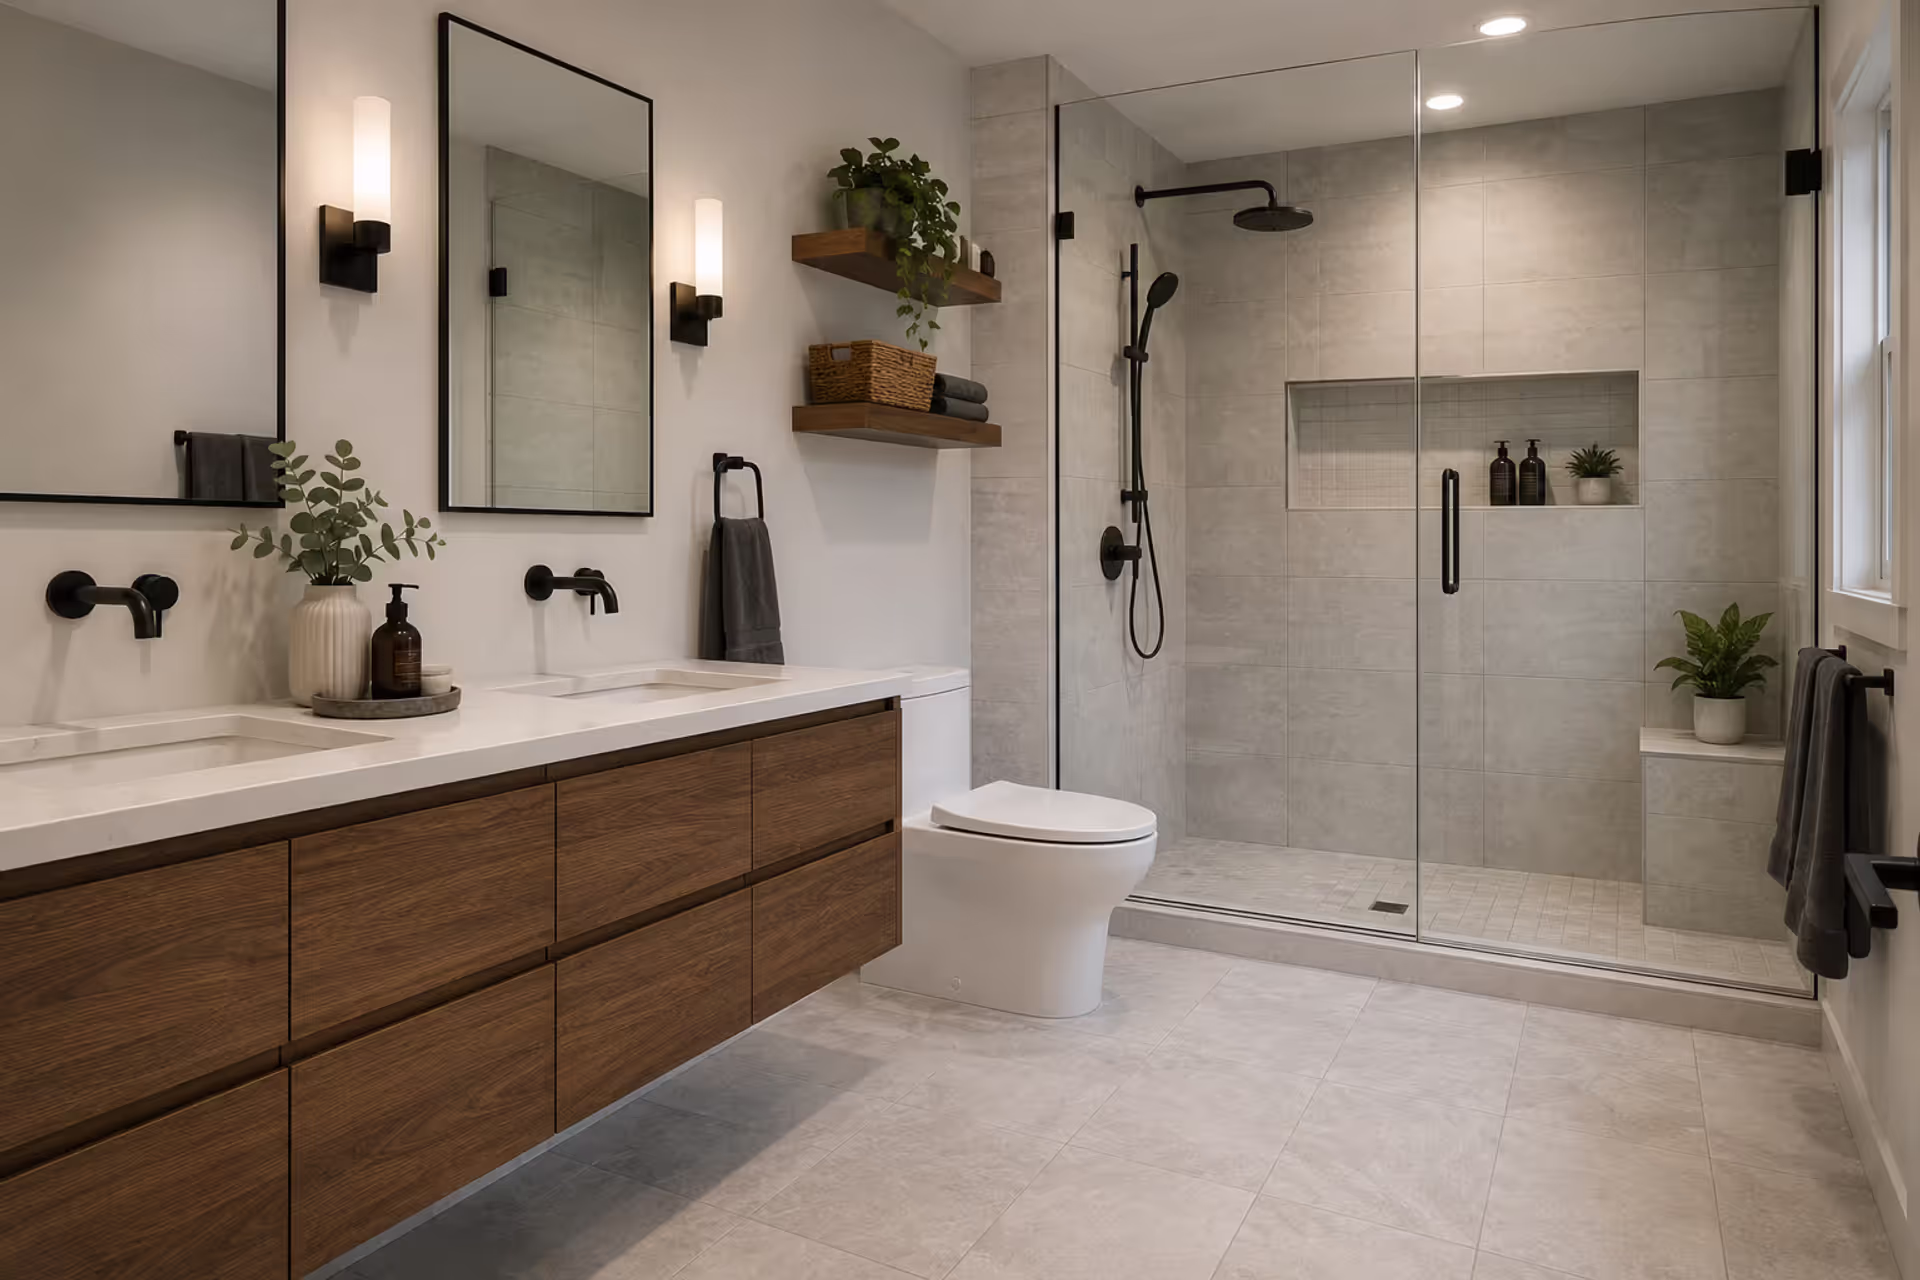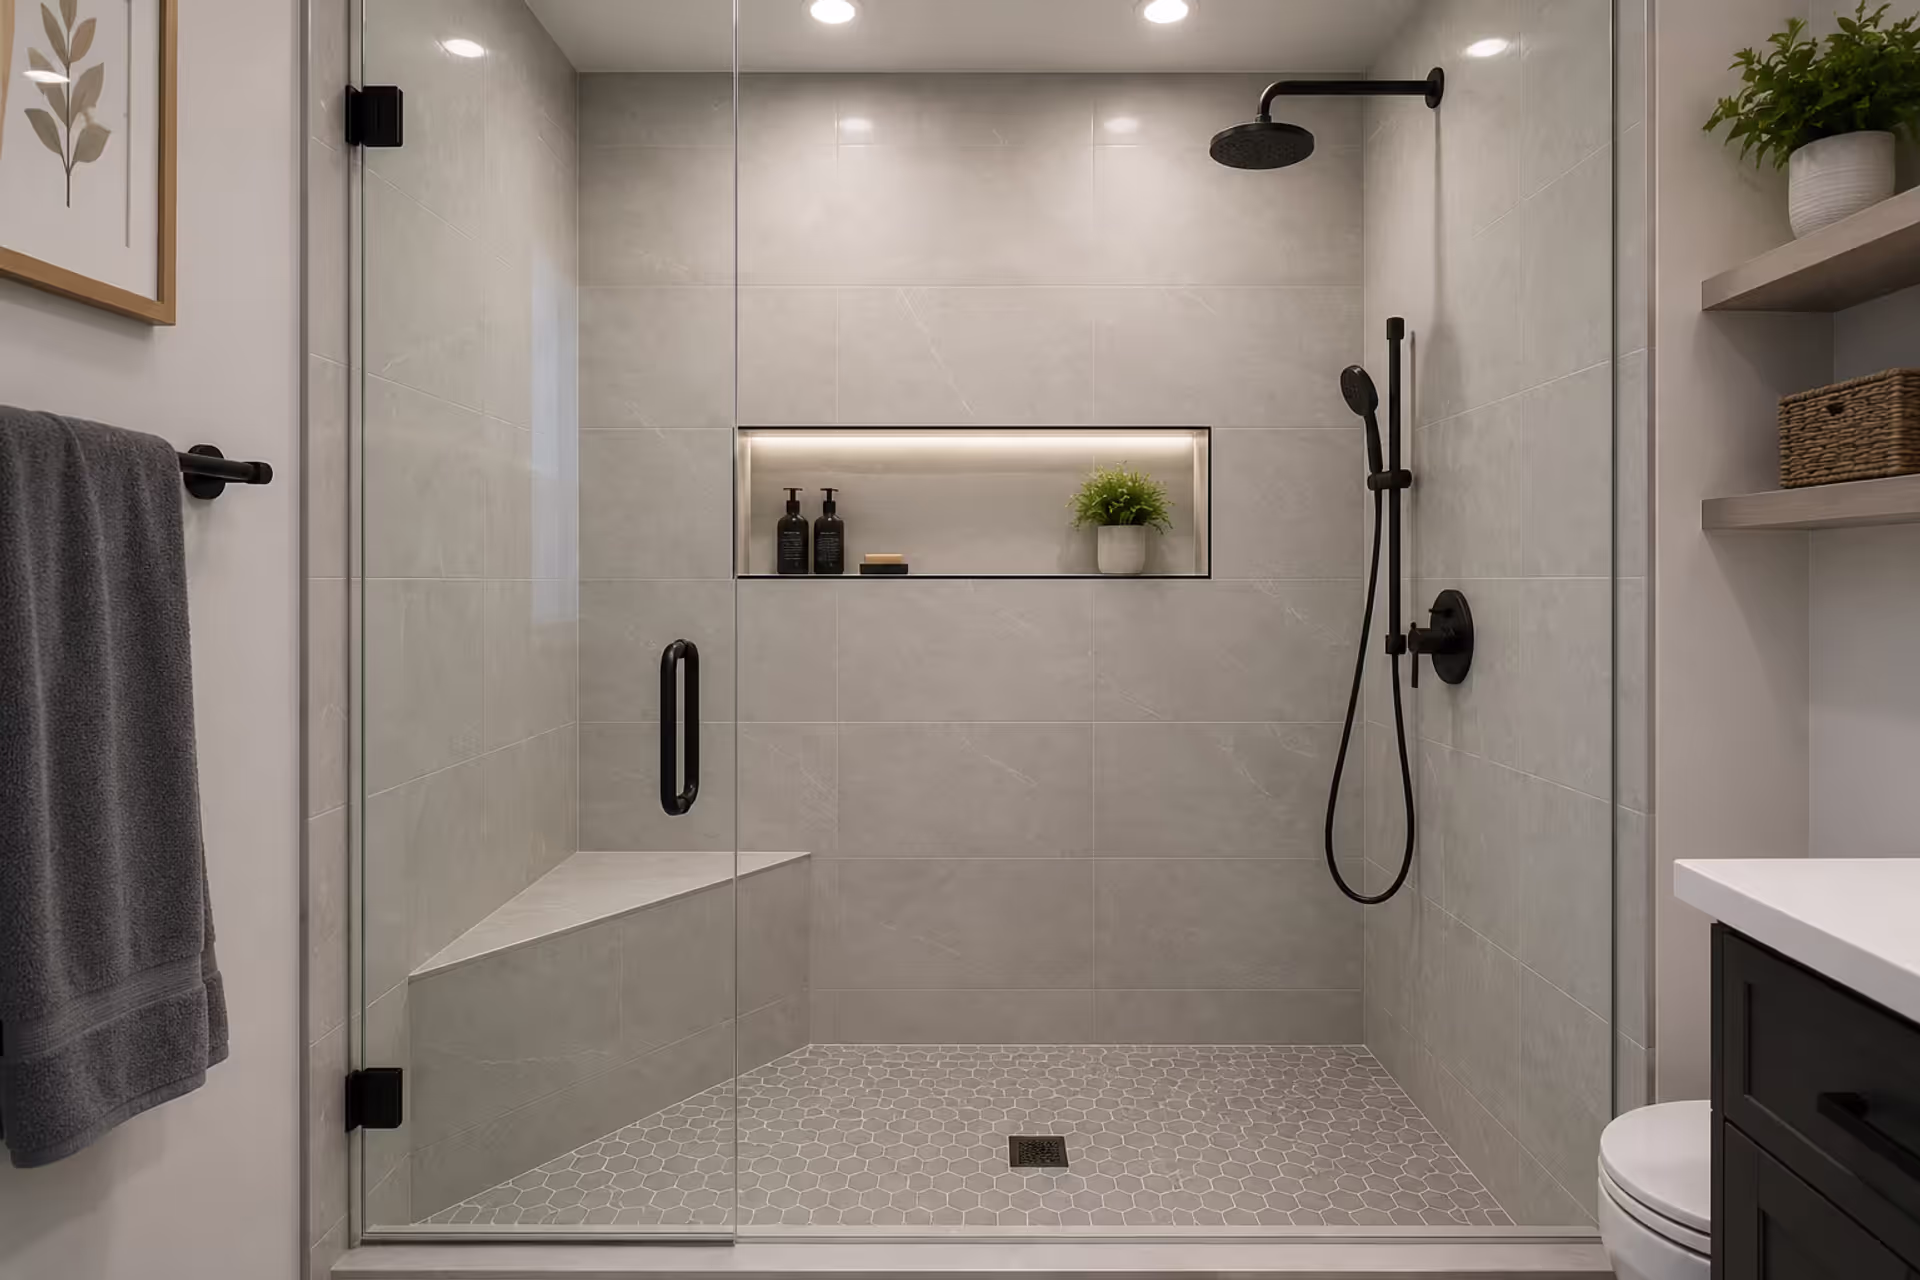
Modern mobile home bathroom with walk-in shower and waterproof flooring
How to Plan a Mobile Home Bathroom Remodel?

Content
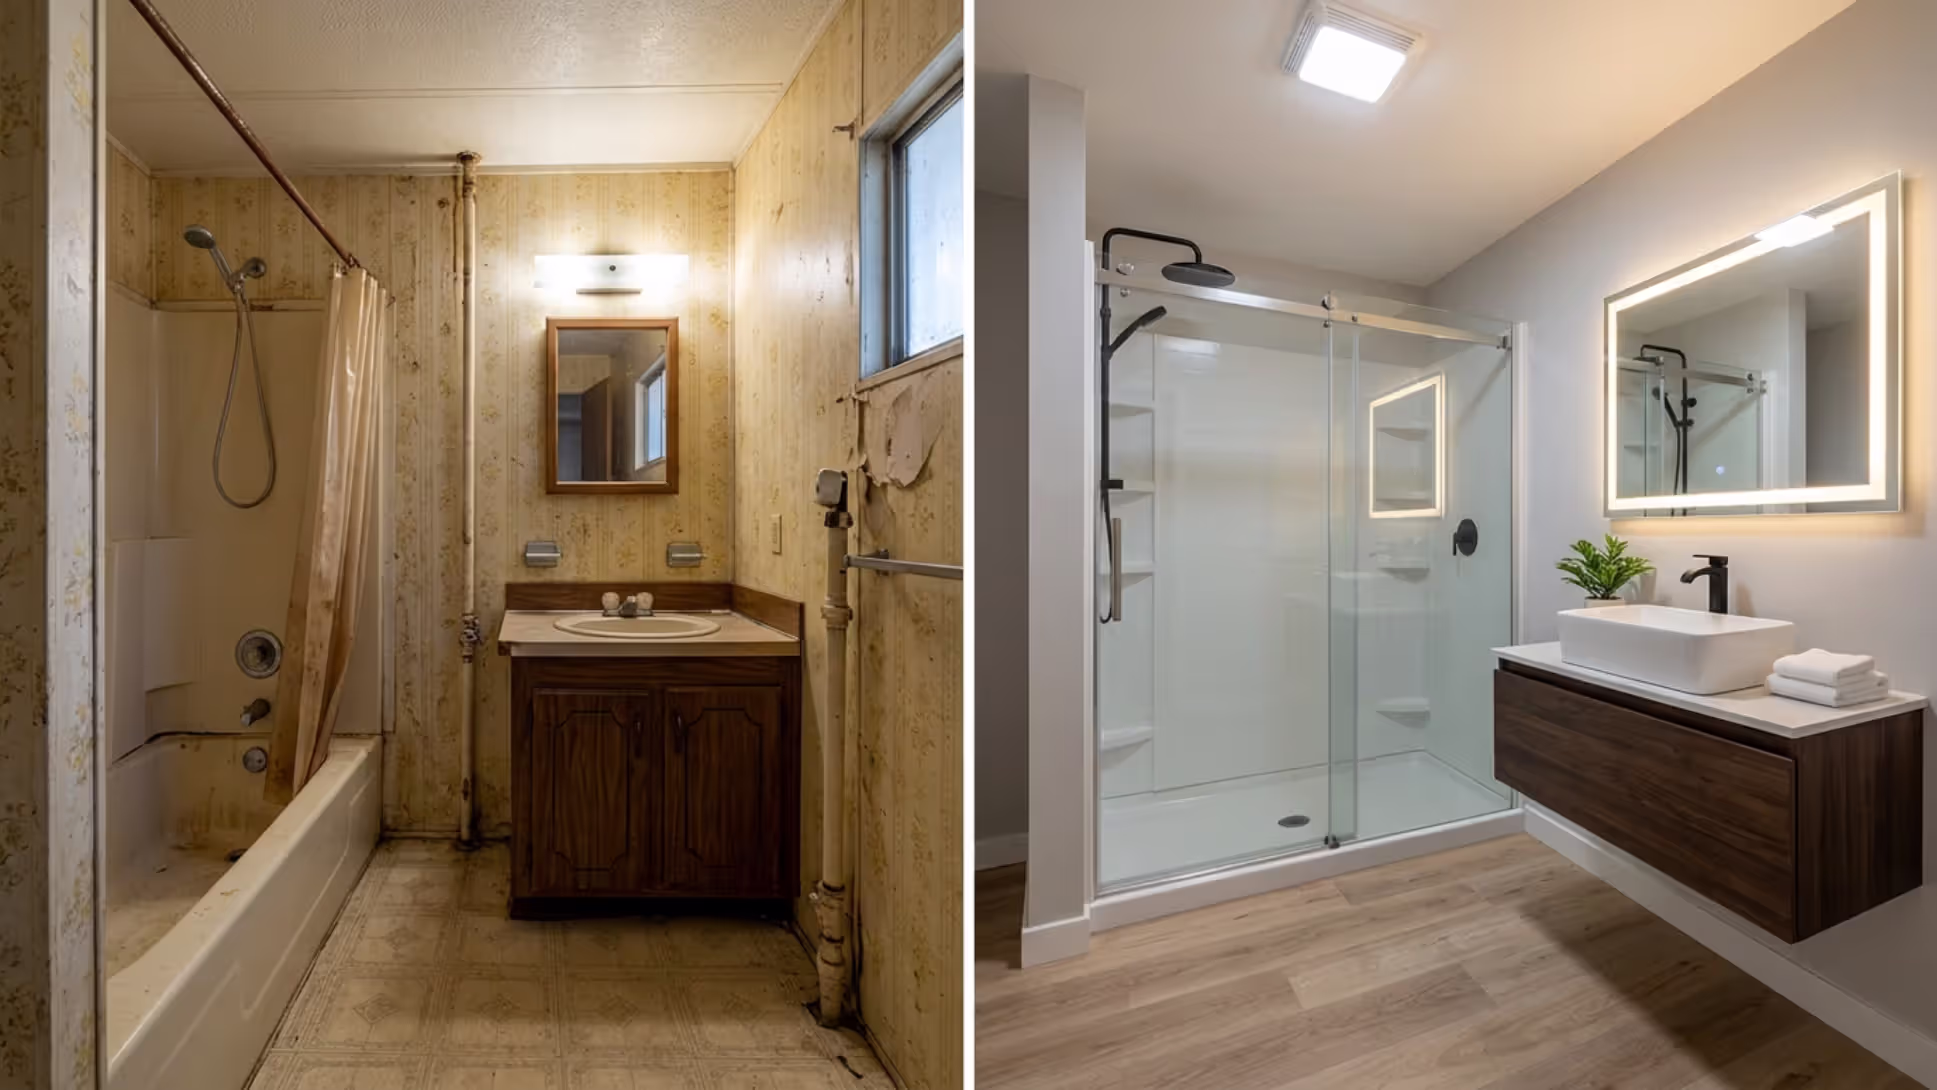
Remodeling a bathroom in a mobile or manufactured home isn't quite the same as tackling a traditional house project. The construction methods differ. The materials matter more. And if you ignore those differences, you'll run into problems fast. But here's the good news: with the right approach, you can transform a cramped, outdated mobile home bathroom into a space that feels modern, functional, and built to last. You just need to understand what makes these homes unique before you pick up a sledgehammer.
Why Mobile Home Bathrooms Require Different Remodeling Approaches
Mobile and manufactured homes use lighter construction methods than site-built houses. That's not a flaw—it's by design. These homes need to travel on highways before reaching their final location, so every component is engineered to minimize weight while maintaining structural integrity.
Your bathroom walls are thinner, typically 2x3 studs instead of 2x4s. That means less room for plumbing runs and electrical boxes. The flooring system can't support unlimited weight, so that luxury stone tile you love might need a second look at the specs.
Plumbing in manufactured homes often uses different materials and configurations. Many older units have PB (polybutylene) or PEX tubing instead of copper. The drain lines might be ABS plastic rather than cast iron. And here's something most people miss: the water supply lines often run through exterior walls, making them vulnerable to freezing if insulation gets disturbed during renovation.
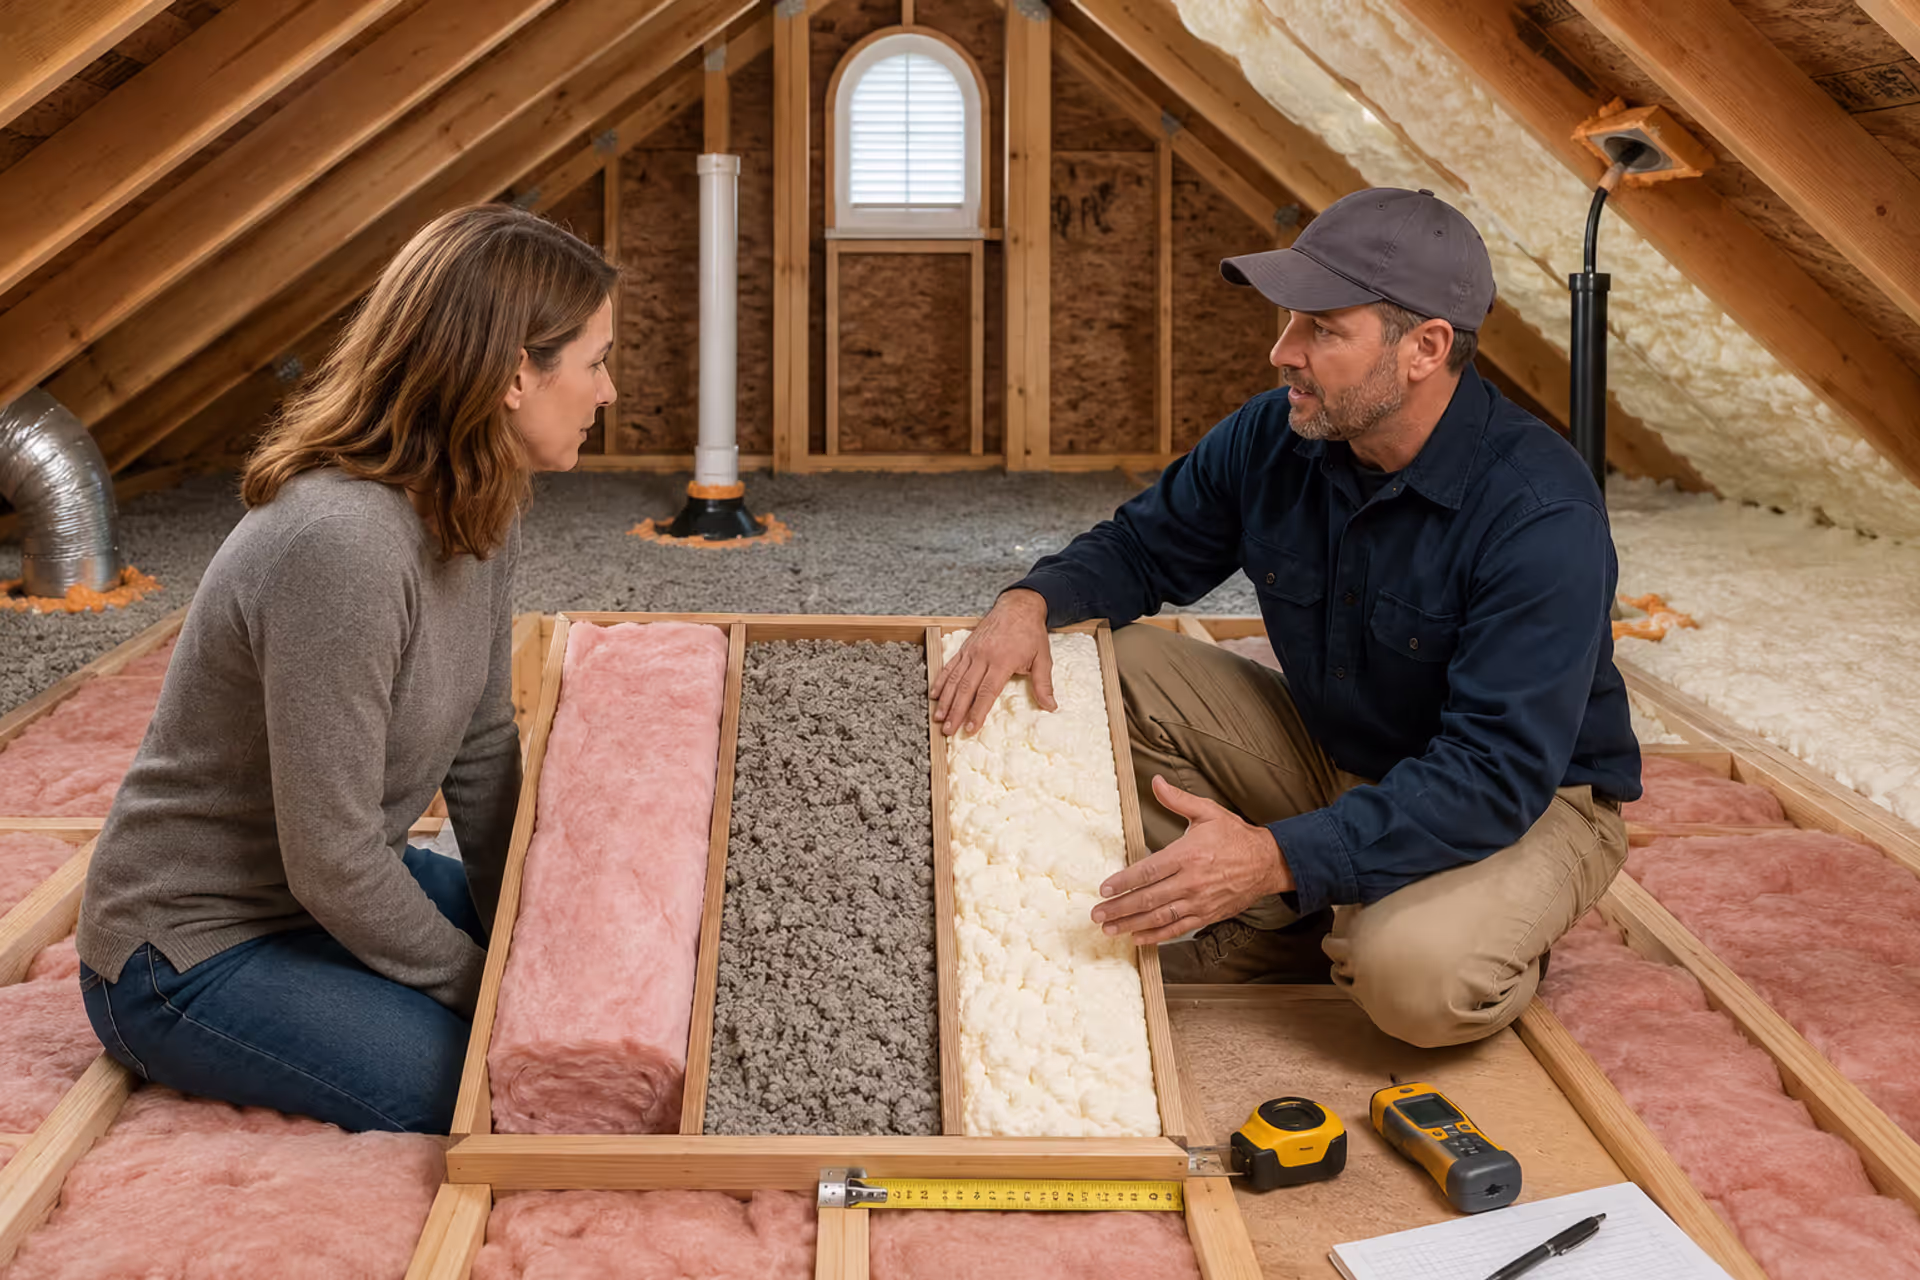
The subfloor situation matters too. Many mobile homes use particle board or OSB subflooring that doesn't handle moisture well. Once water damage starts, it spreads faster than in traditional homes. That's why manufactured home bathroom ideas always emphasize proper moisture barriers and ventilation—not as nice-to-haves, but as absolute requirements.
Weight distribution becomes critical in single-wide units. A cast-iron tub that works fine in a site-built home might stress the floor system in a mobile home. You'll want to stick with acrylic or fiberglass fixtures in most cases.
The biggest mistake I see in mobile home bathroom remodels is treating the moisture barrier as an afterthought. These homes flex and settle differently than traditional construction, and without proper waterproofing systems that accommodate movement, you're setting yourself up for rot and mold within two years.
— Martinez David
Budget Planning for Your Bathroom Renovation
Let's talk numbers. A mobile home bathroom remodel typically runs between $3,000 and $15,000 depending on size, materials, and whether you're doing the work yourself or hiring professionals.
The DIY route can cut costs by 40-60% if you're comfortable with basic plumbing and electrical work. But there's a catch—you need to know when to call in licensed help. Plumbing modifications and electrical panel work usually require permits and professional installation.
Here's where most people save money without sacrificing quality: vanities, fixtures, and lighting. Big-box stores carry perfectly good options at half the price of specialty retailers. A $200 vanity can look just as good as an $800 one with the right styling.
Where you shouldn't cheap out: waterproofing materials, ventilation fans, and subfloor repairs. Cutting corners here leads to expensive problems down the road. The pattern I see most often is homeowners spending big on pretty finishes while skimping on the invisible systems that actually protect their investment.
Financing options for remodeling a mobile home interior include personal loans, home equity loans (if you own the land), and specialized manufactured home improvement loans. Some lenders still treat mobile homes differently, so shop around. Credit unions often offer better terms than big banks for manufactured home projects.
Budget tier planning helps. Start with your must-haves, then add nice-to-haves if money allows. A working toilet and shower aren't negotiable. Heated floors and a rainfall showerhead? Those can wait for phase two.

Author: Caleb Norton;
Source: johnhranec.com
Cost Comparison: Single Wide vs. Double Wide Bathrooms
Single-wide bathrooms typically measure 5x8 feet or smaller. Double-wide units often have bathrooms closer to traditional home sizes, sometimes 8x10 feet or larger. That size difference impacts costs significantly.
| Component | Budget-Friendly | Mid-Range | Premium | Single vs. Double Wide Notes |
| Toilet | $120-$200 | $250-$400 | $500-$900 | Same cost both sizes |
| Shower/Tub Unit | $300-$600 | $800-$1,500 | $2,000-$4,000 | Double-wide can fit larger units |
| Vanity & Sink | $150-$350 | $500-$900 | $1,200-$2,500 | Single-wide limited to 24-30" vanities |
| Flooring (materials) | $100-$250 | $300-$600 | $800-$1,500 | Double-wide needs 60-80% more material |
| Lighting & Fan | $80-$150 | $200-$400 | $500-$1,000 | Same cost both sizes |
| Labor (if hired) | $1,200-$2,000 | $2,500-$4,000 | $5,000-$8,000 | Double-wide adds 30-50% to labor time |
| Total Range | $1,950-$3,550 | $4,550-$7,800 | $10,000-$17,900 | Double-wide typically 40-60% higher total |
These numbers assume you're keeping the existing layout. Moving plumbing fixtures adds $500-$2,000 to any budget tier.
Design Ideas That Work in Manufactured Home Bathrooms
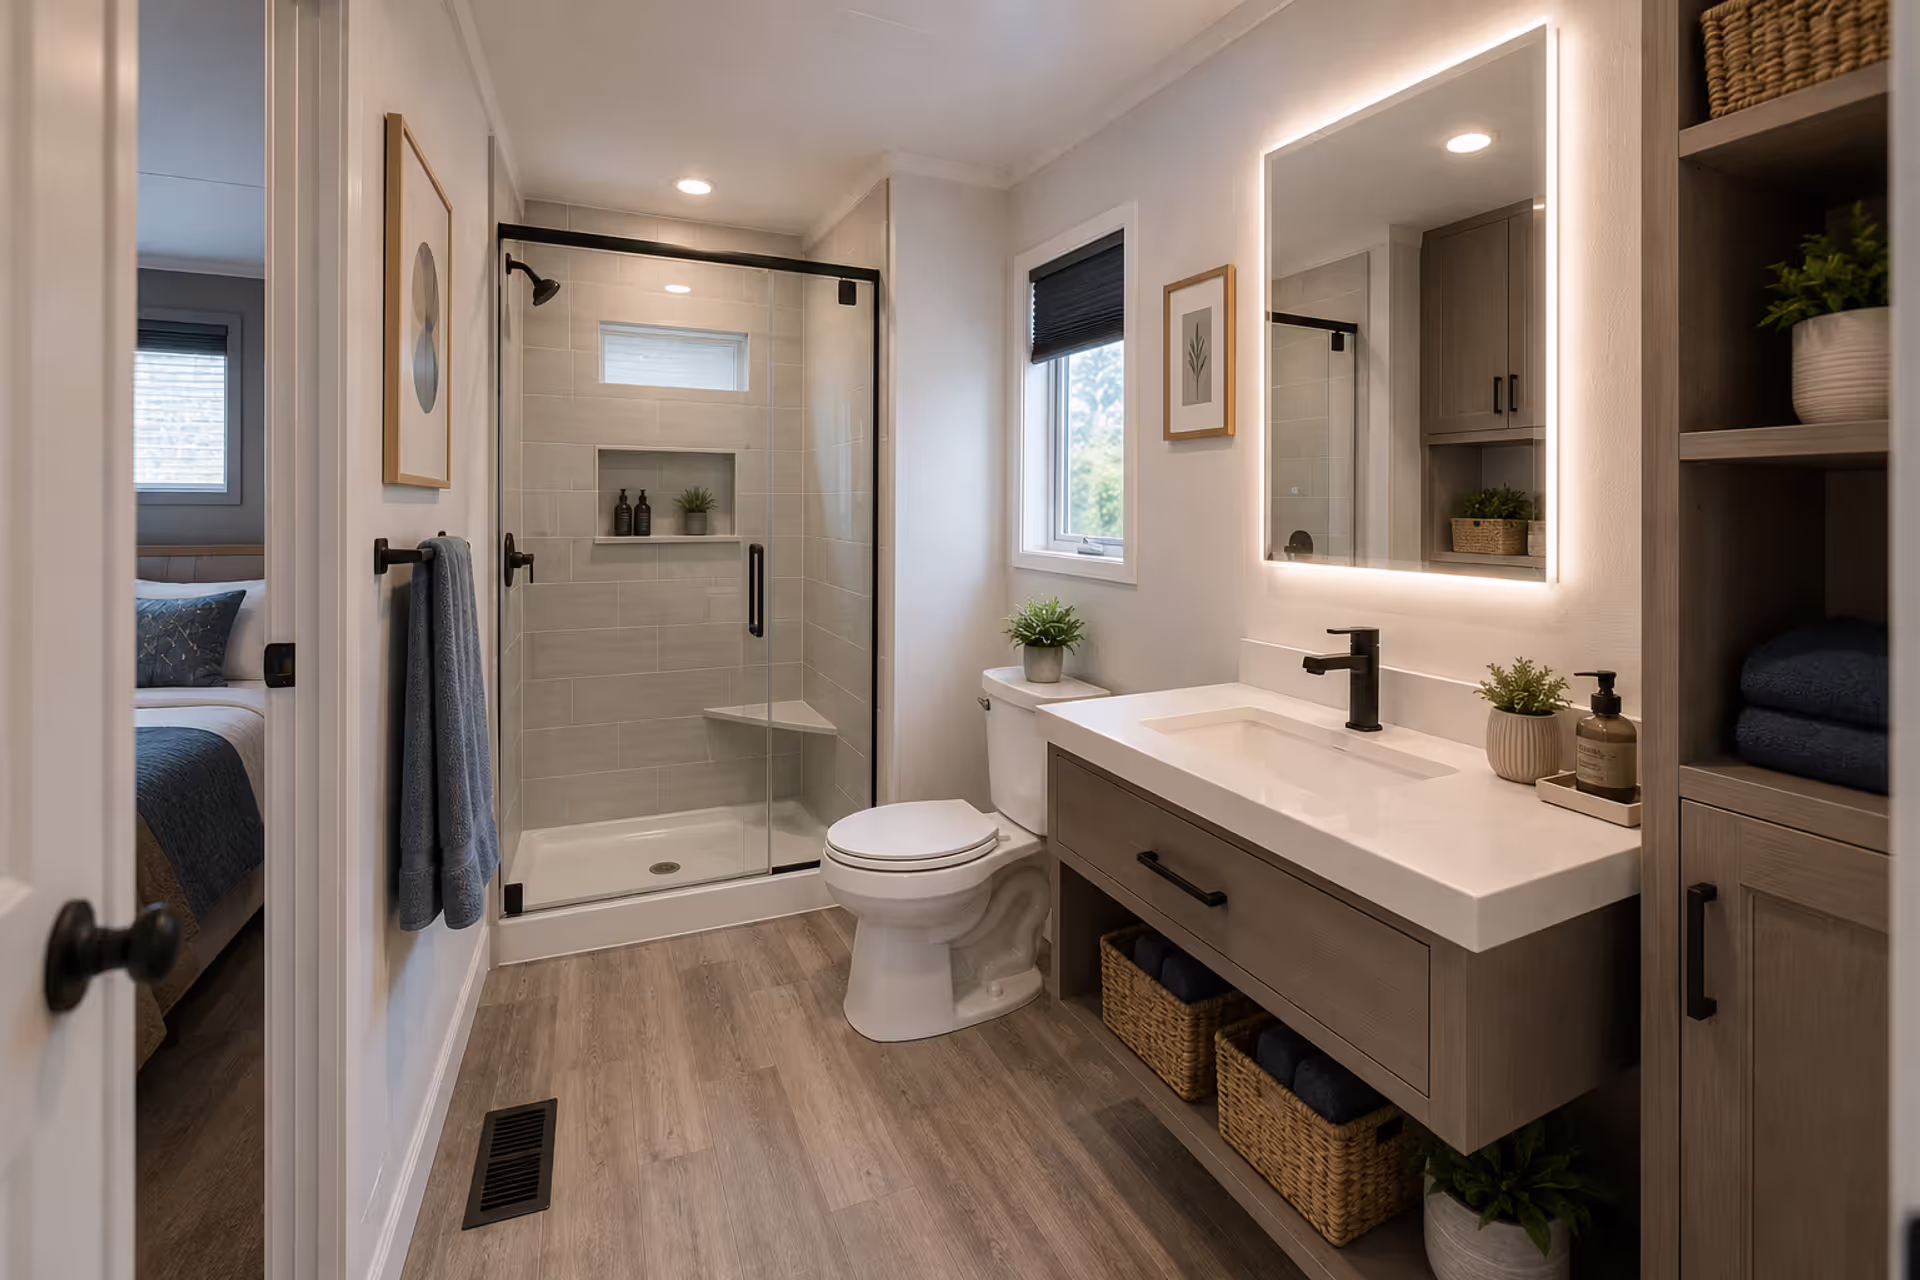
Space-saving fixtures make the biggest impact in mobile home bathrooms. Corner sinks reclaim valuable floor space. Wall-mounted toilets create a cleaner look and make floor cleaning easier. Pocket doors eliminate the swing radius of traditional doors—a game-changer in tight layouts.
Shower stalls often work better than tub-shower combos in single-wide units. You'll gain usable space and reduce weight on the floor system. If you need a tub for kids or accessibility, consider a shorter 54-inch model instead of the standard 60-inch version.
Lighting transforms small bathrooms. A single overhead fixture creates shadows and makes spaces feel cramped. Instead, use multiple light sources: recessed lights, vanity sconces, and even LED strip lighting under floating shelves. Natural light helps too—if you can add or enlarge a window without compromising privacy, do it.
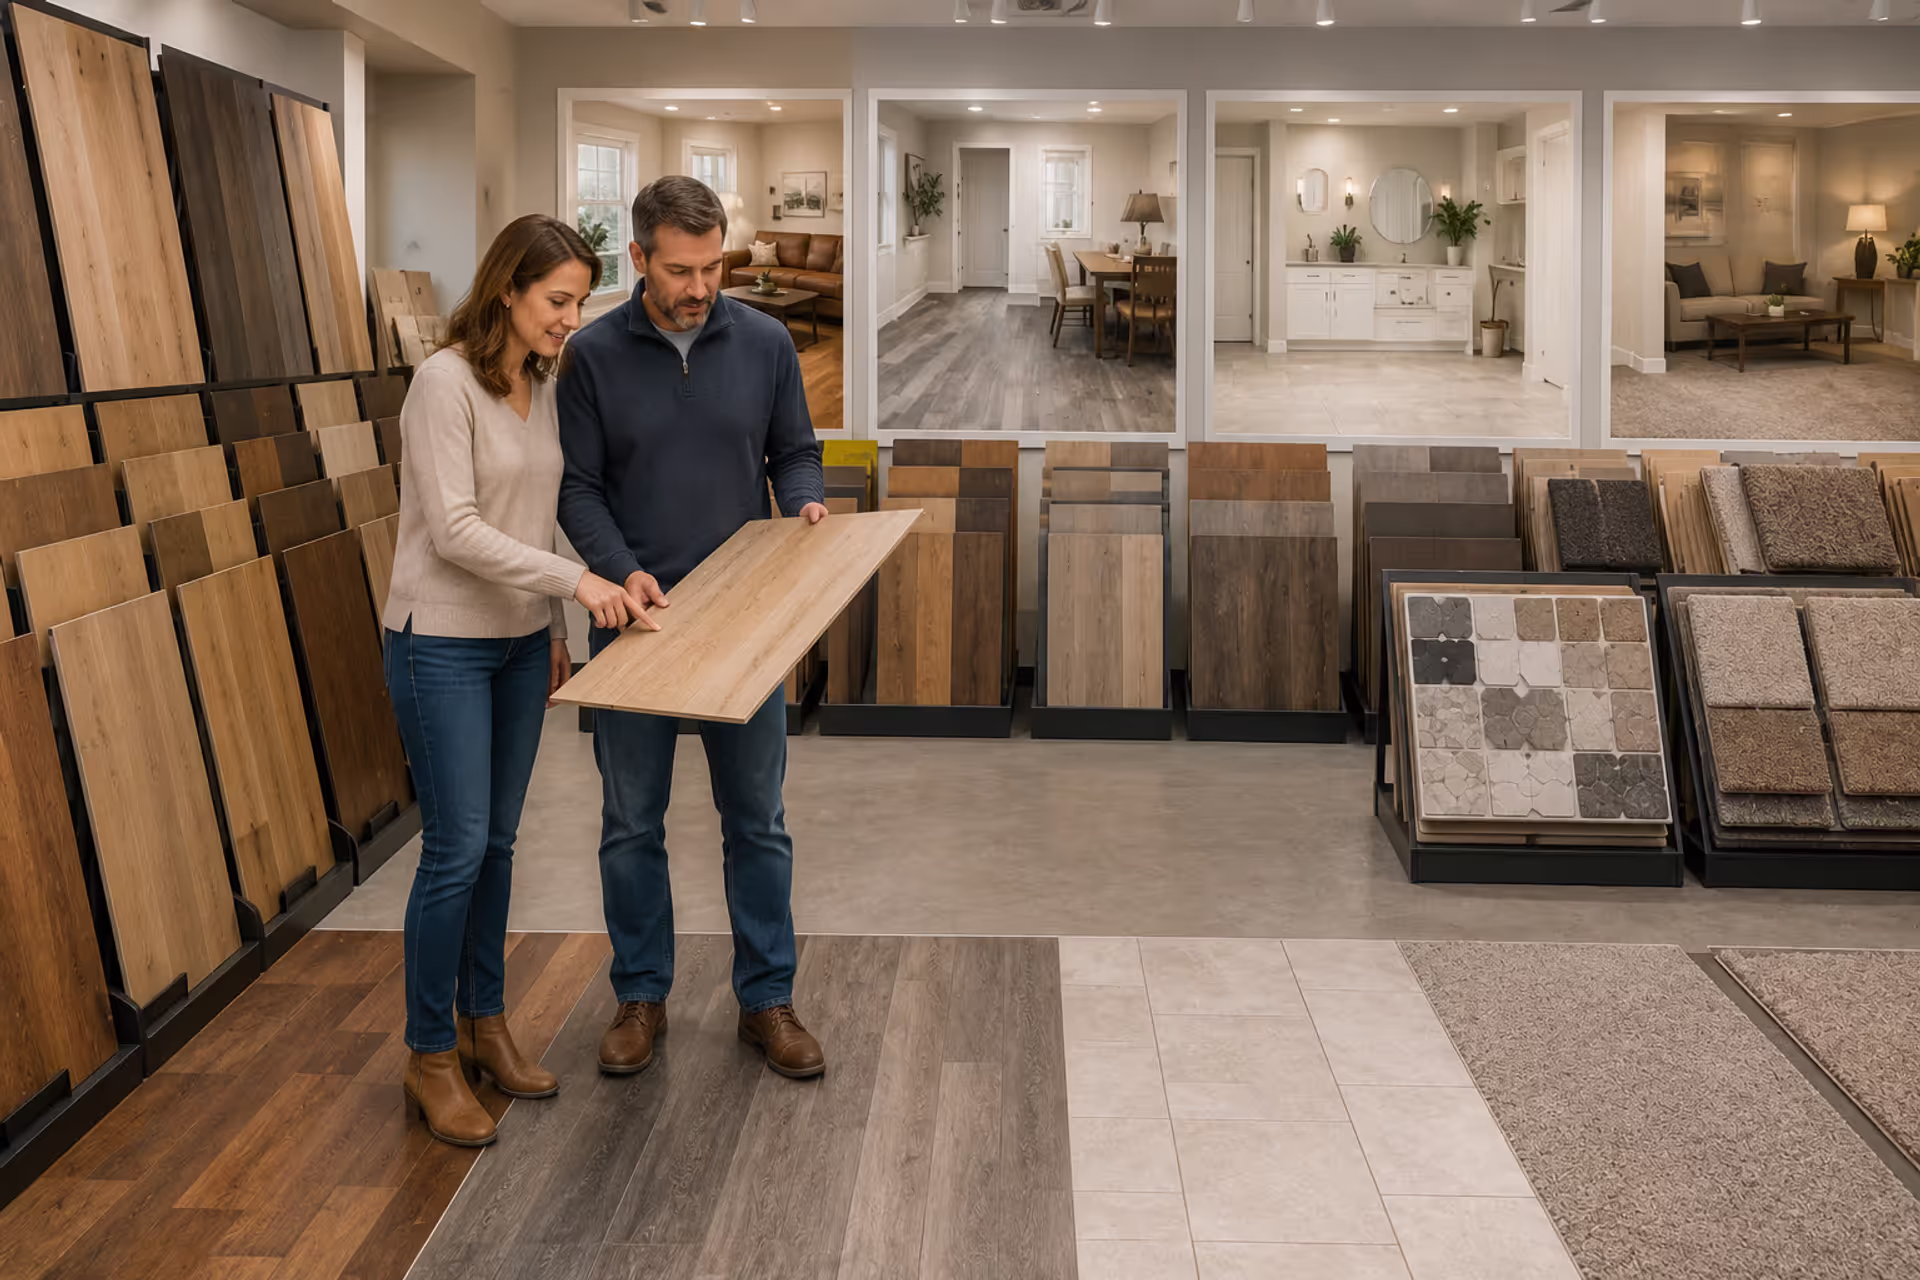
Moisture-resistant materials aren't optional in manufactured home bathroom ideas. Use cement board or waterproof tile backer instead of standard drywall in wet areas. Choose vinyl, luxury vinyl plank, or porcelain tile for flooring—never laminate or standard hardwood. For walls, consider acrylic panels or fiberglass reinforced plastic (FRP) in the shower area. They're lighter than tile and easier to install.
Color and pattern choices affect how spacious your bathroom feels. Light colors on walls and floors reflect more light. Large-format tiles (12x24 inches or bigger) create fewer grout lines, making floors look more expansive. Vertical stripes in wallpaper or tile draw the eye upward, making ceilings feel higher.
Storage gets creative in small bathrooms. Recessed medicine cabinets sit flush with walls instead of protruding. Over-toilet shelving units use otherwise wasted vertical space. Magnetic strips on walls can hold metal containers for small items. Think up, not out.
The simpler option usually wins here. A bathroom with too many design elements feels cluttered. Pick one statement piece—maybe a bold vanity or striking tile pattern—and keep everything else neutral.
Author: Caleb Norton;
Source: johnhranec.com
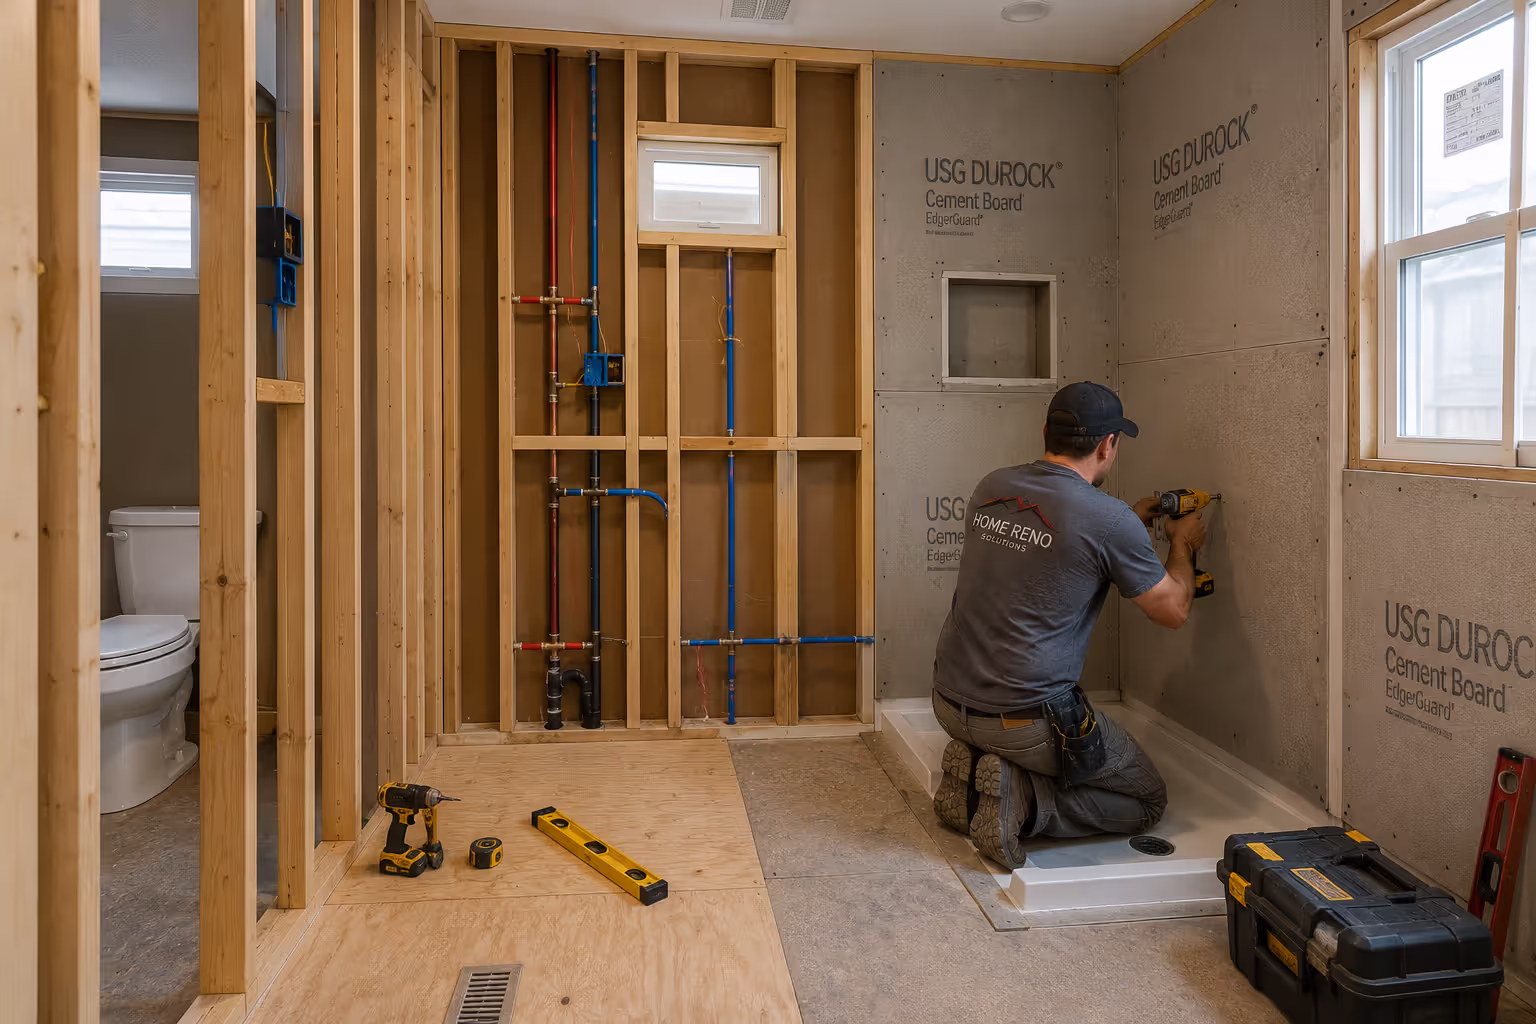
Step-by-Step Remodeling Process
Start with demolition, but go slower than you would in a traditional home. Those thin walls damage easily. Use a utility knife to score caulk lines before removing fixtures. Disconnect plumbing carefully—you might reuse supply lines if they're in good shape.
Inspect the subfloor once you've removed old flooring. Look for soft spots, discoloration, or musty smells. Water damage in particle board subfloors requires complete replacement of affected sections. Don't try to patch over it. Cut out bad sections and sister in new plywood or OSB, making sure it's rated for moisture exposure.
Plumbing updates come next. This is when you'll discover if your home has outdated materials that need replacing. If you're keeping fixtures in the same locations, the job stays straightforward. Moving a toilet or shower means rerouting drain lines—possible, but more complex in mobile homes where you're working with limited floor cavity depth.
Electrical work includes adding GFCI outlets (required by code in bathrooms) and upgrading the ventilation fan. Modern bathroom fans are rated by CFM (cubic feet per minute). You want at least 50 CFM for bathrooms under 50 square feet, more for larger spaces. Some fans include humidity sensors that automatically run when moisture levels rise—worth the extra $30-40.
Wall preparation matters more than most people realize. Install cement board in wet areas, securing it to studs with appropriate screws. Tape and seal all seams with waterproof membrane. This step protects your home's structure even if water gets past your tile or shower surround.
Installing fixtures follows a logical order: shower or tub first, then toilet, then vanity. This prevents you from working around already-installed components. For shower surrounds, acrylic or fiberglass units designed for mobile homes install faster than tile and weigh less. If you're set on tile, use lightweight porcelain and a flexible thin-set mortar that accommodates the slight flex in mobile home walls.
Vanity installation is straightforward, but check that your wall can support the weight. If mounting a wall-hung vanity, make sure you're screwing into studs or use blocking between studs for support. Floor-standing vanities distribute weight better in mobile homes.
Flooring goes in last. Luxury vinyl plank (LVP) has become the go-to choice for mobile home bathroom renovations on a budget. It's waterproof, affordable, easy to install, and looks remarkably like real wood or stone. The click-lock floating floor systems don't require adhesive, making them perfect for DIY installation.
Finishing touches include caulking all seams with 100% silicone caulk (not acrylic latex), installing trim pieces, and adding hardware. Don't rush this stage. Sloppy caulk lines and poorly fitted trim pieces ruin an otherwise professional-looking job.
Common Mistakes to Avoid During Installation
Using too much weight in finishes tops the list. That gorgeous natural stone tile might exceed your floor's load capacity. Always check weight specifications, especially in single-wide units.
Inadequate ventilation causes problems you won't see for months. Moisture builds up, condensation forms inside walls, and mold takes hold. Install a properly sized fan and actually use it. Run it during showers and for 20 minutes after.
Ignoring the belly wrap underneath your home creates trouble. If you're doing subfloor repairs, you'll need to access the underbelly. Cutting into it without proper resealing lets moisture and pests in. Use appropriate tape and sealants designed for this purpose.
Over-tightening fixtures and fittings cracks the thinner materials used in mobile homes. Plastic drain fittings especially don't need gorilla strength—hand-tight plus a quarter turn usually does it.
Skipping permits seems tempting but isn't worth it. Most jurisdictions require permits for plumbing and electrical work. If you sell later, unpermitted work can kill deals or force you to rip everything out and start over.
Upgrading Other Interior Spaces After Your Bathroom
Author: Caleb Norton;
Source: johnhranec.com
Once you've conquered the bathroom, momentum builds. Many homeowners tackle the kitchen next—it offers the biggest return on investment for manufactured home renovation efforts.
Mobile home kitchen renovation ideas follow similar principles to bathroom work. Lighter materials matter. Proper ventilation is critical. And you're often working with non-standard cabinet sizes, so custom or semi-custom options work better than stock cabinets from big-box stores.
The kitchen-bathroom connection makes sense from a plumbing standpoint too. If these rooms share a wall, you can sometimes run new supply lines or drains more efficiently when renovating both spaces. You'll already have permits pulled and contractors on site.
Double wide mobile home renovation projects can include more ambitious plans. These homes have the space and structural capacity for larger-scale changes. Open floor plans work well in double-wides—removing non-load-bearing walls between kitchen and living areas creates a modern, spacious feel.
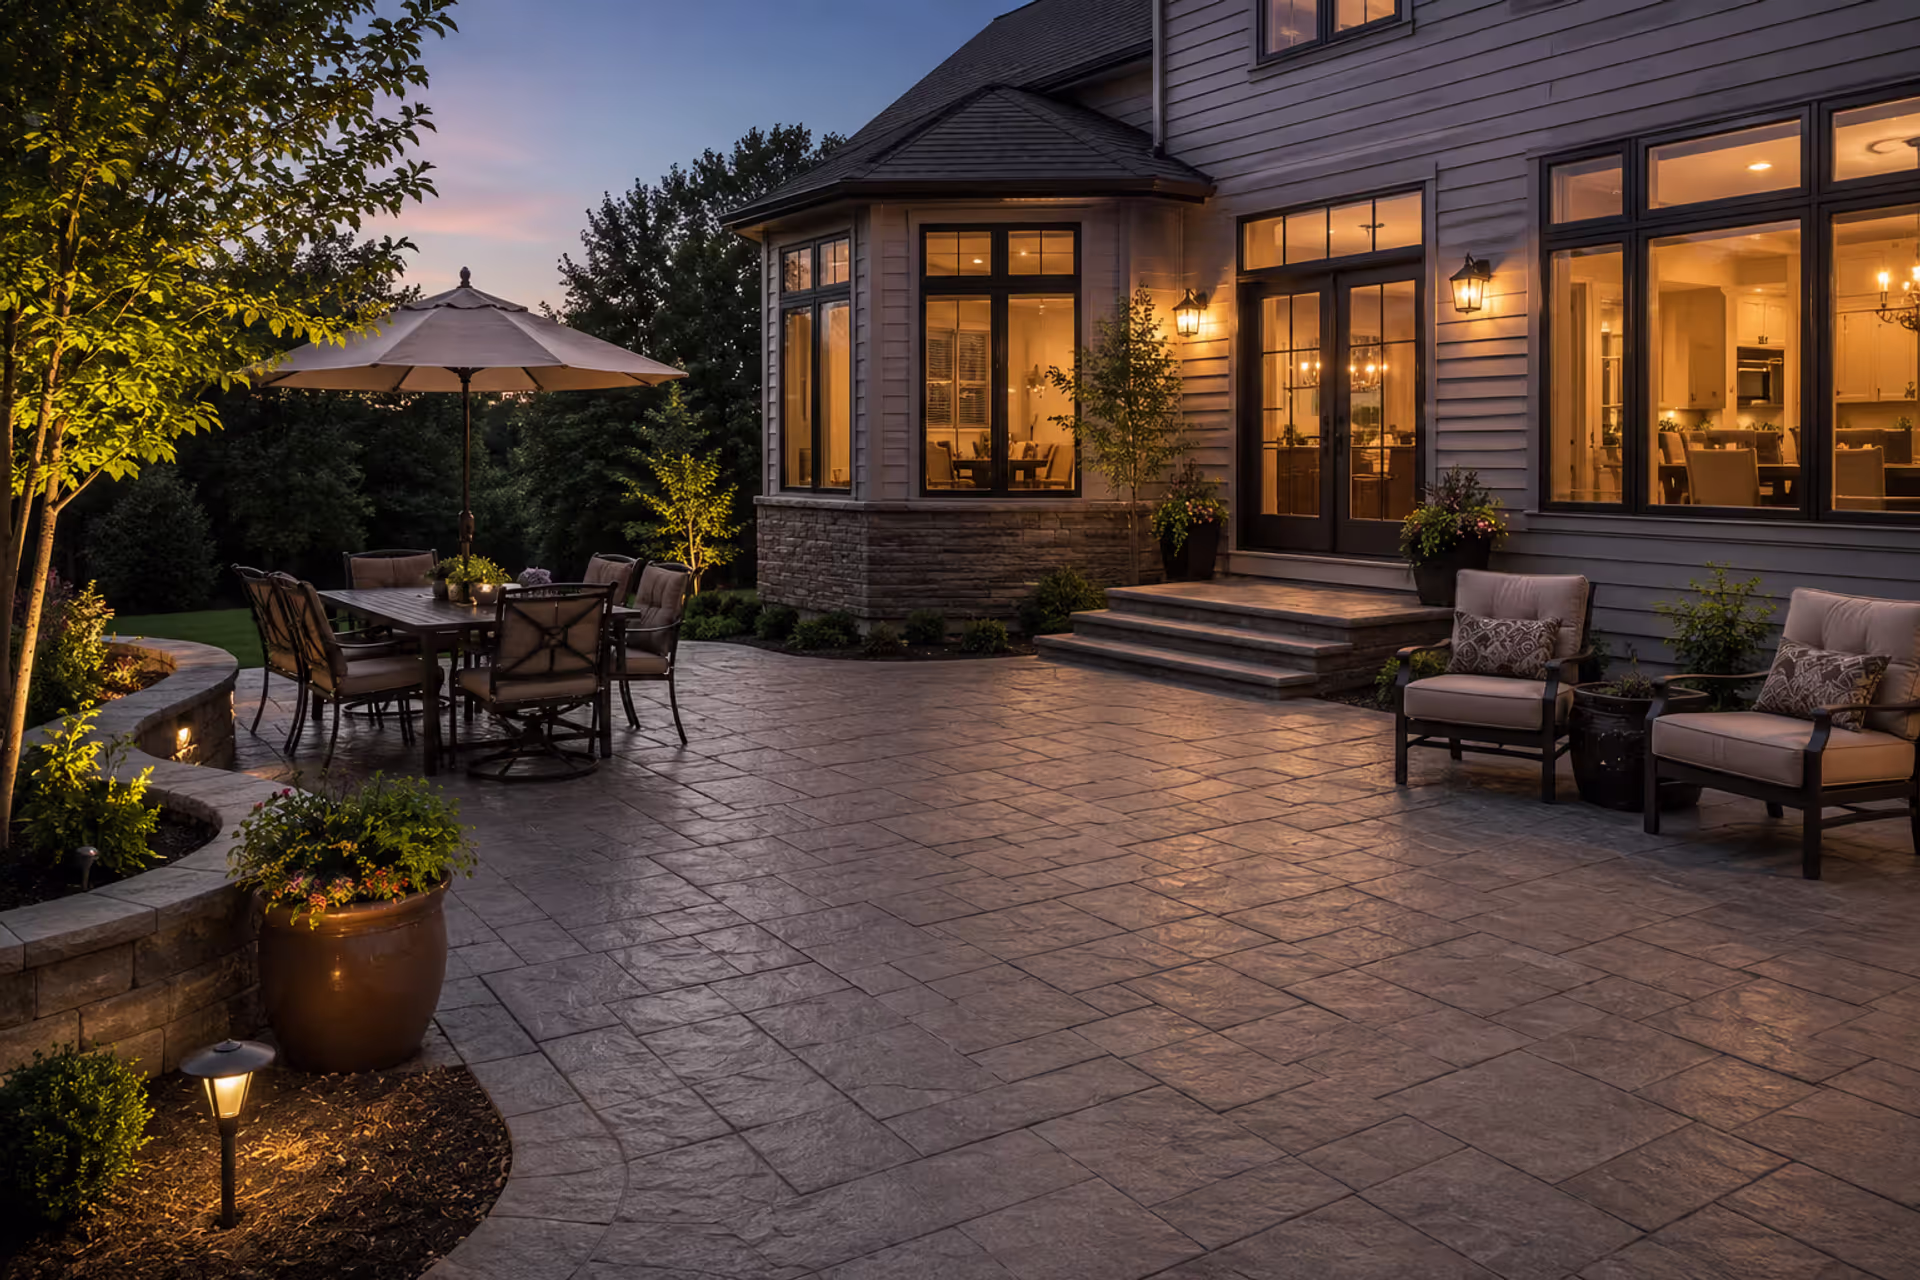
Don't forget outdoor spaces. Double wide mobile home decks expand your usable living area and boost curb appeal. A well-built deck increases home value and provides entertainment space. Just make sure it's properly anchored and meets local building codes—mobile homes require specific attachment methods.
Interior upgrade guides for manufactured homes emphasize cohesive design. Your bathroom renovation sets a style direction. Carry those finishes, colors, and fixture styles through other rooms. Consistency makes the whole home feel intentional rather than piecemeal.
Manufactured home improvement tips from experienced renovators stress patience. You don't need to do everything at once. Bathroom first, then kitchen, then flooring throughout, then exterior upgrades. Each project builds skills and confidence for the next.
Frequently Asked Questions About Mobile Home Bathroom Remodels
Remodeling a mobile home bathroom challenges you in ways traditional home projects don't. But those challenges aren't roadblocks. They're just different considerations that require different solutions.
Start with a solid plan. Measure everything twice. Budget for 10-15% more than your estimates suggest—surprises happen, especially with older homes. And don't try to tackle everything in one weekend marathon. Quality work takes time.
The manufactured home renovation guide approach works: educate yourself about your home's specific construction, respect its limitations, and work within them rather than against them. Your bathroom might be smaller than you'd like, but with smart design choices and proper materials, it can function beautifully and last for decades.
Most people underestimate what's possible in these spaces. That cramped, outdated bathroom that makes you cringe every morning can become a space you actually enjoy. It won't look like a mansion bathroom—but it doesn't need to. It just needs to work for your life, reflect your style, and hold up to daily use without falling apart.
The homes that look best aren't always the ones with the biggest budgets. They're the ones where someone took time to plan carefully, chose appropriate materials, and executed the work properly. That can be you. Start with one room, learn as you go, and build confidence for the next project.
Your mobile home bathroom remodel is completely doable. Just remember: lighter materials, proper moisture protection, and respect for the unique construction methods that make manufactured homes work. Get those right, and everything else falls into place.