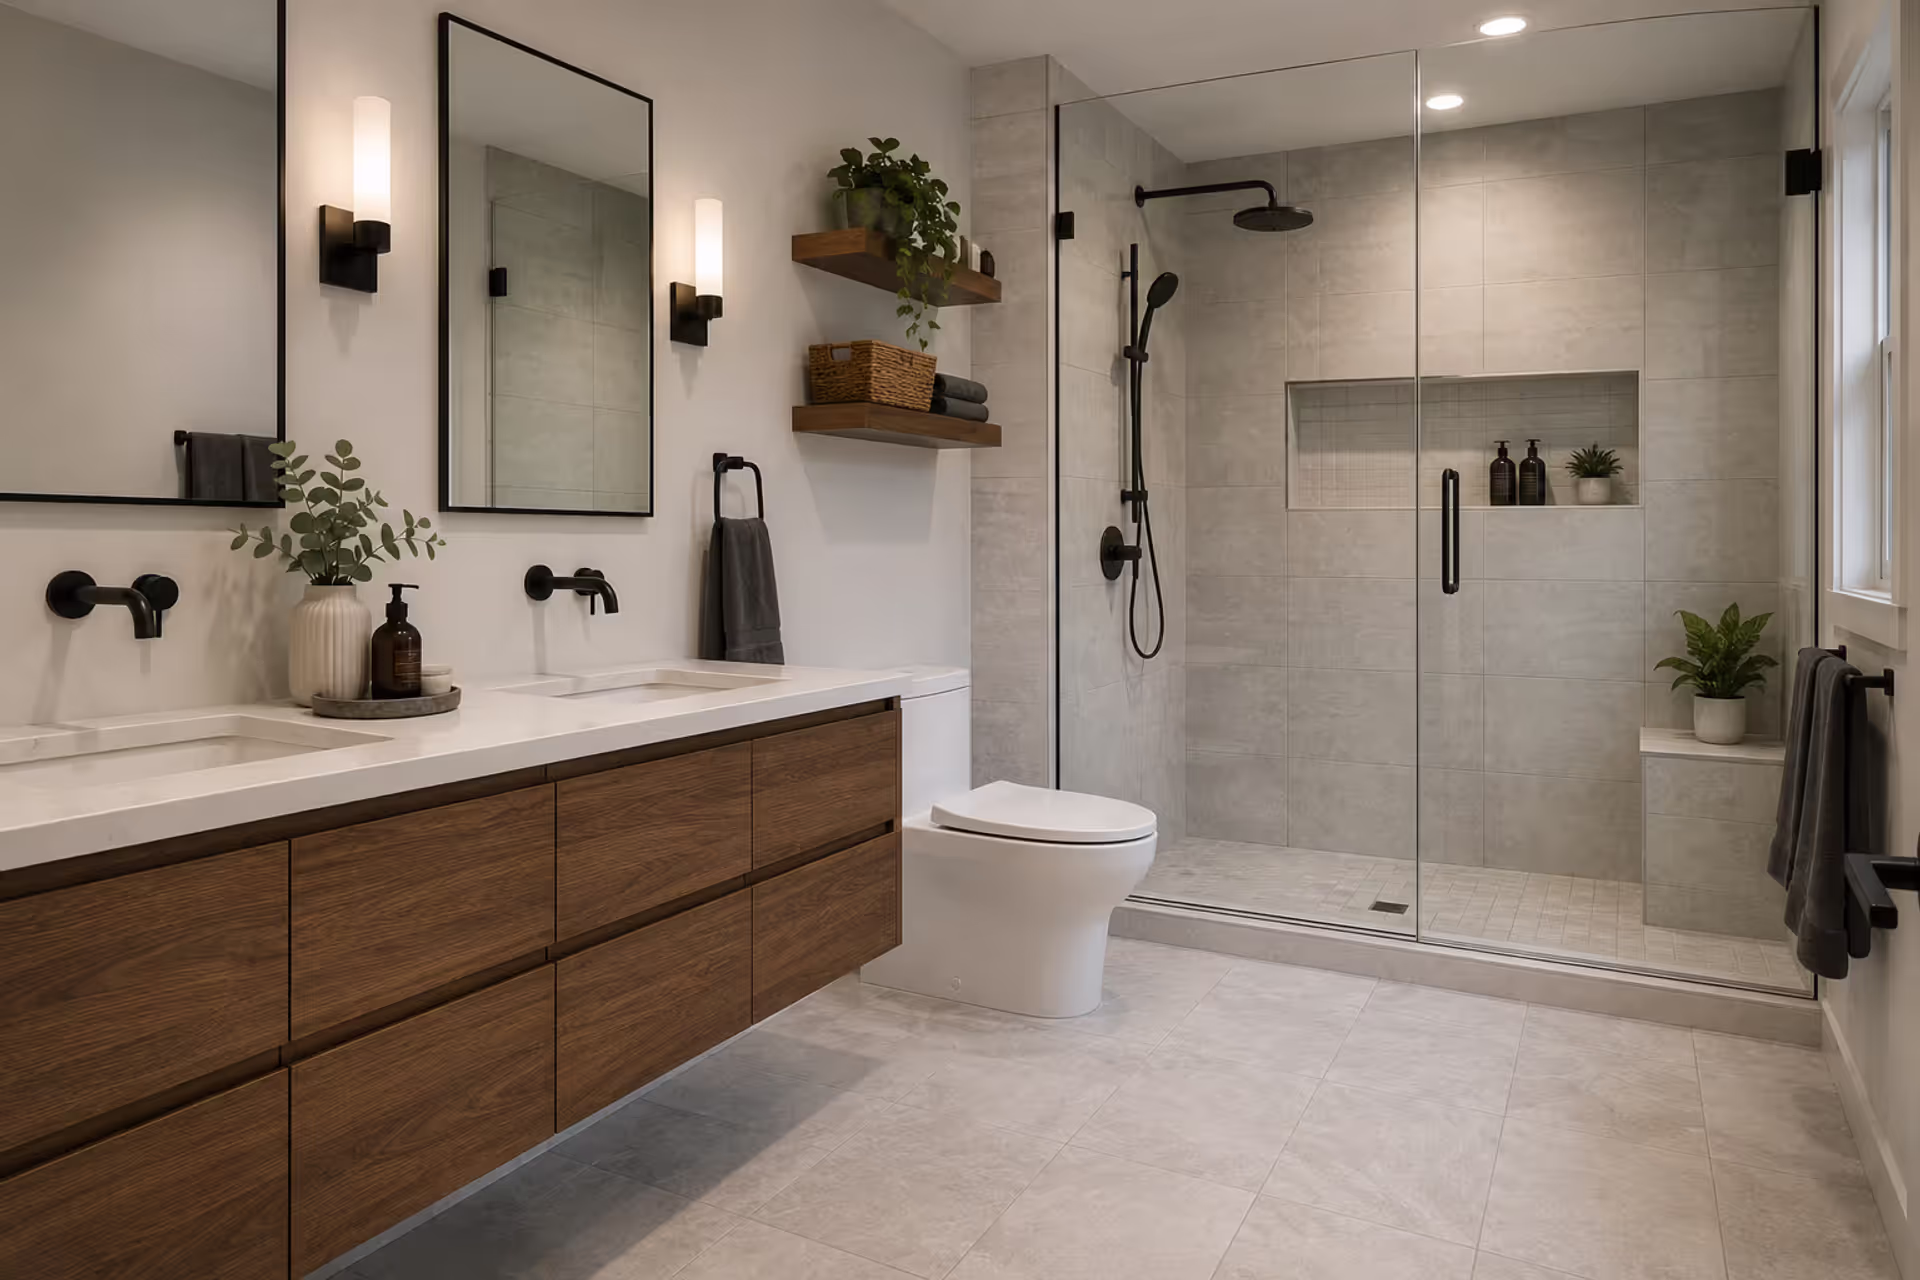
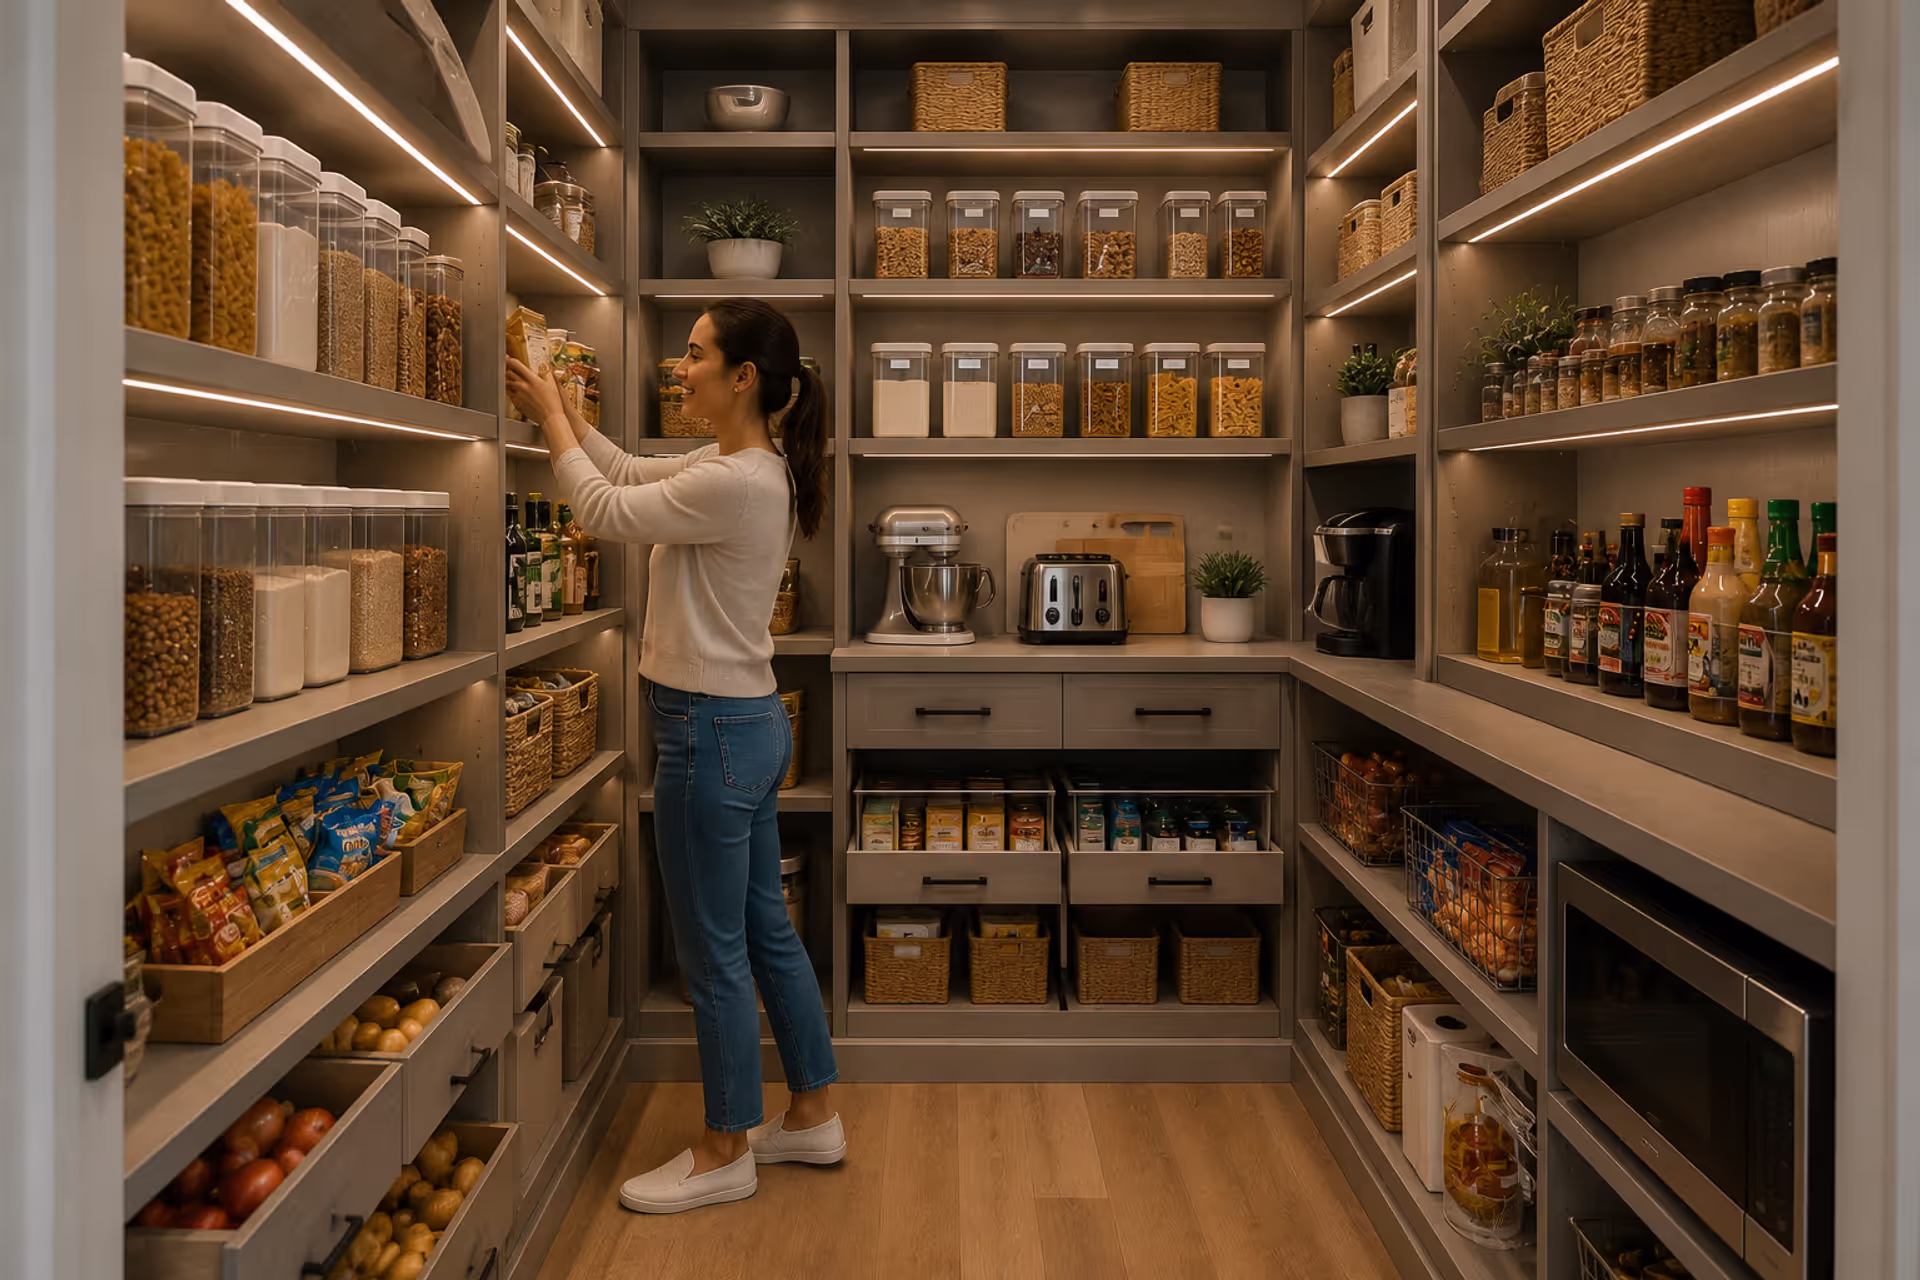
Modern walk-in pantry with organized shelves and pull-out storage
How to Plan a Pantry Remodel?

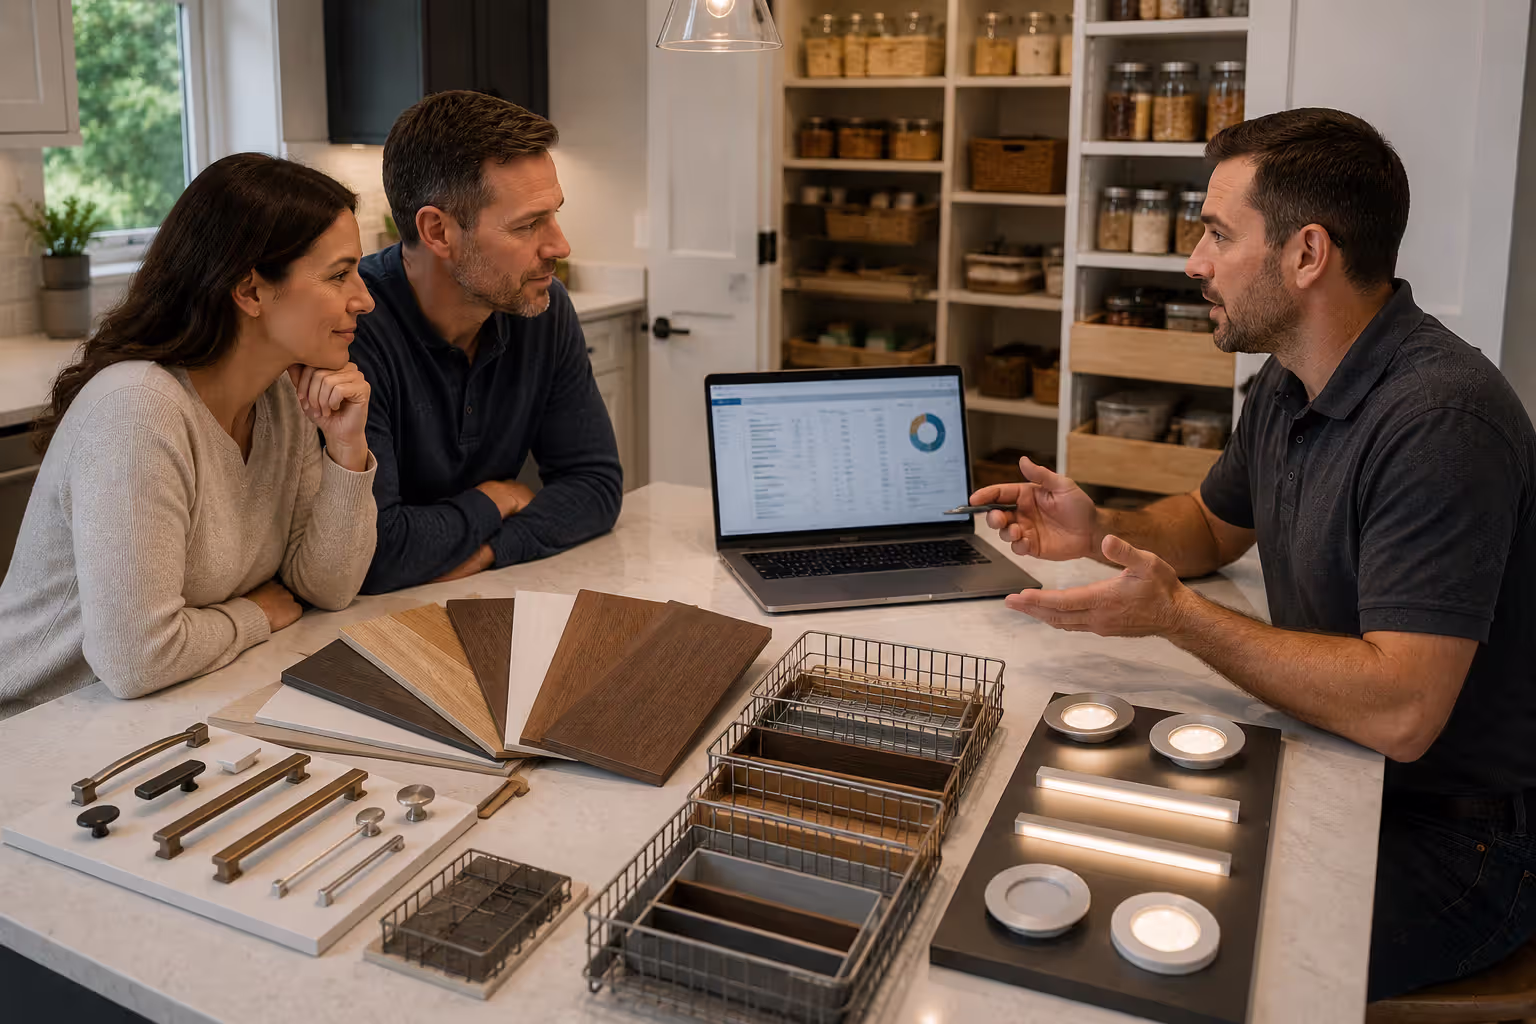
Last Tuesday, I opened my pantry and a can of beans fell on my foot. Again. That's when I knew—six months of saying "I should really organize this" wasn't cutting it. My sister jumped straight into her pantry renovation last year without measuring anything first. She spent $3,200 and still can't fit her stand mixer anywhere. The contractor had to come back twice because she forgot about the door swing radius. Meanwhile, my neighbor copied some photos from a design blog, installed shelves that looked incredible, then realized she couldn't reach anything above five feet without a stepladder.
What actually works? Starting with the boring stuff—measurements, workflow patterns, how you really use your kitchen (not how design magazines say you should). I've helped four friends tackle their pantries over the past three years, made plenty of mistakes on my own remodel, and learned which decisions matter versus which ones just drain your wallet.
Types of Pantry Remodels and Which Fits Your Space
Before you start browsing Pinterest, measure what you're working with. I've watched people fall in love with walk-in designs when they've got maybe 20 square feet to spare.
Walk-in pantries demand substantial space—you're looking at 25 square feet minimum, though 40 to 60 works better. Think about a room that's 5 feet by 8 feet, or maybe 4 feet by 10 feet if you've got a narrow layout. Where does this space come from? My cousin converted her unused formal dining room. Another friend stole space from an oversized master closet that backed up to the kitchen. I've also seen under-staircase conversions, though those get tricky with sloped ceilings. The advantage here is obvious—you can stock up when Costco has sales and actually have somewhere to put everything.
Have nothing in your house that you do not know to be useful, or believe to be beautiful.
— William Morris
Butler pantries serve a different purpose entirely. These aren't just storage; they're prep zones. Picture a 4-foot by 7-foot room with counter space, maybe a small sink, cabinets above and below. They work best between your main kitchen and dining area. My aunt uses hers as a coffee bar and a place to stage appetizers when she's hosting. The sink means she can rinse serving dishes without cluttering her main workspace. But cramming one into a small kitchen creates traffic jams—I've seen it backfire when people try to force this layout without adequate space.
Reach-in pantries are what most of us already have. Standard closet dimensions: 24 to 36 inches deep, anywhere from 3 to 8 feet wide depending on your home's layout. Usually one door, sometimes bifold doors on wider versions. Most remodels I've worked on started here because the basic structure exists—you're upgrading the interior rather than building something from scratch. My first pantry project was exactly this: ripped out wire shelving, added adjustable systems, installed better lighting. Cost me $680 total.
Open pantry shelving means mounting shelves directly on a kitchen wall. No doors, no separate room. This approach works in tight spaces where you can't give up square footage for a closet. I tried this in my previous apartment—dedicated one 8-foot wall to open shelves. Looked fantastic for about two weeks. Then I got lazy about organizing, and suddenly my mismatched cereal boxes and half-empty cracker bags were on display for every dinner guest. If you're naturally tidy, great. If you're like me and grab groceries in a rush, maybe reconsider.
Which direction should you go? Measure your available space first. That coat closet adjacent to your kitchen? Could become a reach-in pantry if it's at least 20 inches deep. The hallway that dead-ends near your refrigerator? Might accommodate open shelving. Got serious money and space? Then we can talk about walk-ins.
Author: Nathan Cole;
Source: johnhranec.com
Pantry Layout and Design Planning
Layout mistakes haunt you forever. My brother-in-law installed beautiful custom shelving that's 22 inches deep. He finds expired food back there constantly because you can't see what's hiding in the back row.
Walk-in pantries require at least 36 inches for the center aisle. That's barely enough for one person to turn around. When my wife and I both cook, we need 44 to 48 inches or we're constantly doing that awkward "excuse me" dance. Shelf depth should stay between 12 and 16 inches. I went with 14-inch shelves in my current pantry. Deep enough for cereal boxes and pasta jars, shallow enough that nothing disappears into oblivion.
Vertical placement determines whether you'll actually use the space. Items you grab daily—coffee, snacks, baking staples, cooking oils—belong between 30 and 60 inches high. That's your comfortable reach zone where you're not bending over or stretching on tiptoes. Lower shelves handle heavy, bulky stuff: cases of sparkling water, 10-pound flour bags, the giant olive oil from Costco. Upper shelves work for things you rarely need: holiday platters, that fondue set from your wedding, seasonal items.
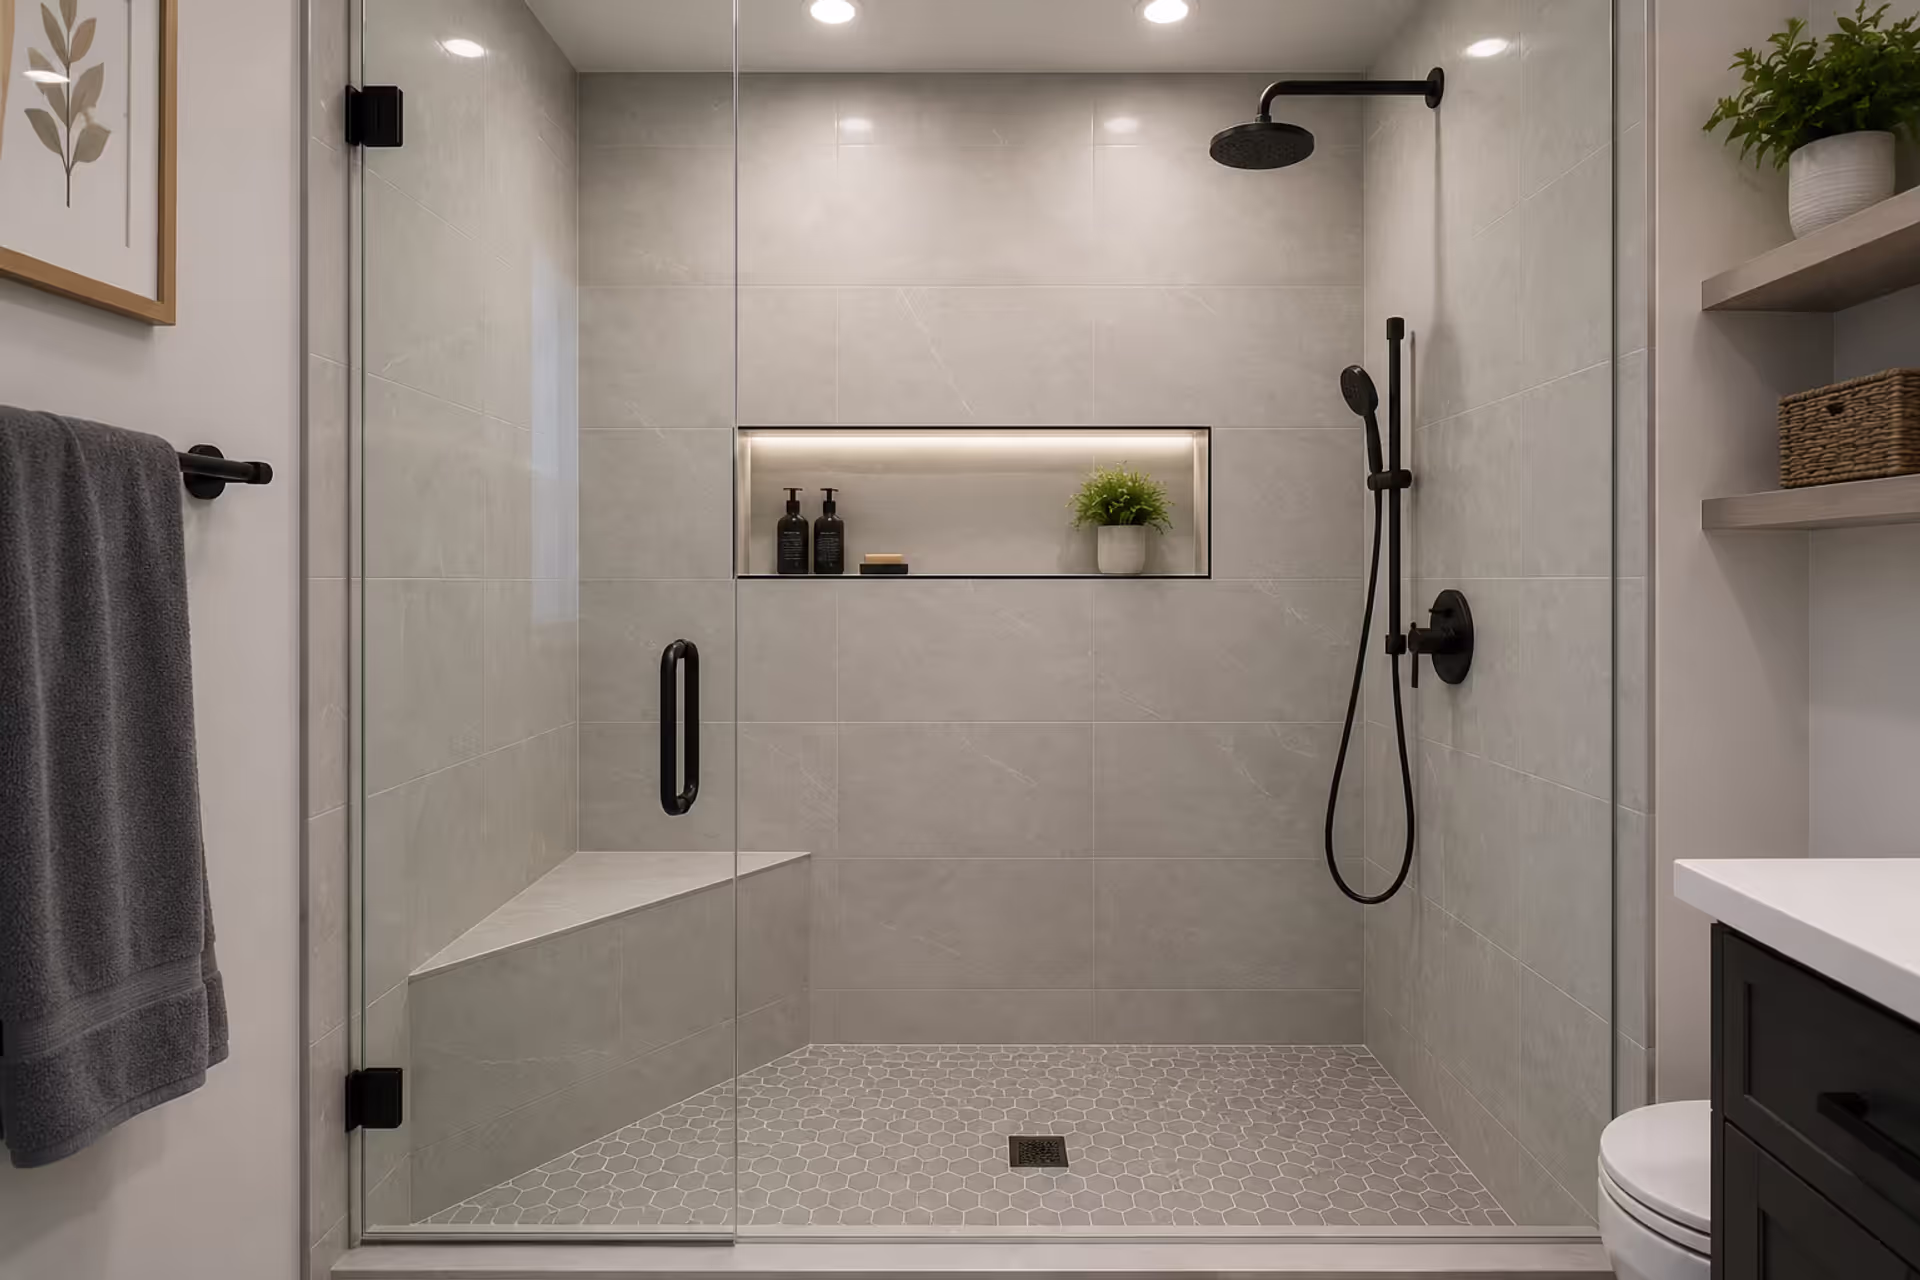
Door configuration impacts your usable wall space more than you'd expect. Standard 32-inch doors swinging inward eat up wall area you could use for shelving. Pocket doors slide into the wall cavity—installation costs more (my contractor charged an extra $400) but you gain that wall space back. Barn doors have that trendy farmhouse look and don't require wall cavity space, though they need clearance to slide. I actually skipped doors entirely on my pantry. Some people hate that openness, but I like seeing everything without opening anything.
Converting a Closet into a Pantry
Closet conversions make financial sense because the basic structure exists. You're gutting the interior and rebuilding it properly.
Rip everything out first. That single shelf with the hanging rod? Gone. Old wire shelving that's sagging? Trash it. Check for electrical outlets while the walls are exposed. You'll want at least one outlet—I use mine for a handheld vacuum and to charge my electric wine opener. No existing outlet? Add one now. Running wiring after you've installed shelving means tearing everything apart again. My electrician charged $240 to add an outlet and a light switch.
Most closets waste the vertical dimension dramatically. Standard builder-grade closets have one shelf at 72 inches and wasted space below. Floor-to-ceiling adjustable shelving fixes this problem. I installed metal standards with brackets—the whole system cost $140 for my 6-foot-wide closet. Adjustable beats fixed shelving because you can reconfigure as your needs change. When we had a baby, I moved shelves to accommodate formula containers. Now that he's older, I've reconfigured for snack storage.
Lighting transforms these spaces completely. That single 60-watt bulb overhead? Creates shadows everywhere. Under-shelf LED strips change everything. I installed battery-powered motion-activated LED pucks—$35 for a three-pack on Amazon, batteries last about eight months. Walk in, lights turn on automatically. No switches to fumble for when your hands are full of grocery bags.
Ventilation gets overlooked constantly. Storing potatoes, onions, bread, or flour in a sealed closet creates moisture problems. Air needs to circulate or you'll get mold on packaging. A louvered door helps significantly. If you can cut into an exterior wall, add a small vent. Otherwise you're creating a damp environment that attracts pantry moths and causes food to spoil faster.
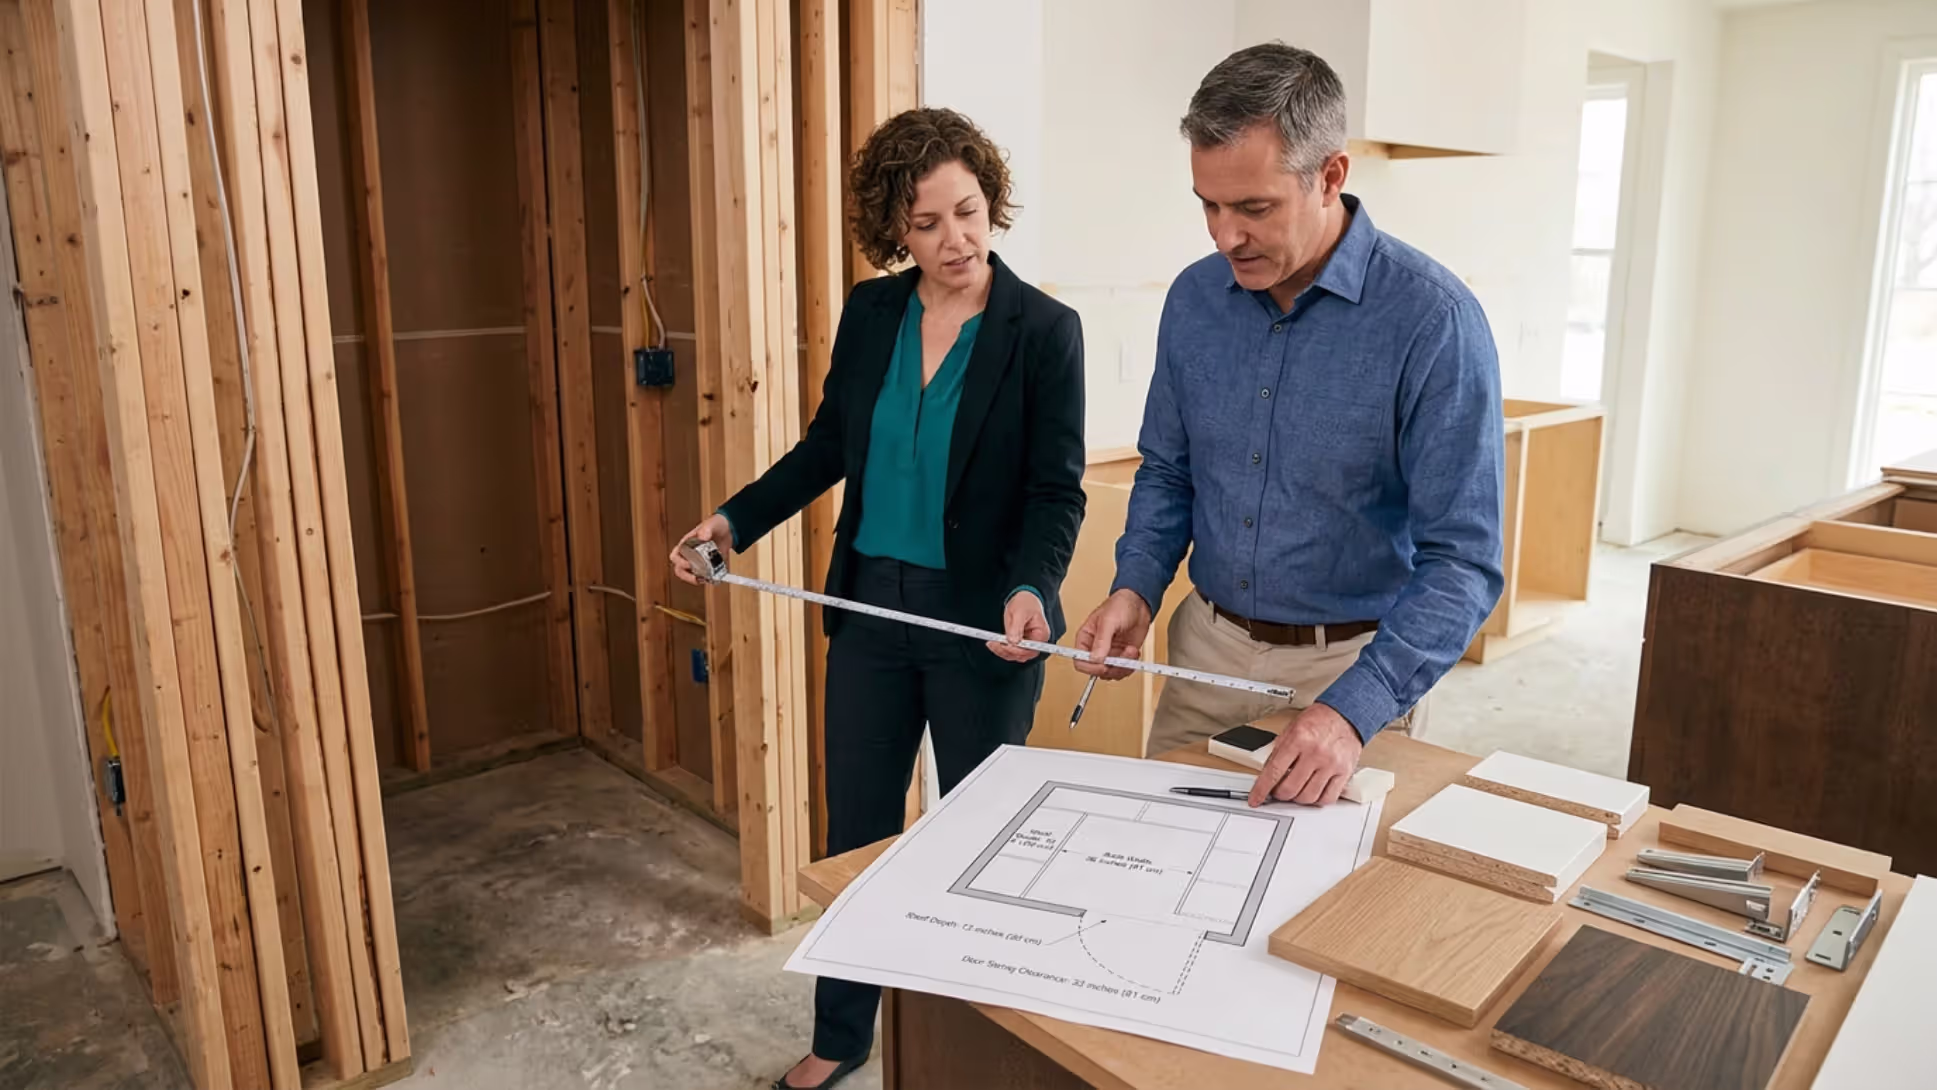
Adding a Pantry to an Existing Kitchen
Building a pantry where none existed means construction, permits, inspections, and significant investment. You're altering your home's structure.
Location matters more than size. Your pantry should sit within 5 to 10 steps of your primary prep area. My sister put hers on the opposite side of her kitchen from the stove. She walks back and forth constantly while cooking—I counted 23 trips during one dinner prep. Positioning it next to the refrigerator makes logical sense: cold storage and dry storage side by side. Near the back door also works well if that's your grocery entry point.
Two approaches exist: steal space from your existing footprint or expand outward. Interior builds borrow from adjacent rooms. My neighbor took 4 feet from her oversized dining room. Another friend converted part of a hallway. You're sacrificing square footage somewhere else but avoiding exterior construction costs. Exterior additions mean foundation work, framing, roofing, siding that matches your house. Way more expensive—we're talking $15,000 to $30,000 versus $4,000 to $10,000 for interior builds.
Standard wall framing uses 2x4 studs spaced 16 inches apart. Drywall gets hung, taped, mudded, sanded, then painted. Some people add beadboard or tile for easier cleaning. Electrical work happens before you close up the walls—outlets every 4 feet is my preference, plus overhead lighting controlled by a switch outside the door. Building codes in my county require GFCI outlets within 6 feet of any sink, so factor that in if you're adding plumbing.
Door placement affects your kitchen's traffic flow. The classic work triangle connects sink, stove, and refrigerator. Your pantry door shouldn't interrupt that path. Swing direction should feel intuitive when you're carrying armloads of groceries or juggling ingredients mid-recipe. I've seen doors that swing outward into the main kitchen traffic lane—terrible idea that creates constant near-collisions.
Author: Nathan Cole;
Source: johnhranec.com
Storage Solutions and Organization Systems
Building the space is half the battle. Making it functional determines whether you'll actually use it.
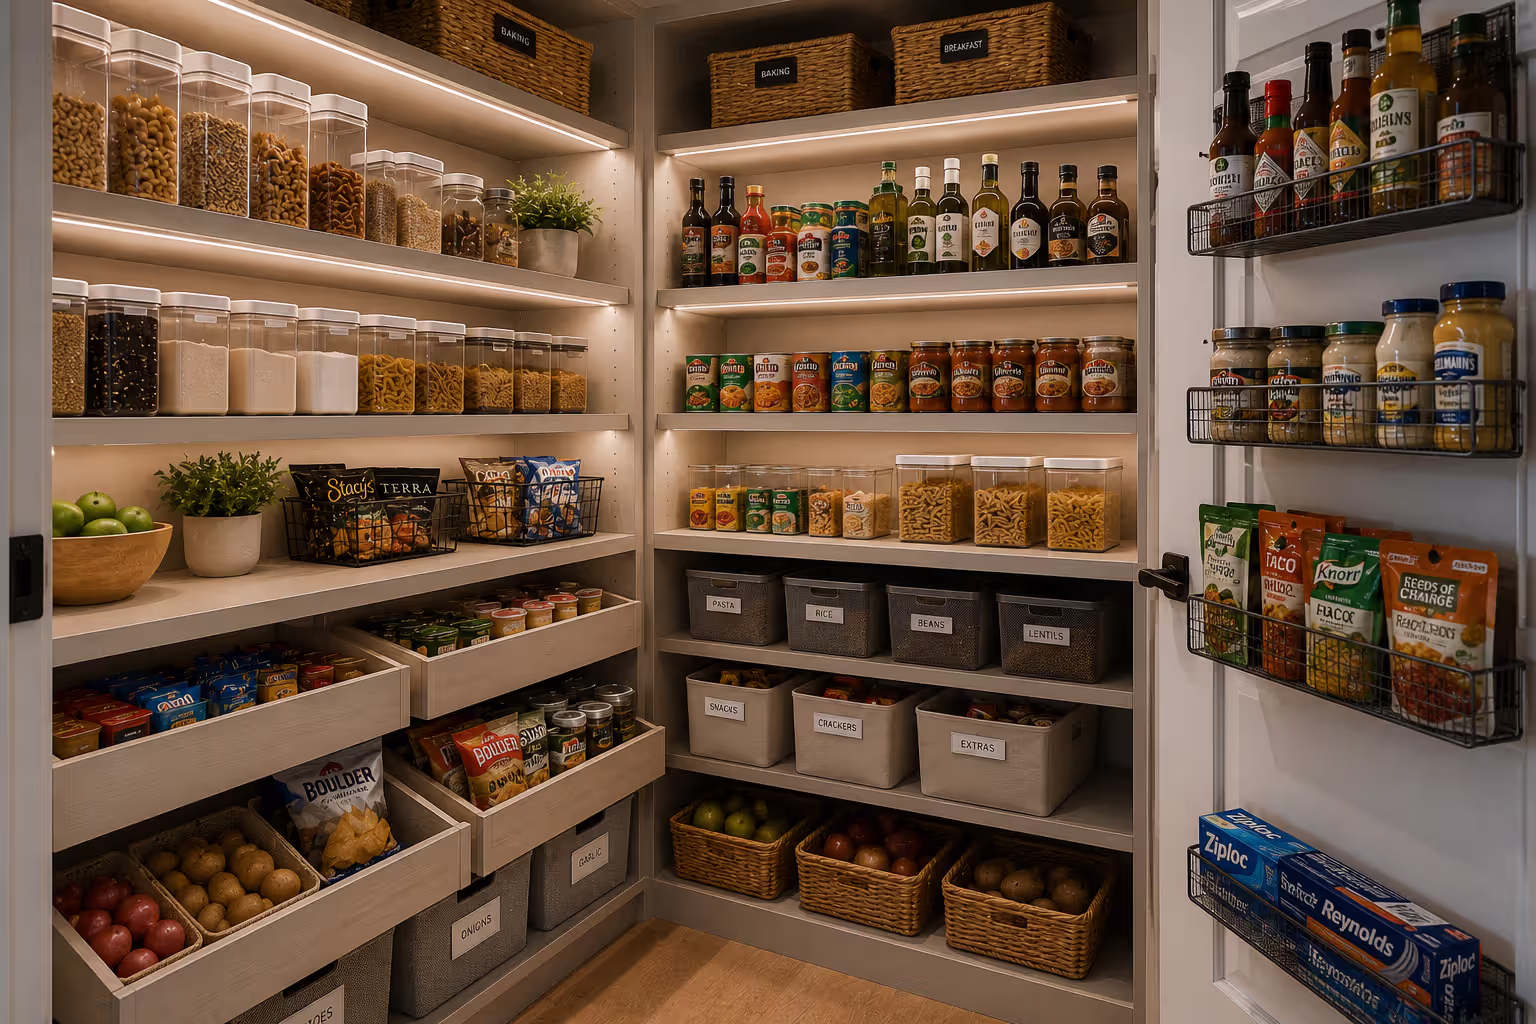
Shelving types break into three categories: fixed, adjustable, and pull-out. Fixed shelves cost least—maybe $3 per linear foot for basic materials—but you're locked into that configuration permanently. Adjustable shelving using metal standards and brackets costs about 25% more and lets you reconfigure when needs change. Pull-out shelves or sliding drawers cost significantly more—three to five times as much—but they eliminate the "dig through everything to reach the back" frustration. I mixed all three types. Fixed shelves on top for items I rarely access, adjustable in the middle zone, pull-outs at the bottom.
Wire shelving breathes and costs less—$40 to $80 for a basic reach-in pantry setup. Small items fall through the gaps, though. Solid wood or melamine-coated particleboard looks cleaner and supports heavier loads. My setup uses wire shelving on the bottom for bulky items like paper towels and 2-liter bottles where the gaps don't matter. Solid shelves at eye level hold canned goods and boxes.
Pull-out drawers excel in the bottom third of your pantry. Deep drawers—12 to 18 inches—store appliances like stand mixers, slow cookers, that air fryer you use three times a week. Shallow drawers—3 to 6 inches tall—organize spices, baking supplies, random seasoning packets. Soft-close hardware costs an extra $7 per drawer but prevents slammed drawers that break mounting hardware over time. Worth every penny.
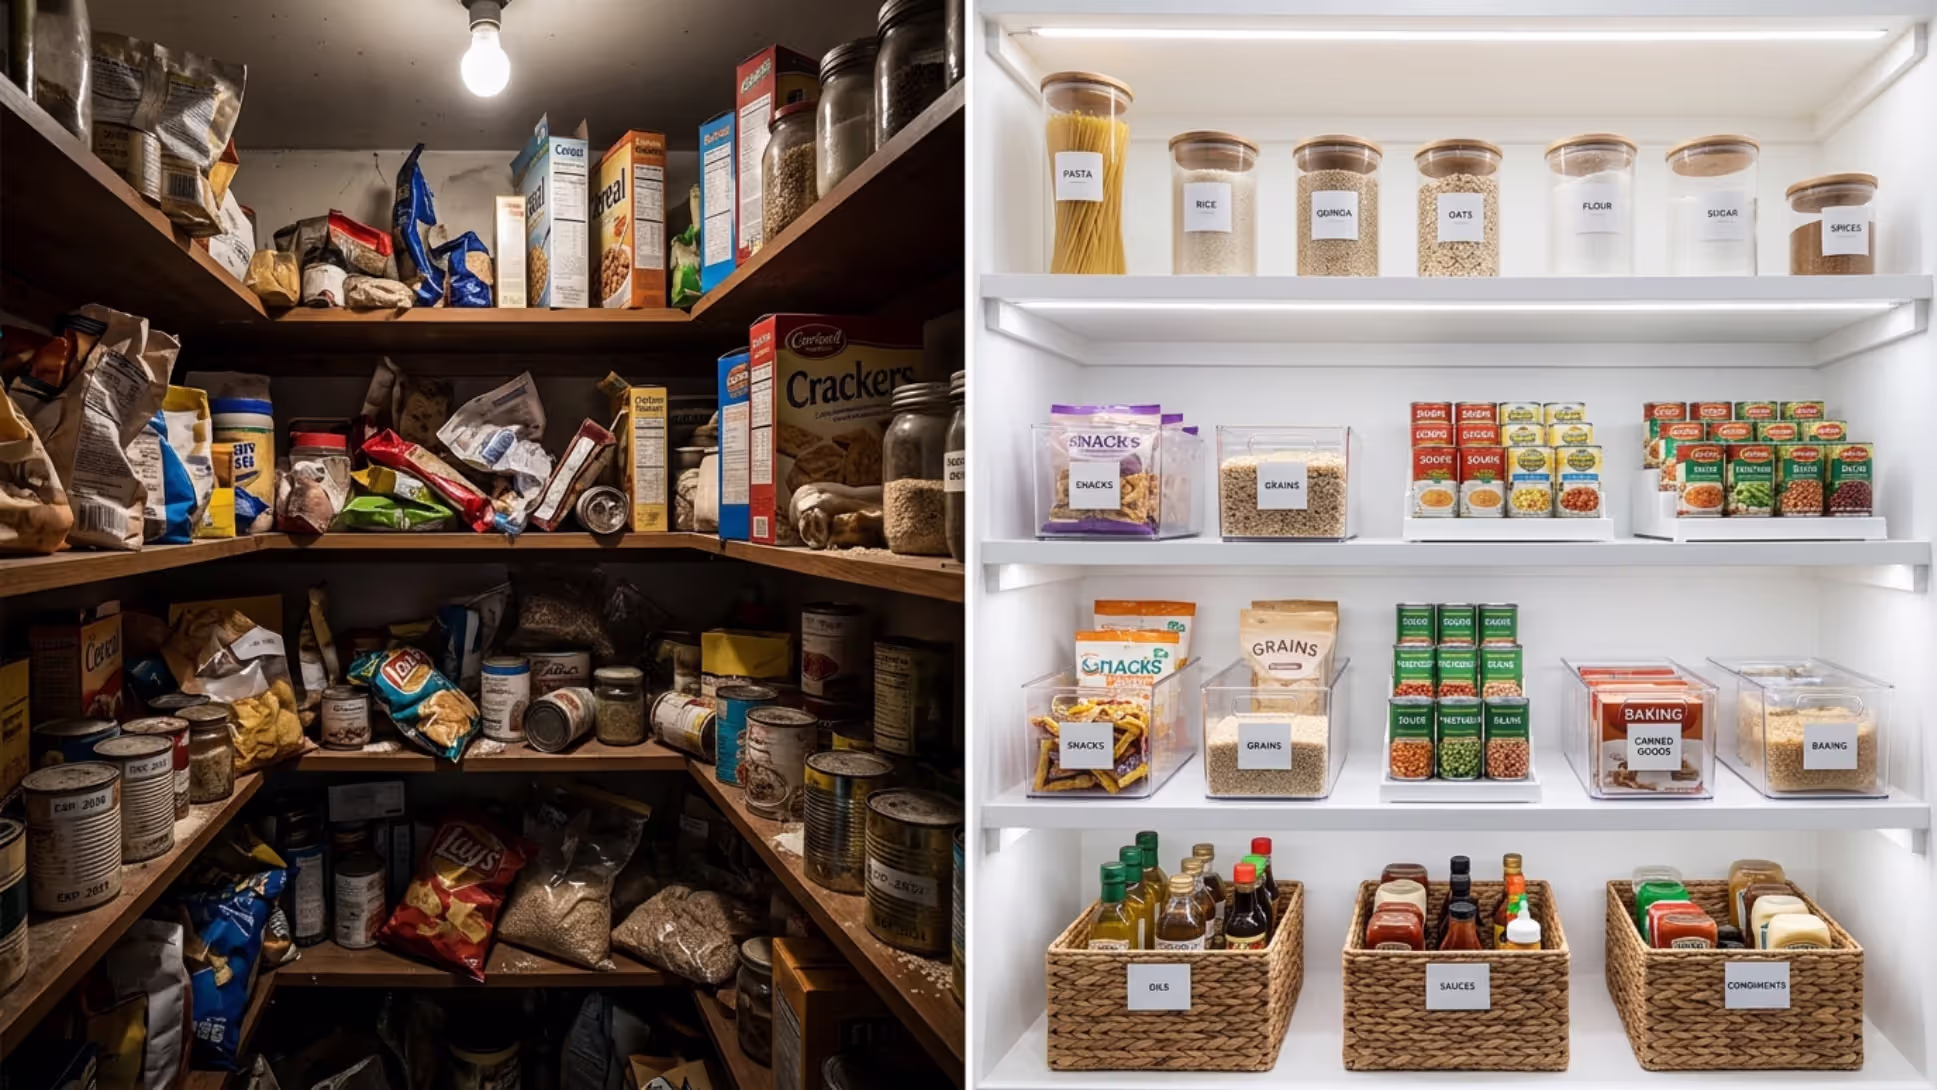
Bins and baskets contain the chaos that naturally develops. Clear plastic bins let you see contents at a glance—I use them for snacks, baking supplies, different pasta shapes. Woven baskets look prettier but you can't see what's inside without pulling them out. Label absolutely everything. I resisted this for two years, thought it seemed excessive. Wrong. Spent 15 minutes with a label maker, now everyone in my house knows where stuff goes and actually puts it back.
Lighting separates pantries you'll use from ones you'll avoid. Single overhead fixtures create shadows everywhere. Under-shelf LED strips eliminate dark zones completely. I installed plug-in LED strips under every shelf—$18 per strip on Amazon, bought six strips, now I can read expiration dates on cans in the back corner. Total game-changer for $108.
Ventilation prevents that musty smell that develops in enclosed spaces. Interior pantries without exterior walls need airflow help. A small exhaust fan works—my contractor installed one for $180. Return air vents connected to your HVAC system also work. In humid climates—Florida, Georgia, Louisiana, anywhere muggy—this prevents moisture damage to drywall and mold growth on food packaging. I learned this the hard way in my previous house in Houston. Didn't ventilate, got mold on cereal boxes within four months.
Door storage adds capacity without consuming floor space. Over-the-door racks hold spices, aluminum foil, plastic wrap, cleaning supplies. Verify the door still closes completely after mounting the rack. I installed one, discovered the door wouldn't latch anymore because the rack added 3 inches of depth. Had to relocate it to a different spot.
Author: Nathan Cole;
Source: johnhranec.com
Pantry Remodel Cost Factors
Budget surprises kill momentum. Here's where money actually goes.
Materials range dramatically. Basic wire shelving from Home Depot runs $50 to $200 for a standard reach-in pantry. Custom built-ins with solid wood shelves, soft-close drawers, and specialty organizers hit $2,000 to $5,000 for the same space. That's a tenfold difference for similar square footage. I've done both—the custom version looks better and uses every inch efficiently, but the budget version functions almost as well.
Labor depends on complexity. A handyperson installing prefab shelving charges $50 to $100 hourly and typically finishes in 3 to 5 hours. Full remodels involving framing, electrical, drywall, painting, and trim carpentry run $75 to $150 per hour for skilled trades. Figure 20 to 40 hours for a walk-in build-out. Labor alone hits $1,500 to $6,000 on these larger projects.
Electrical work adds $200 to $800 depending on scope. Running a new circuit from your electrical panel? $400 to $600 in my area. Adding outlets to an existing circuit? $200 to $300. Specialty lighting with dimmers or motion sensors? Another $200 to $400. Most jurisdictions require licensed electricians for this work—don't try to DIY electrical and fail inspection.
Plumbing only applies to butler pantries with sinks. Adding a sink where plumbing doesn't exist costs $500 to $1,500. You're paying for supply lines, drain lines, proper venting, and the sink fixture itself. Existing plumbing nearby? You're at the low end. Running lines across your house? Expect the high end or more.
Custom versus stock is your biggest cost control. Stock shelving and organizers are mass-produced and readily available at big-box stores. Custom built-ins get measured for your exact space, fabricated specifically for you, and installed by skilled carpenters. They look better and use every inch efficiently. You'll pay three to five times more for that precision fit.
Here's what different pantry remodels actually cost:
| Remodel Type | Materials | Labor | Total Cost Range |
| Reach-in closet conversion | $200–$800 | $300–$1,200 | $500–$2,000 |
| Walk-in pantry (new construction) | $1,500–$4,000 | $2,500–$6,000 | $4,000–$10,000 |
| Butler pantry addition | $3,000–$8,000 | $4,000–$10,000 | $7,000–$18,000 |
| Open shelving installation | $300–$1,200 | $400–$1,500 | $700–$2,700 |
These numbers assume mid-grade materials and professional installation. DIY cuts labor costs by 50% or more if you've got skills and tools. I saved $1,200 doing my own shelving install, though it consumed two full weekends.
Permits typically run $100 to $500 depending on your municipality. Structural changes, electrical work, and plumbing require permits in most jurisdictions. Inspectors verify code compliance. Selling your home later without proper permits creates disclosure headaches—buyers get nervous, deals fall apart during due diligence.
Author: Nathan Cole;
Source: johnhranec.com
Common Pantry Remodel Mistakes to Avoid
Even experienced DIYers make these errors. Learn from their mistakes instead of making your own.
Poor lighting ruins otherwise functional pantries. A single overhead bulb creates shadows everywhere. You're squinting to read labels, grabbing the wrong ingredients, getting frustrated every time you cook. Multiple light sources or under-shelf LED strips solve this completely. Spend $100 on proper lighting now or regret it every single day.
Inadequate ventilation creates musty smells and moisture problems. Interior pantries without exterior walls trap stale air. In humid regions—Florida, Louisiana, coastal areas—you'll get mold on packaging within months. Add a vent or small exhaust fan. This matters more than most people realize until they have the problem.
Wrong shelf depth wastes space or creates clutter. Shelves deeper than 16 inches hide items in back where you forget about them. I found expired salad dressing from 2018 behind newer bottles last month. Shelves shallower than 10 inches don't accommodate standard cereal boxes or pasta containers. Sweet spot is 12 to 14 inches for most items.
Ignoring workflow creates unnecessary steps. If your pantry sits across the kitchen from your prep counter, you're walking extra distance every time you cook. I measured once during my old kitchen setup—pantry location added 47 steps per meal. Over a year, that's literally miles of unnecessary walking. Keep the pantry within your primary work zone.
FAQ