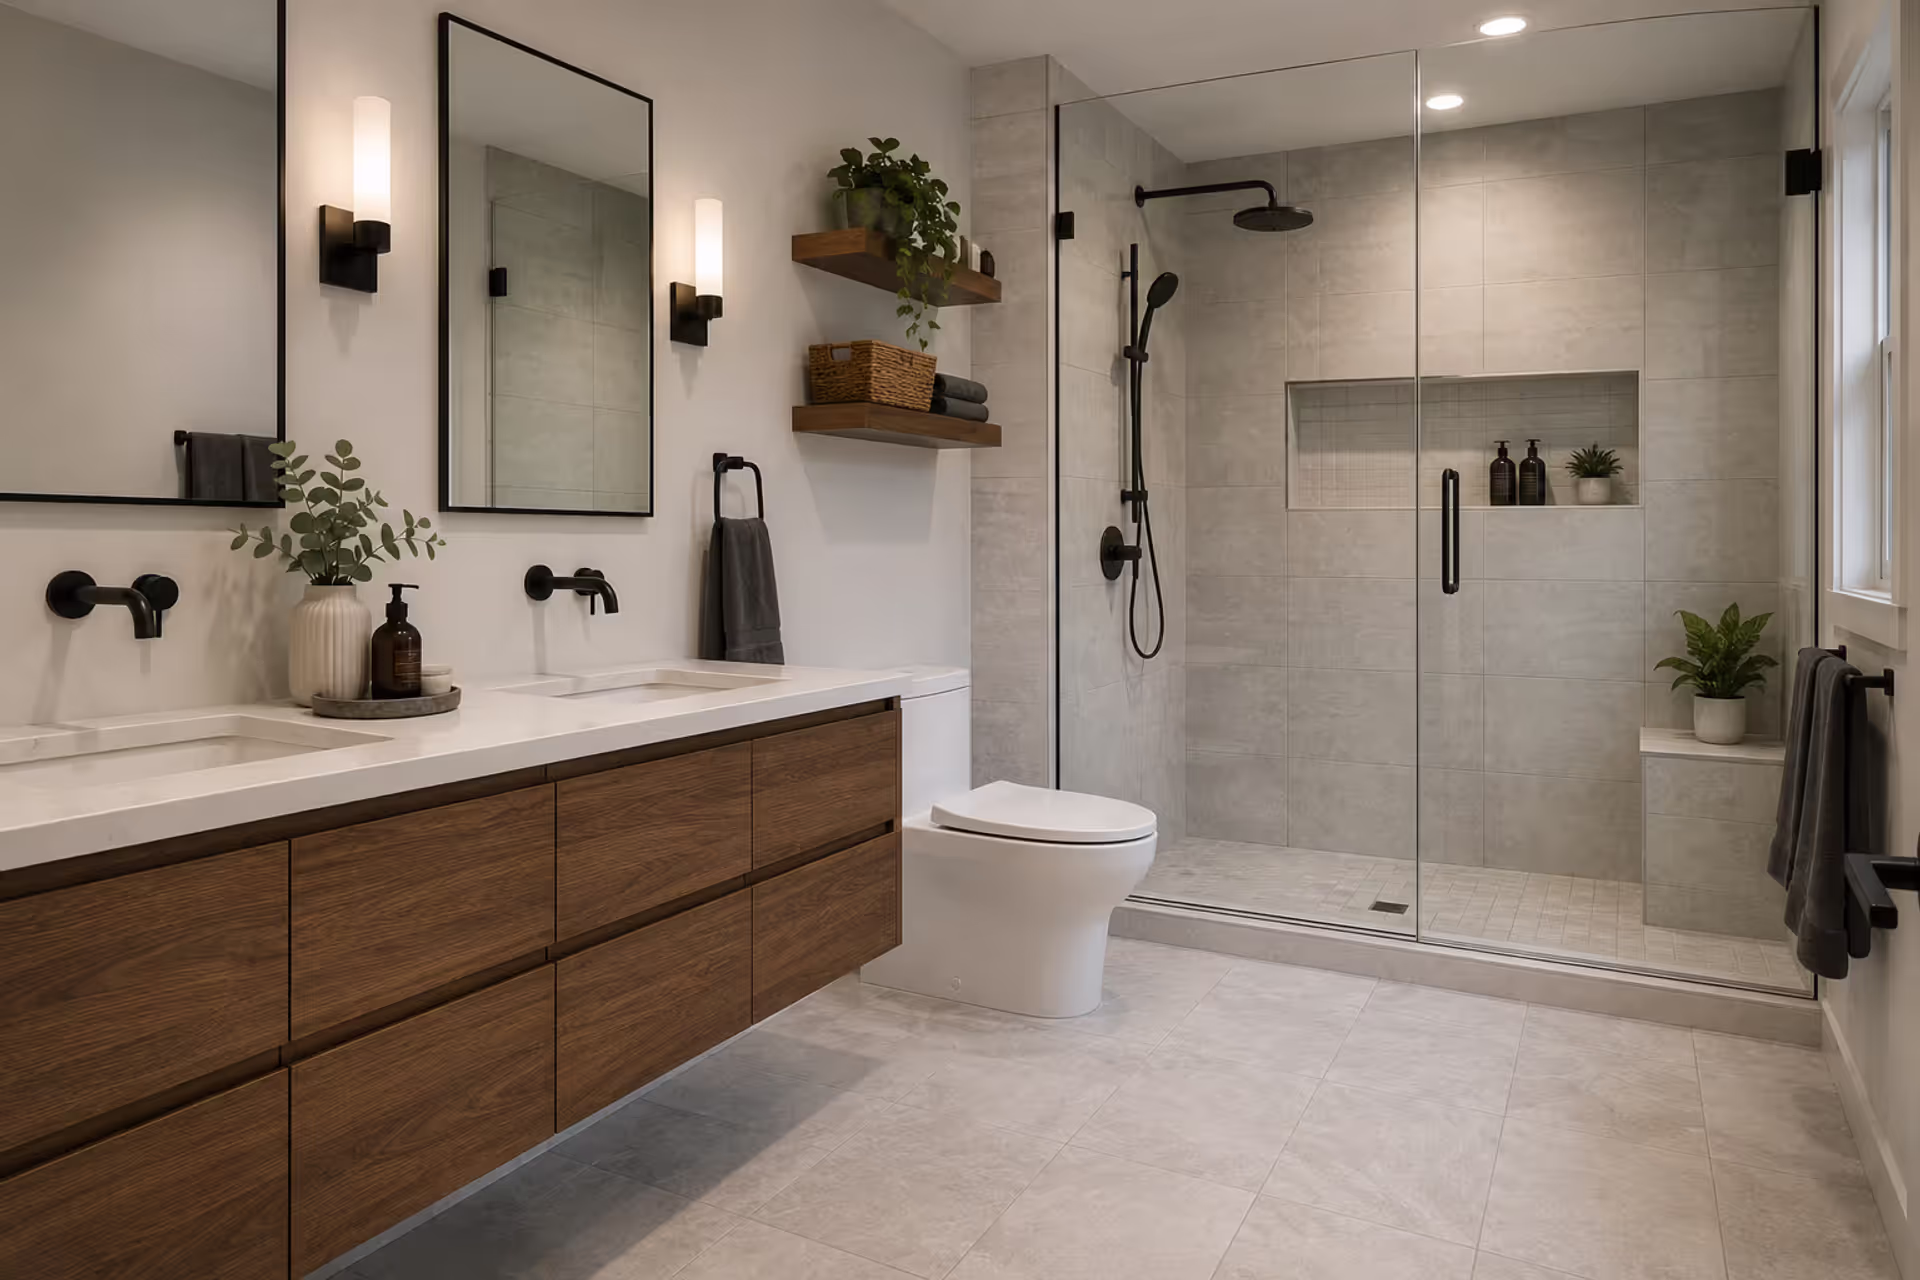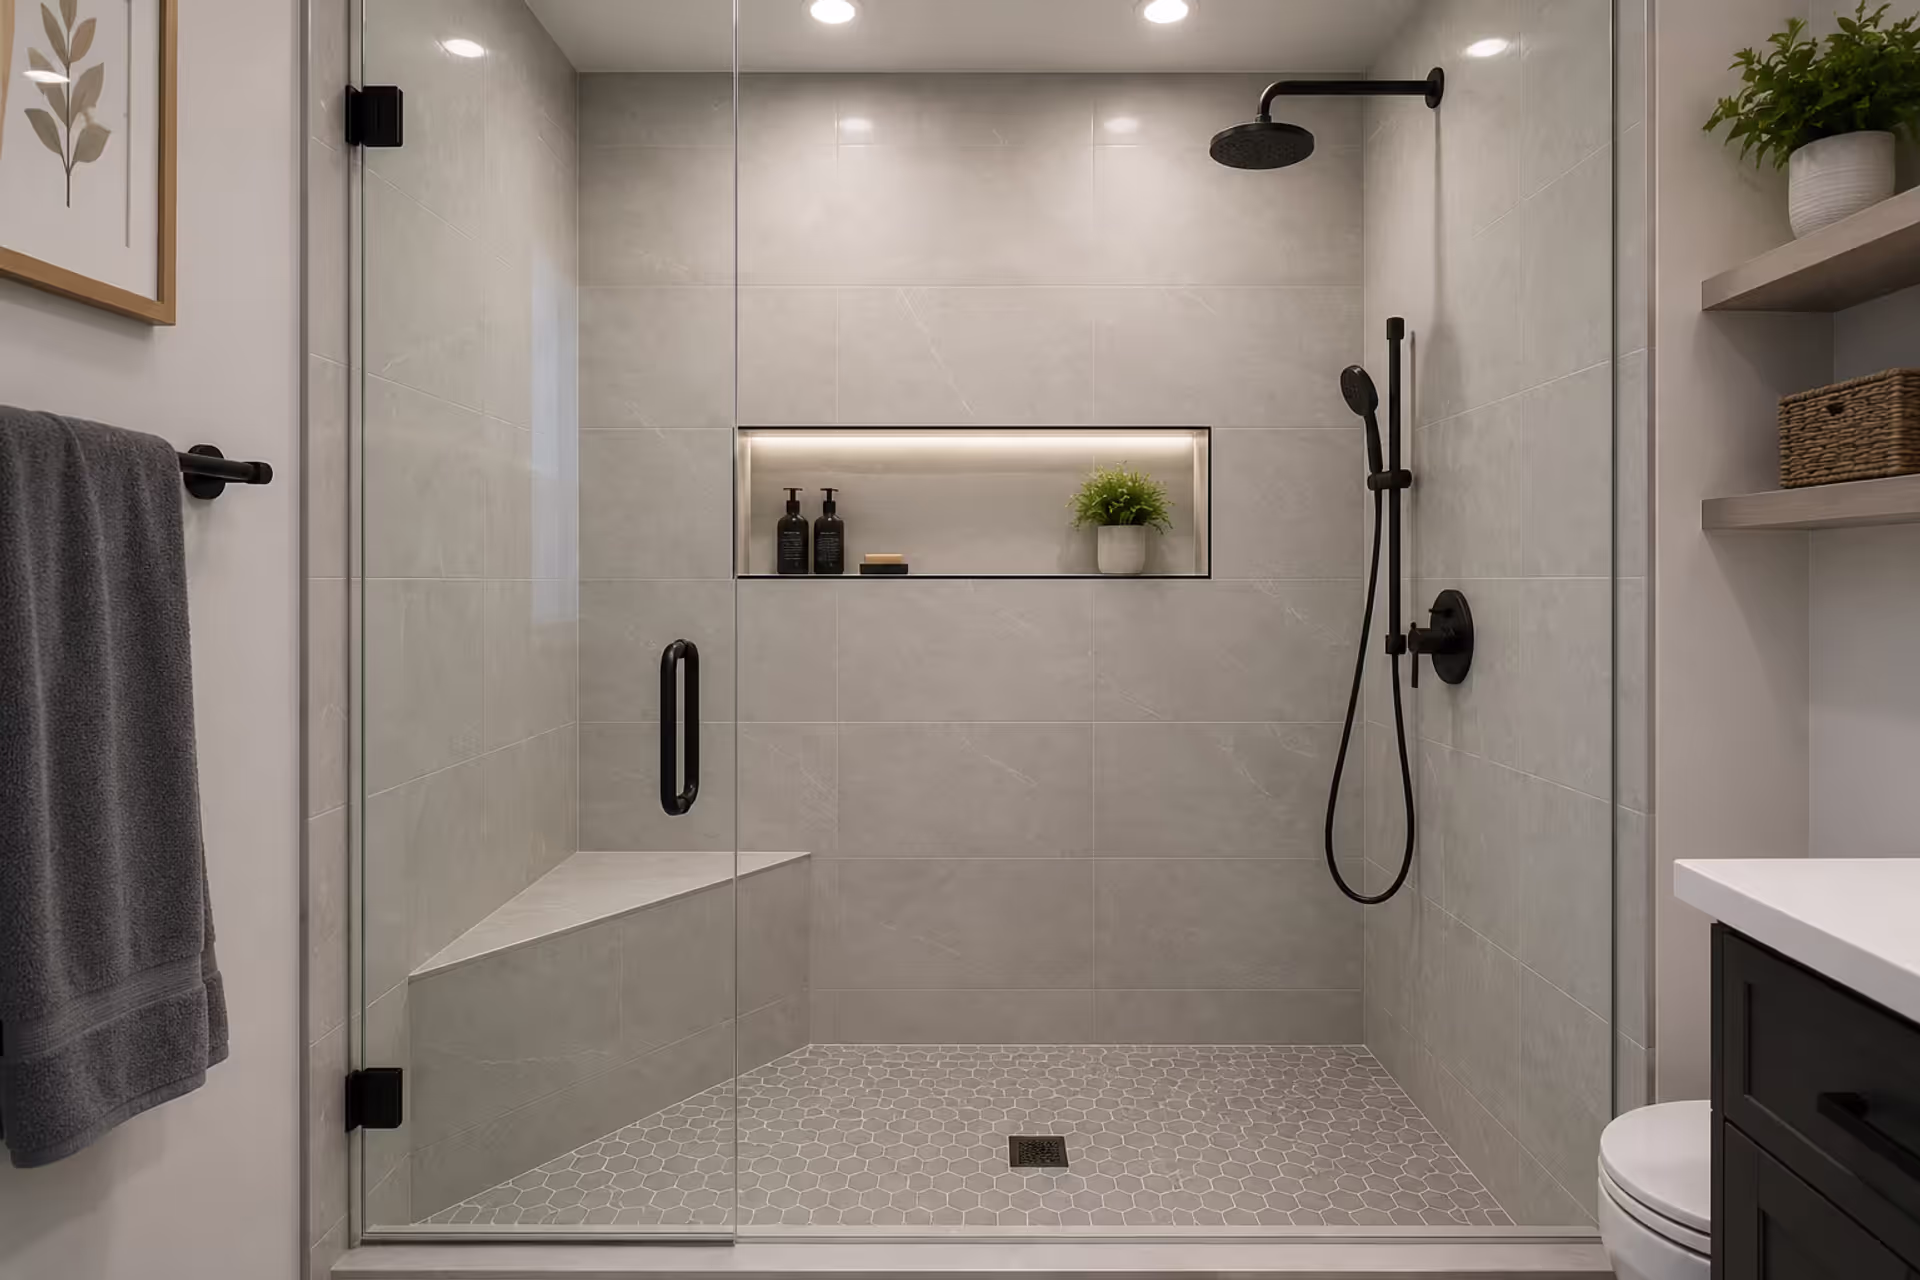
Modern walk-in shower replacing a bathtub in a renovated bathroom
Tub to Shower Remodel Planning Guide

Content
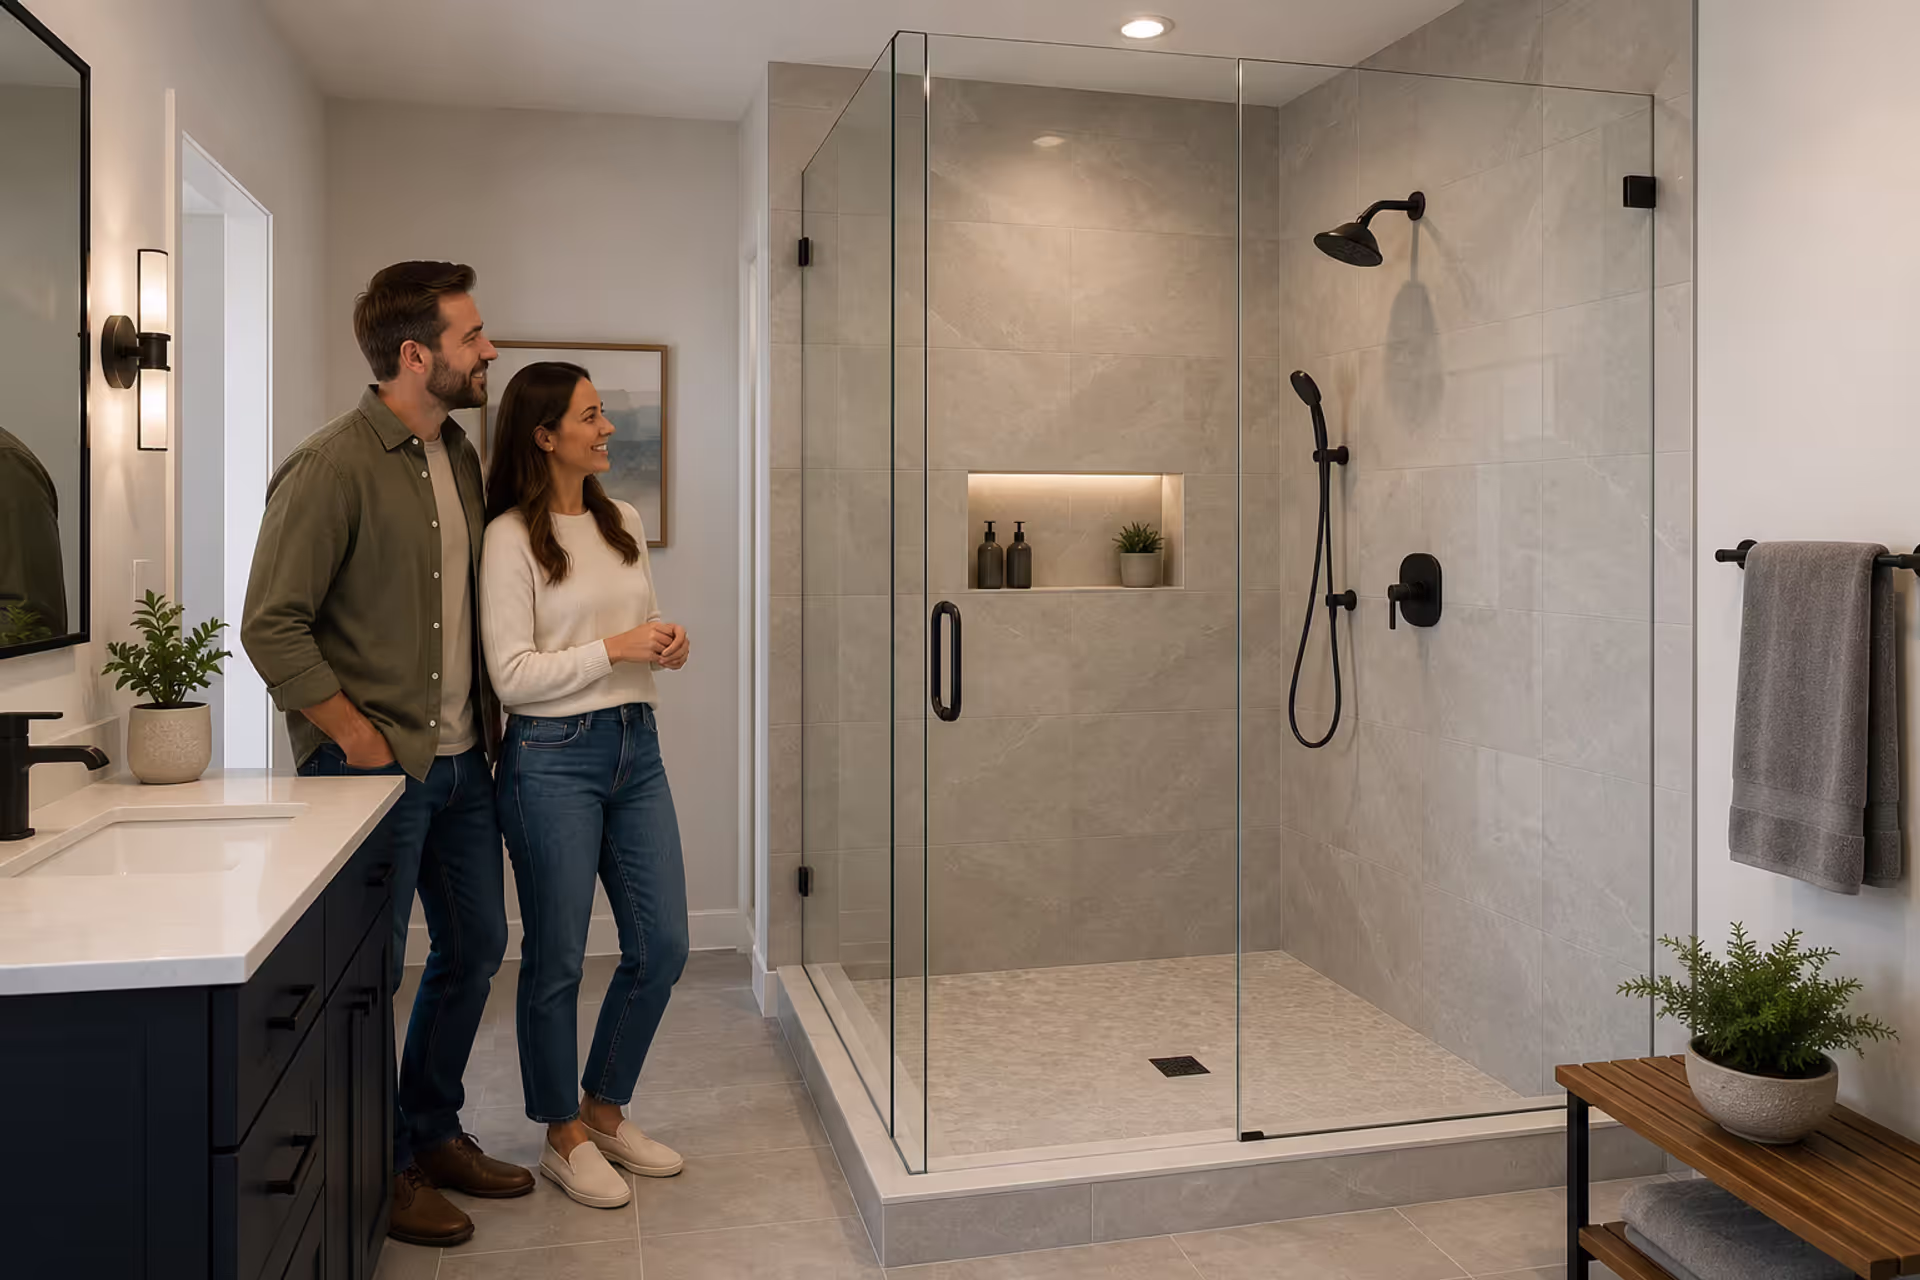
Converting your bathtub into a shower isn't just a renovation—it's often a lifestyle upgrade. Maybe you're tired of stepping over that high tub wall every morning. Or you're planning ahead for easier mobility as you age. Whatever your reason, a tub to shower remodel ranks among the most popular bathroom updates homeowners tackle in 2026. The project can take anywhere from a single day to several weeks, and costs vary wildly based on your choices. But here's the good news: you've got more control over the outcome than you might think.
Why Homeowners Choose Bathtub to Shower Conversions
The shift away from bathtubs isn't slowing down. Most adults shower daily but rarely take baths, making that tub dead space for many households.
Accessibility tops the list of reasons. A bathtub to walk in shower conversion eliminates the 15-inch step-over barrier that becomes increasingly difficult with age or mobility challenges. Barrier-free designs let you roll a wheelchair straight in or simply walk through without lifting your feet.
Space efficiency matters too. Showers can fit into tighter footprints while feeling more spacious than a cramped tub-shower combo. You gain room for built-in seating, multiple showerheads, or just elbow room.
Then there's the modern aesthetic. Open glass enclosures and clean tile work photograph better than dated tub surrounds. If you're prepping your home for sale, this upgrade signals that the bathroom is current.
Aging-in-place planning drives many conversions now. Homeowners in their 50s and 60s recognize that a zero-threshold shower installed today means they won't need to renovate again in 15 years when stairs and steps become problematic.
Types of Shower Remodel Options
Not all bathtub to shower remodel projects look the same. Your choice depends on budget, space, and how you use the bathroom.
Standard Shower Conversions
This straightforward swap replaces your tub with a standard shower base and walls. You'll typically get a 60x32-inch footprint—the same dimensions as most alcove tubs. A single glass door or curtain encloses the space.
Standard conversions work well for secondary bathrooms or when you're keeping costs down. Prefabricated acrylic or fiberglass units install quickly, sometimes in that one day shower remodeling window you've heard about. Custom tile versions take longer but offer unlimited design flexibility.
The curb height usually sits at 4-6 inches. That's better than a tub but still requires a step.
Walk-In Shower Designs
Walk-in showers eliminate or minimize the entry barrier. The curb might be only 2 inches high—just enough to contain water—or completely absent in barrier-free designs.
These configurations often expand beyond the old tub footprint. A 48x48-inch square or 36x60-inch rectangle gives you room to move. Glass panels (not doors) partially enclose the space while keeping sightlines open.
Walk-in designs work beautifully in primary bathrooms where you've got square footage to spare. They feel luxurious without necessarily costing luxury prices.
Barrier-Free and ADA-Compliant Showers
True barrier-free showers have zero threshold. The bathroom floor slopes gently toward the drain, and there's no step at all. ADA-compliant versions meet specific dimensional and grab bar requirements for wheelchair accessibility.
These require more extensive floor work since you're creating drainage across a larger area. The subfloor needs proper waterproofing, and you might need to lower the drain. But the result is genuinely accessible for anyone using mobility aids.
Grab bars, fold-down seats, and handheld showerheads complete the package. Don't assume these look institutional—modern accessible fixtures come in stylish finishes that blend with any design.

Author: Sophie Langston;
Source: johnhranec.com
How Much Does a Shower Remodel Cost
Money talk. Let's break it down.
Shower renovation cost varies based on materials, labor rates in your area, and project complexity. Here's what the numbers look like in 2026:
| Project Type | Materials | Labor | Timeline | Total Cost Range |
| Budget shower remodel (prefab unit) | $800–$2,000 | $1,500–$3,000 | 1–3 days | $3,000–$6,000 |
| Mid-range conversion (tile shower, standard fixtures) | $2,500–$5,000 | $3,500–$7,000 | 5–10 days | $6,000–$12,000 |
| High-end walk-in shower (custom tile, premium fixtures, glass) | $6,000–$12,000 | $6,000–$13,000+ | 2–4 weeks | $12,000–$25,000+ |
The pattern I see most often is homeowners budgeting for mid-range and then adding $2,000–$3,000 in upgrades once they see the options. That rainfall showerhead or heated floor suddenly seems worth it when you're already tearing everything out.
Labor typically costs more than materials unless you're going ultra-premium on fixtures. Tile installation runs $10–$25 per square foot depending on complexity. A custom glass enclosure adds $1,000–$3,000. Plumbing modifications for relocated drains or new valve positions cost $500–$1,500.
Demo and disposal of your old tub adds $300–$800. If you're in an older home and discover issues during demo—rotted subfloor, outdated plumbing, mold—expect another $1,000–$5,000 in surprise costs. Budget a 15% contingency.
Regional differences matter. Coastal cities and major metros run 20–40% higher than these national averages. Rural areas might come in under budget.
The biggest mistake homeowners make is skimping on waterproofing to save a few hundred dollars. You can replace tile or fixtures later, but water damage behind the walls will cost you ten times more to fix down the road. Do the waterproofing right the first time.
— Martinez David
Shower Renovation Design Ideas and Layout Considerations
Design choices shape both function and feel. Start with layout.
If you're staying within the tub footprint, your layout options are limited. But expanding even 6 inches in one direction opens up possibilities. An extra foot of width accommodates a built-in bench. Extending length creates room for dual showerheads or a larger glass panel.
Tile patterns dramatically affect perceived size. Large-format tiles (12x24 inches or bigger) make small showers feel more spacious because there are fewer grout lines. Running tiles vertically draws the eye up, making low ceilings feel higher. Horizontal patterns widen narrow spaces.
Subway tile remains popular but feels dated in traditional 3x6-inch white. Go larger (4x12 or 4x16 inches) or choose colored or textured versions. Hexagon mosaics work well for floors and accent bands. Wood-look porcelain brings warmth without the maintenance headaches of real wood.
Glass enclosures beat shower curtains for both looks and function. Frameless glass costs more but creates that high-end spa feel. Semi-frameless offers a middle ground. Clear glass makes the space feel larger; frosted or textured glass adds privacy if your shower faces a window or door.
Built-in niches beat hanging caddies every time. Plan for at least one large niche (12x24 inches) at chest height for shampoo bottles. A smaller one lower down works for soap and razors. Tile the interior or use matching slab material for a seamless look.
Shower benches serve multiple purposes beyond seating. They're useful for shaving legs, setting down products, or just catching your breath. Built-in tiled benches cost $400–$800. Fold-down models save space in smaller showers.
Fixture finishes should match or coordinate with your bathroom's other hardware. Matte black dominates 2026 trends, but brushed nickel and brass remain timeless. Chrome feels clinical unless you're going for a modern minimalist look.
Lighting matters more than most people realize. A single overhead can light won't cut it. Add recessed lights outside the shower area and consider waterproof LED strips inside for ambiance and safety.
Author: Sophie Langston;
Source: johnhranec.com
Timeline: How Long Does a Shower Renovation Take
Time frames depend on project scope and whether you hit any surprises.
One day shower remodeling is real but limited to specific scenarios. Prefabricated acrylic or composite units installed over existing walls can go in within 8–10 hours if plumbing doesn't need modification. Companies specializing in rapid conversions use proprietary systems designed for speed.
But most bathtub to walk in shower projects take longer. Here's a realistic timeline for a mid-range custom tile shower:
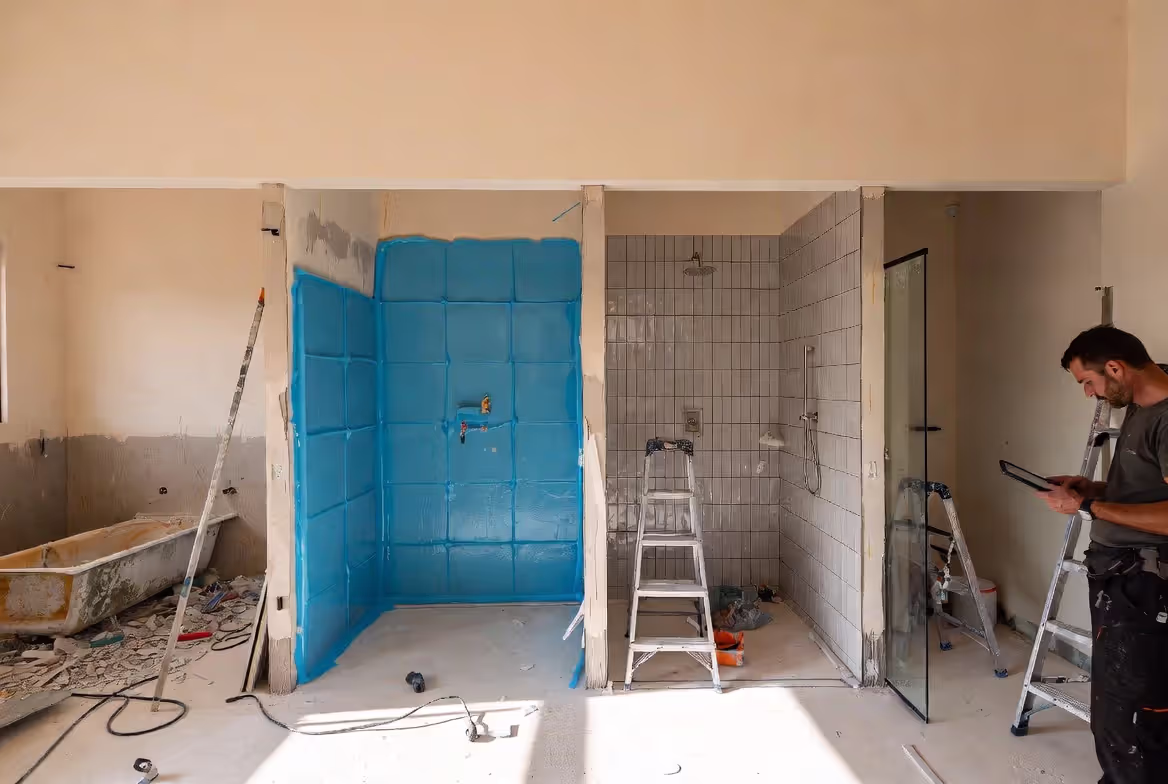
Days 1–2: Demo and rough plumbing. Tear out the old tub, remove wall surfaces, relocate or update plumbing as needed. Inspect and repair subfloor if necessary.
Days 3–4: Waterproofing and prep. Install cement board or foam backer, apply waterproof membrane, build any custom features like benches or niches.
Days 5–7: Tile installation. This is where "how long does it take to tile a shower" becomes relevant. A standard 60x32-inch shower takes a skilled tiler 2–3 days for walls and floor, including time for the mortar to set between sections. Intricate patterns or mosaic work adds time.
Days 8–9: Grouting and sealing. Apply grout, let it cure, then seal it. Can't rush this—proper curing prevents future problems.
Day 10: Fixture and glass installation. Mount the showerhead, valve trim, grab bars, and install the glass enclosure.
So figure 10–14 days for a quality custom installation. High-end projects with extensive tile work, multiple shower systems, or structural modifications stretch to 3–4 weeks.
Weather and contractor schedules affect timing too. You might wait 2–6 weeks just to get on the schedule during busy spring and summer months. Winter often offers faster booking but potentially slower work if your bathroom gets cold.
Author: Sophie Langston;
Source: johnhranec.com
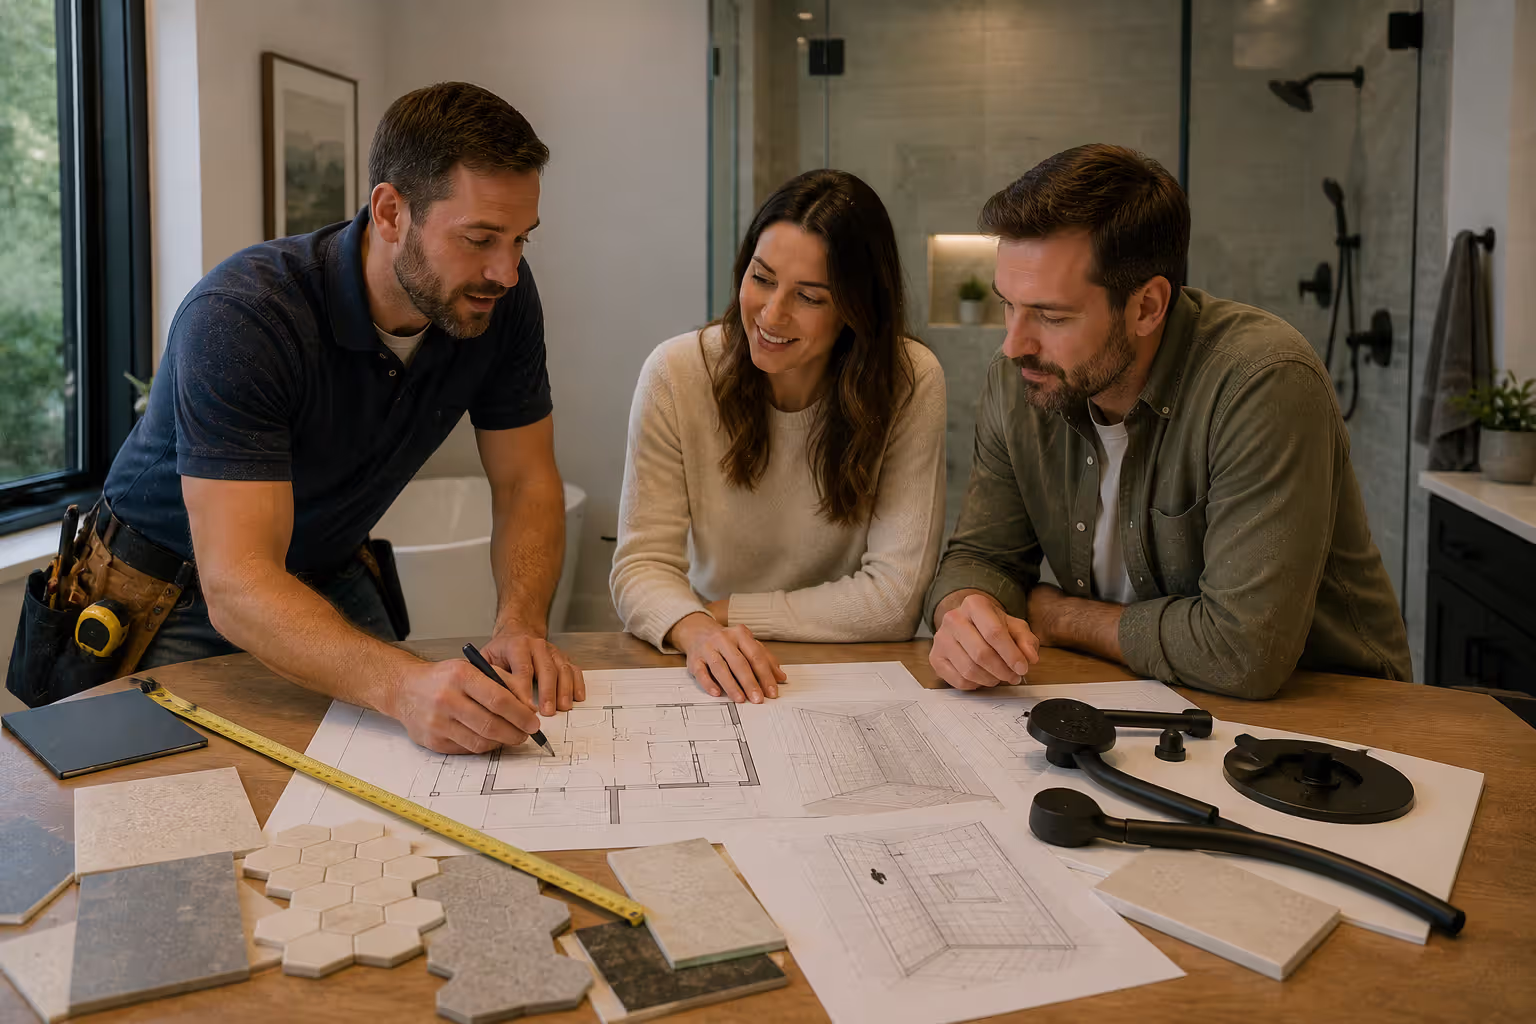
Step-by-Step Shower Remodel Planning Process
Good planning prevents expensive mistakes and change orders.
Assessment and Measurements
Start by measuring your existing tub space precisely. Width, length, and ceiling height all matter. Note where plumbing enters the wall and where the drain sits.
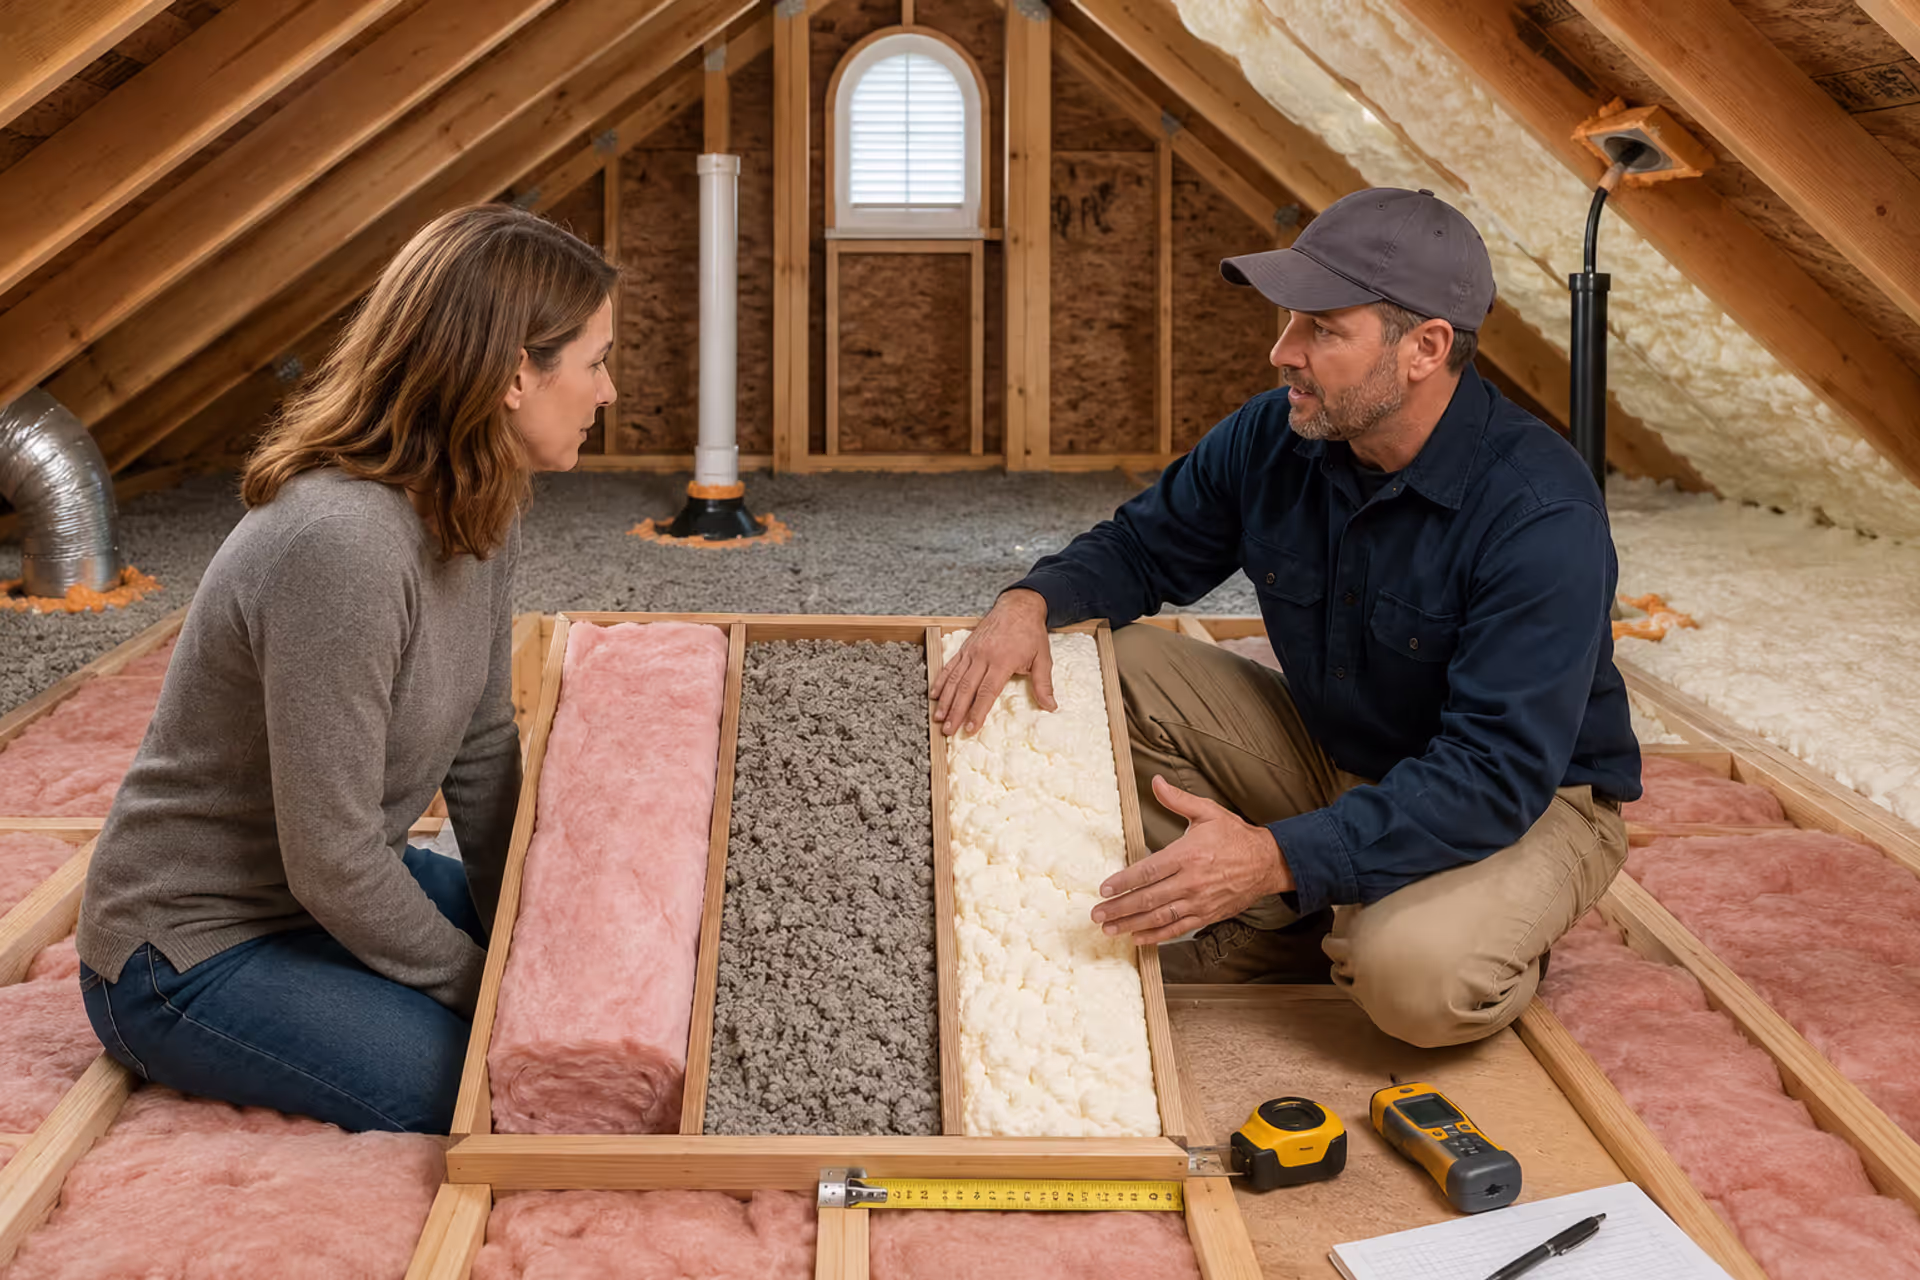
Check what's behind those walls. In older homes, you might find tile over plaster over lath. Removing it could reveal issues. If possible, peek into the wall cavity from an adjacent room or basement to assess framing and plumbing condition.
Evaluate your subfloor. Soft spots or squeaks suggest water damage that needs addressing before you install anything new. A moisture meter (available at hardware stores for $30) can detect hidden dampness.
Think about drainage. If you're going barrier-free, does your floor have enough depth to slope properly toward the drain? You might need to raise the entire bathroom floor or lower the drain—both add cost and complexity.
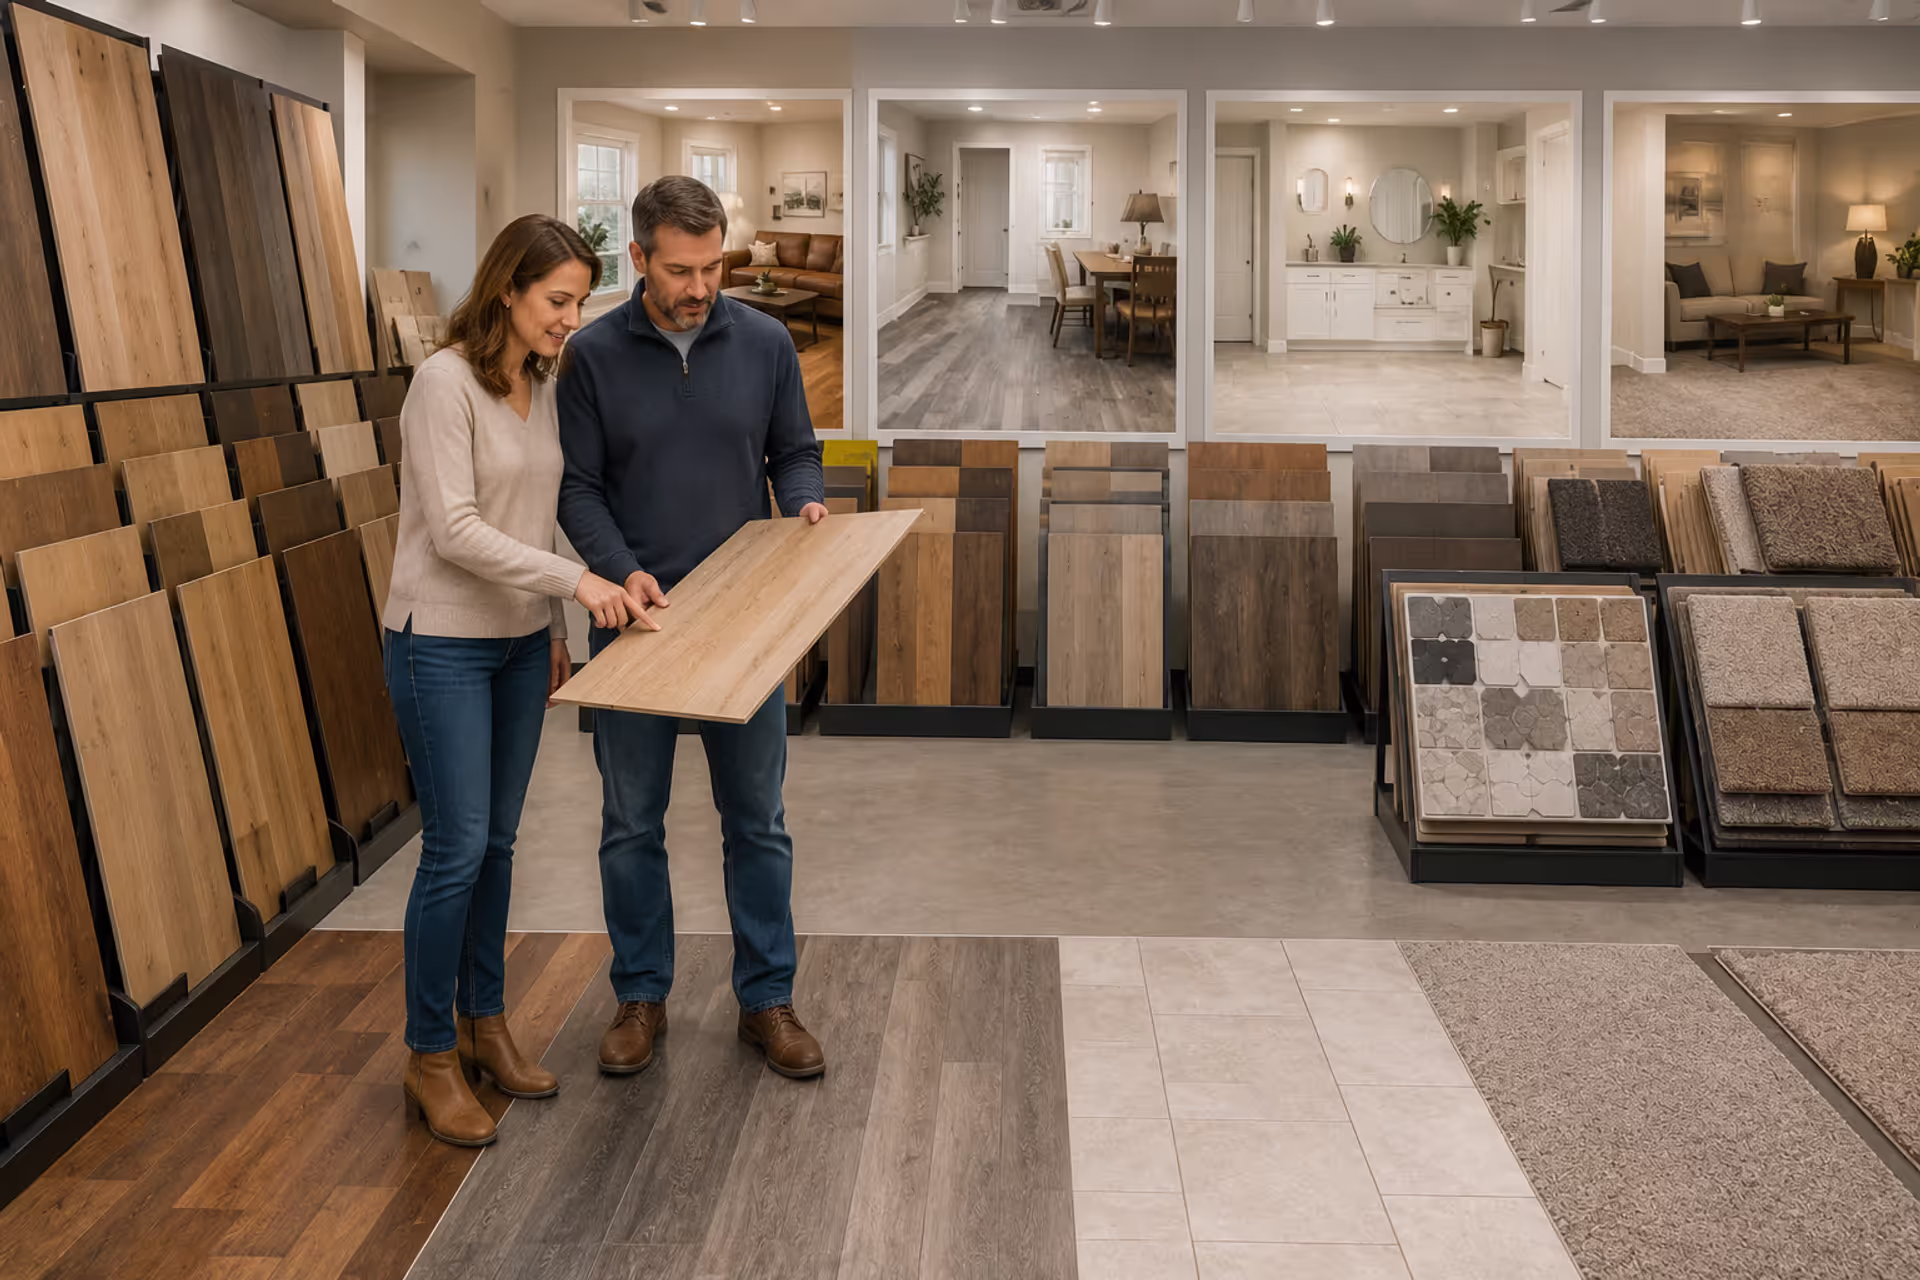
Choosing Materials and Fixtures
Start with the shower pan or base. Prefab bases cost less and install faster. Custom tile pans offer unlimited sizing and design but require expert installation to prevent leaks.
For walls, porcelain tile outperforms ceramic in moisture resistance and durability. Natural stone looks gorgeous but needs regular sealing. Acrylic panels install quickly but can look cheap if you choose low-quality versions.
Showerheads range from basic $30 units to $1,000+ rainfall and body spray systems. The middle ground—$150–$400—gets you good pressure, multiple settings, and decent build quality. Remember that low-flow doesn't mean low pressure anymore; modern fixtures deliver satisfying spray while using 2.0 gallons per minute or less.
Valves matter more than showerheads. A thermostatic valve maintains consistent temperature even when someone flushes a toilet. Pressure-balance valves cost less but work almost as well. Plan to spend $200–$600 on a quality valve.
Glass thickness affects both cost and durability. 3/8-inch glass is standard and fine for most applications. 1/2-inch looks more substantial and resists flex better but costs 30–50% more.
Hiring Contractors vs. DIY
Be honest about your skills. Tile work looks easier than it is, and mistakes show forever. Poor waterproofing causes damage you won't see until it's expensive.
If you're hiring, get at least three detailed quotes. Check references and look at completed projects similar to yours. Verify licensing and insurance—this protects you if someone gets hurt or something goes wrong.
Expect to pay $50–$100 per hour for skilled labor in most markets. Specialists (tile setters, plumbers, glass installers) often charge more than general contractors but deliver better results in their specific areas.
Some homeowners save money by doing demo themselves. That's reasonable if you're comfortable with a sledgehammer and proper disposal. But leave plumbing, waterproofing, and tile to professionals unless you've done it successfully before.
Permits and Code Requirements
Most jurisdictions require permits for bathroom remodels involving plumbing or structural changes. Permit costs run $50–$500 depending on location and project scope.
Skipping permits saves money short-term but creates problems when you sell. Home inspectors look for unpermitted work, and buyers can demand corrections or price reductions. Insurance might deny claims for damage related to unpermitted work.
Code requirements vary by location but typically address:
- Minimum shower dimensions (usually 30x30 inches)
- Glass safety standards (tempered glass required)
- Electrical (GFCI protection for outlets, proper clearances)
- Ventilation (exhaust fan or window required)
- Grab bar blocking (backing in walls even if you're not installing bars yet)
Your contractor should know local codes, but it's worth checking your municipality's requirements yourself. Building department websites often post guidelines.
Author: Sophie Langston;
Source: johnhranec.com
Common Mistakes to Avoid During Your Bathtub to Walk-In Shower Conversion
Learn from others' expensive errors.
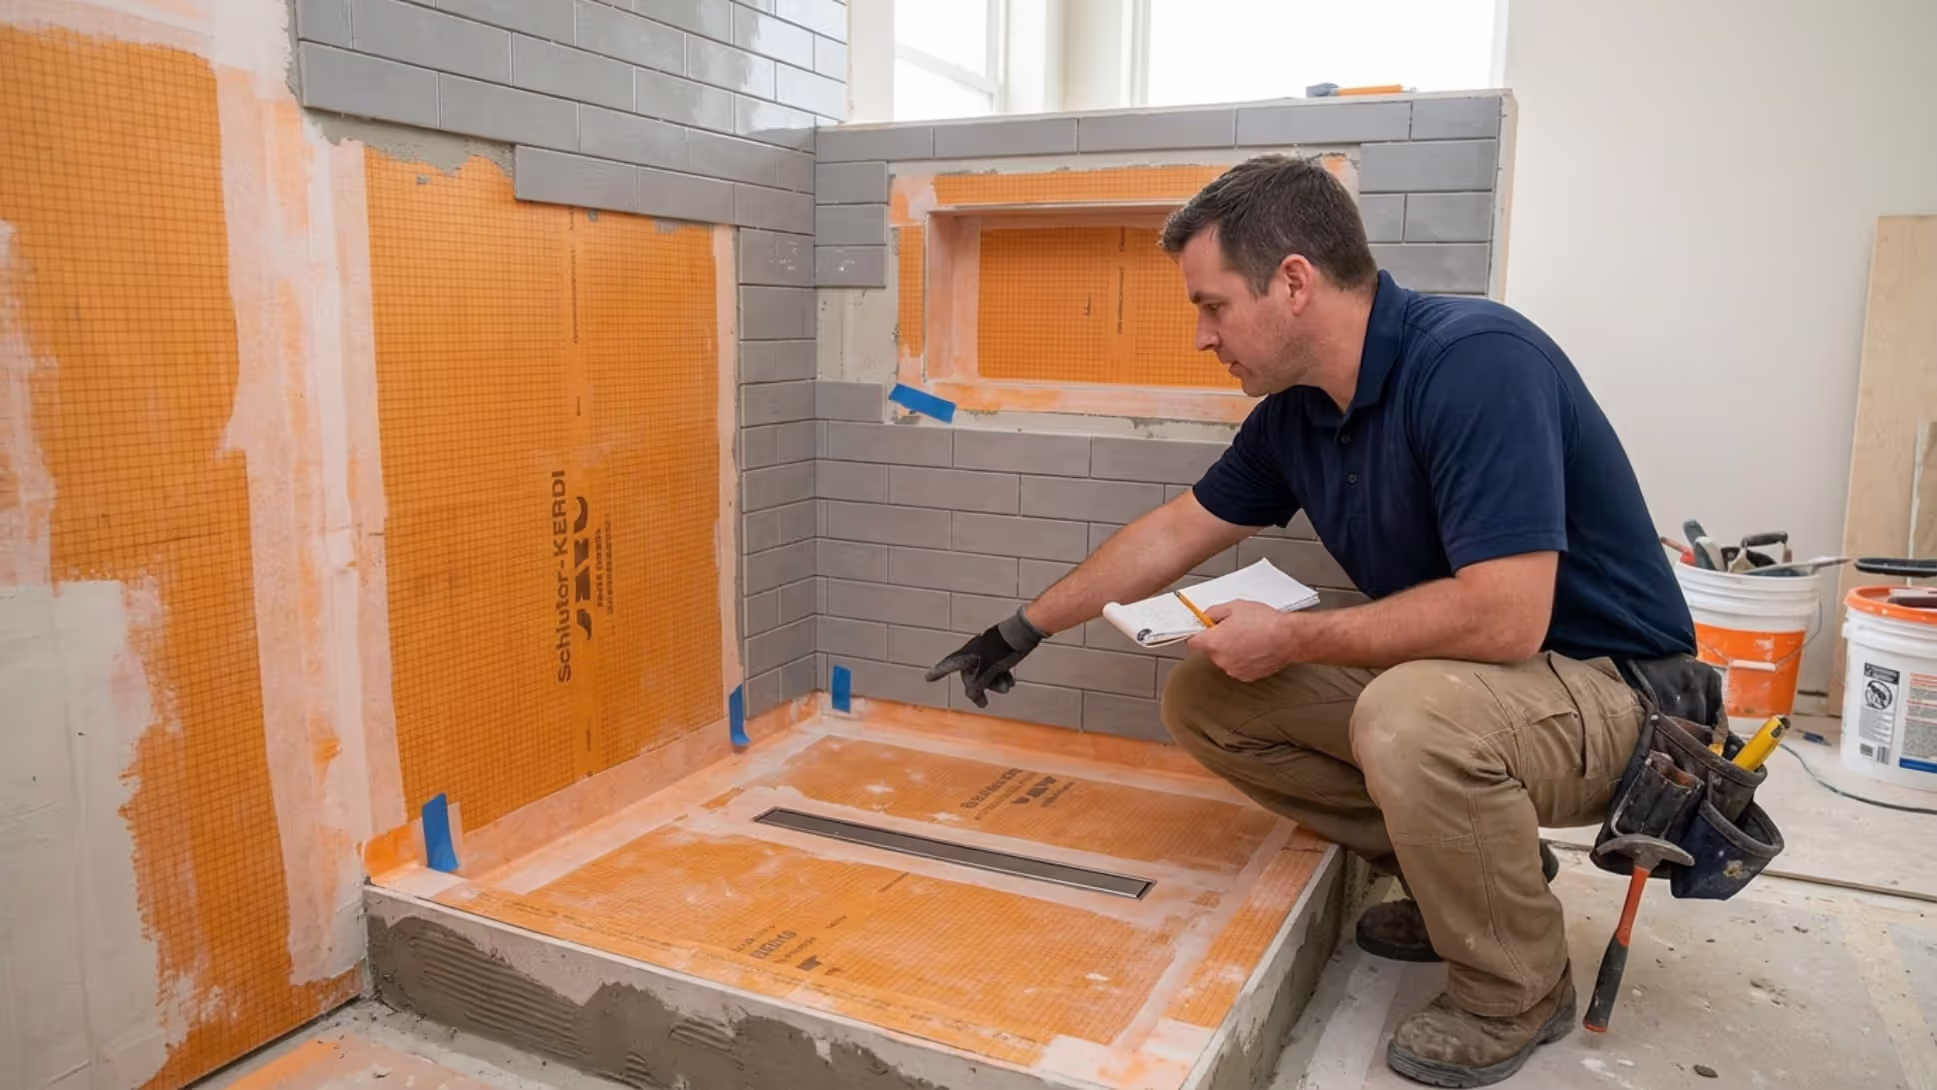
Inadequate waterproofing. This bears repeating. Waterproofing isn't just about the pan—you need protection up the walls at least 6 feet, and preferably to the ceiling in wet areas. Modern membrane systems like Schluter or RedGard work better than old tar paper methods.
Wrong slope on the shower floor. You need 1/4 inch of drop per foot of floor toward the drain. Too little and water pools. Too much feels awkward underfoot. This is why DIY shower pans often fail—getting the slope right requires experience.
Undersized drains. A 2-inch drain handles water flow better than the old 1.5-inch standard, especially with rainfall showerheads that deliver high volume. Upgrade if you're replumbing anyway.
Poor niche placement. Niches installed in exterior walls can create cold spots or moisture problems. Interior walls are safer. And place them between studs, not requiring stud cutting that weakens the wall.
Ignoring ventilation. Showers produce more steam than baths. Your exhaust fan should move at least 50 cubic feet per minute (CFM) for a standard bathroom, more for larger spaces. Run it during showers and for 20 minutes after.
Choosing trendy over timeless. That bold geometric tile pattern might look amazing now but feel dated in five years. The simpler option usually wins here. Save personality for easily changed elements like shower curtains or accessories.
Forgetting storage. One niche isn't enough for most people. Plan for shampoo, conditioner, body wash, shaving supplies, and whatever else lives in your shower. Multiple smaller niches work better than one large one.
Skimping on glass. A partial glass panel that leaves a 12-inch gap might save $300, but water will escape. Full enclosures or properly designed open concepts with adequate splash zones work better.
FAQ: Tub to Shower Remodel Questions Answered
A tub to shower remodel represents more than a bathroom update. You're investing in daily comfort, long-term accessibility, and potentially your home's value. The project demands careful planning, realistic budgeting, and honest assessment of your needs both now and years ahead.
Start by clarifying your priorities. Is accessibility the main driver, or are you after a spa-like aesthetic? Do you need this done quickly, or can you wait for the right contractor's schedule? Your answers shape every decision that follows.
Don't cut corners on waterproofing, drainage, or structural work. These invisible elements determine whether your beautiful new shower lasts 20 years or causes expensive problems in five. Spend money where it matters most—behind the walls—and save on easily upgraded items like showerheads or accessories.
Work with qualified professionals for anything beyond basic demo. A skilled contractor costs more per hour but finishes faster and delivers results that won't need fixing. Check credentials, review portfolios, and trust your instincts about who you're inviting into your home.
Remember that this renovation disrupts your daily routine. You'll need alternative shower arrangements for at least a week, possibly longer. Plan accordingly, especially if you're remodeling your only bathroom.
The right shower remodel improves your life every single day. That's worth getting it right.